Converting Flat Felled Seams to Serged Seams
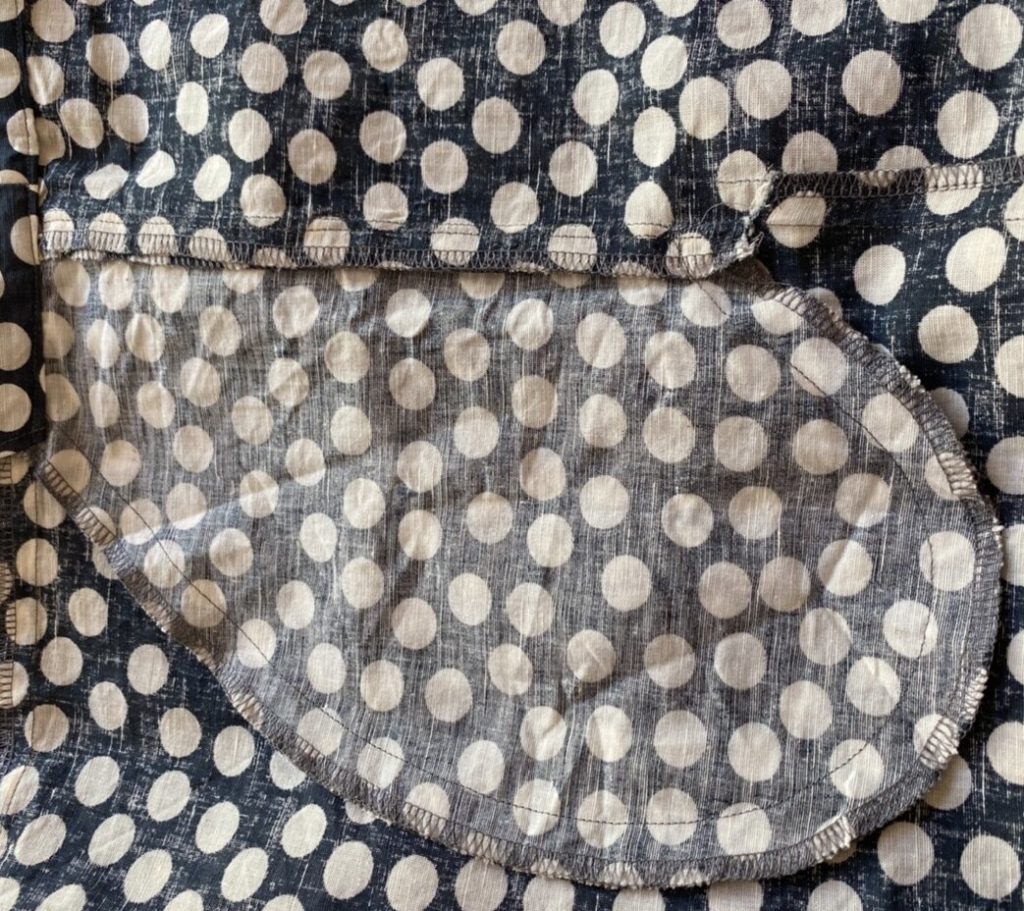
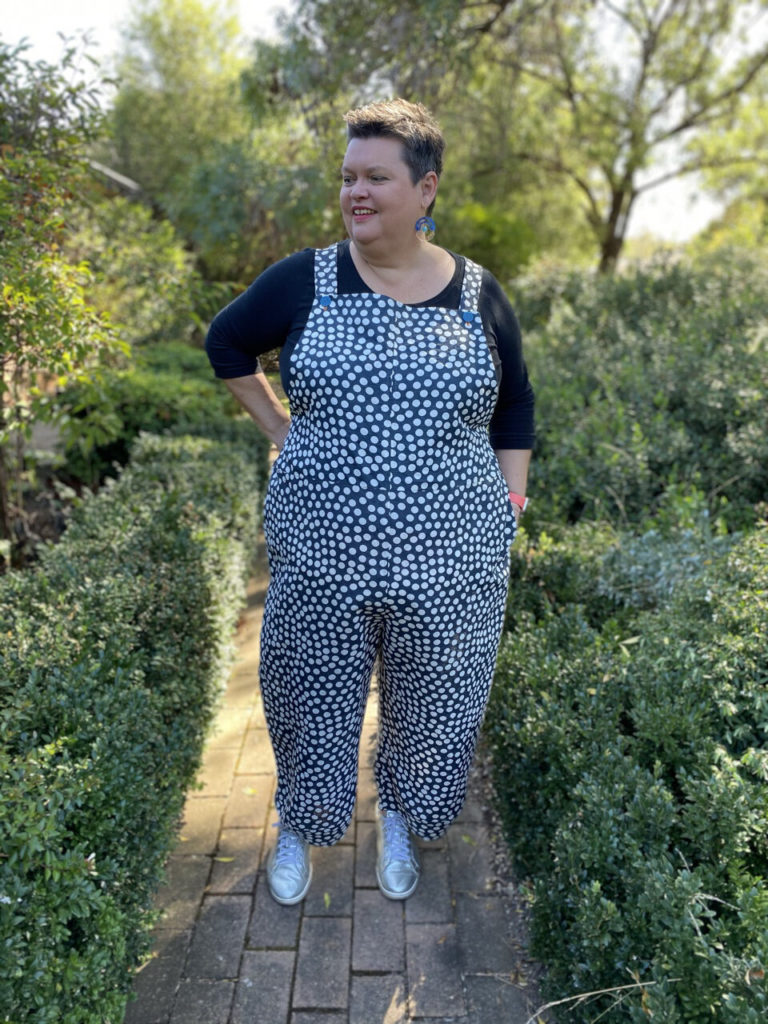
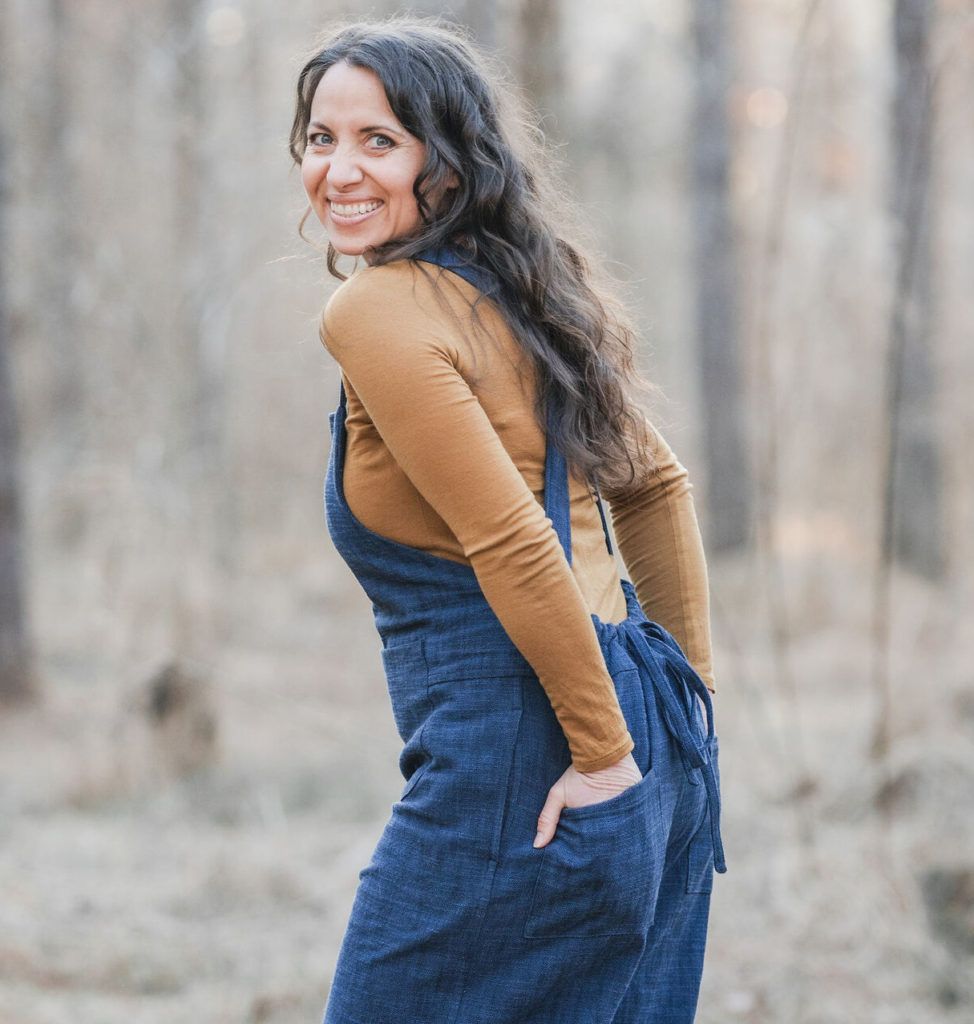
The Otis Overalls are written with a clean finishing technique: flat-felled seams. Flat-felled seams are a great way to ensure that your seams don’t fray if you don’t have an overlocker. They have a beautiful, highly durable finish, don’t require any special equipment beyond your straight stitch, and feel very special. They also take a lot of time. If you have an overlocker, or a machine with an overlock stitch, it is very easy to convert the seams to a serged finish. This simpler method still yields lovely results and does not change the fit one bit. It offers an opportunity to simplify the project if you have mobility limitations that make extensive seam finishes difficult, and can also reduce the time required to complete the project.
The Basics
Essentially, when seaming you will ignore that flat felling instructions, and instead sew all the seams at 5/8” (1.6 cm) with right sides together. Then serge the seam allowances together and press in the direction you would have for the corresponding flat-felled seam. To imitate the flat felled look, you can then top stitch the seam down at 3/8” (1 cm).
If you would prefer less bulk, or you have a particularly heavy fabric, you can also serge the edges of your fabric before you sew, and then press the seams open. You will still sew with a 5/8” (1.6 cm) seam allowance, with right sides together.
The Pockets
Rather than using the fully finished pocket technique, you can sub in a regular inseam pocket. Disregard the instructions on preparing the pocket in steps 6 and 7. Instead, transfer the pocket notches from the Pant Front to the Pant Back as well, and follow these steps.
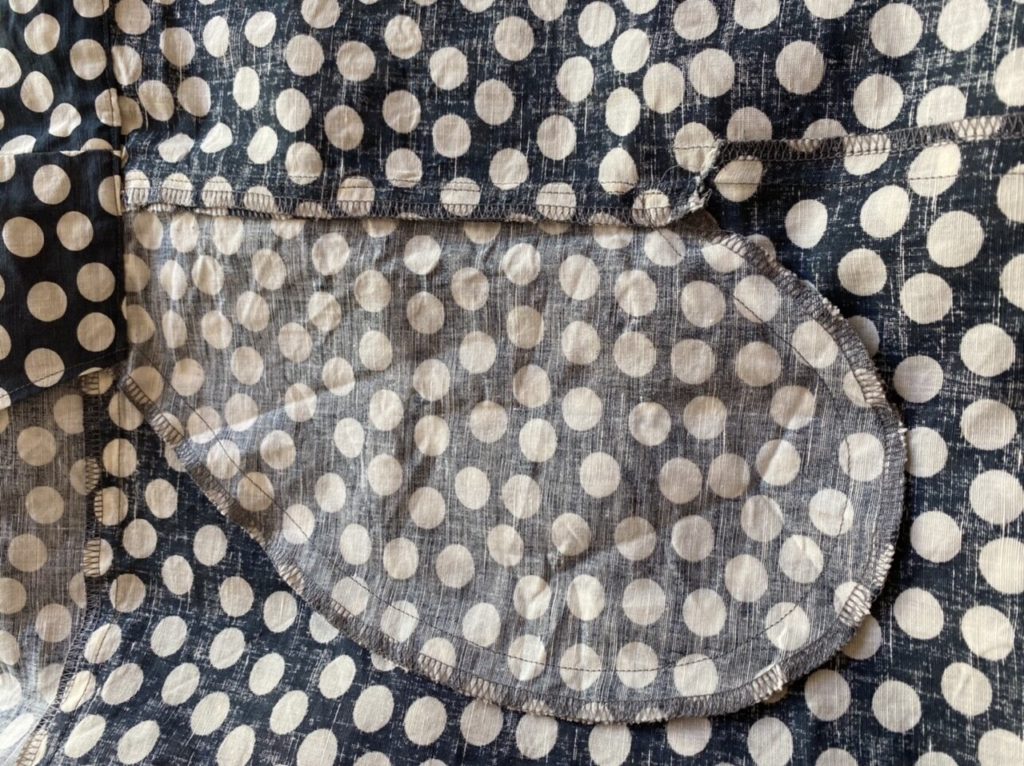
- Pin one Pocket piece to one Pant Front, matching notches, right sides together. Sew from notch to notch with a 5/8” (1.6 cm) seam allowance. Press Pocket and the seam allowances away from the Pant Front . Understitch the seam allowances to the Pocket at 1/8” (3 mm). Repeat with other Pant Front.
- Pin the corresponding pocket piece to the Pant Back, matching notches, right sides together. Sew from notch to notch with a 5/8” (1.6 cm) seam allowance. Press Pocket and the seam allowances away from pant Back. Repeat with other Pant Back.
- With right sides together, pin the Pant Front the the Pant Back, lining up the pockets. Sew with a 5/8” (1.6 cm) seam allowance, pivoting at the corner of the pocket opening, around the pocket to the bottom corner, and pivoting again to sew down the rest of the side seam.
- Finish the seam allowances together on the serger and press towards the Front. Topstitch in place if desired.
The Cuffs
Instead of the French seam technique in the pattern, sew your cuff pieces by pinning them, right sides together, and sewing each side at a 5/8” (1.6 cm) seam allowance. Serge your seams together, pressing one the front and one to the back. Hem as written in the pattern. Sew to the Pant Legs by turning the Pant Legs inside out and slipping the Cuff inside the bottom edge, right sides together. Staggering the seam allowances to reduce bulk, . sew at 5/8” (1.6 cm) seam allowance with the Cuff against the feed dogs. The feed dogs will help prevent ripples and puckers in the curved seam allowance. Repeat for the second Cuff. Finish your seam allowances together and press upwards. Top stitch them to the pants legs if desired to help stabilize the lantern cuff.
The Waist
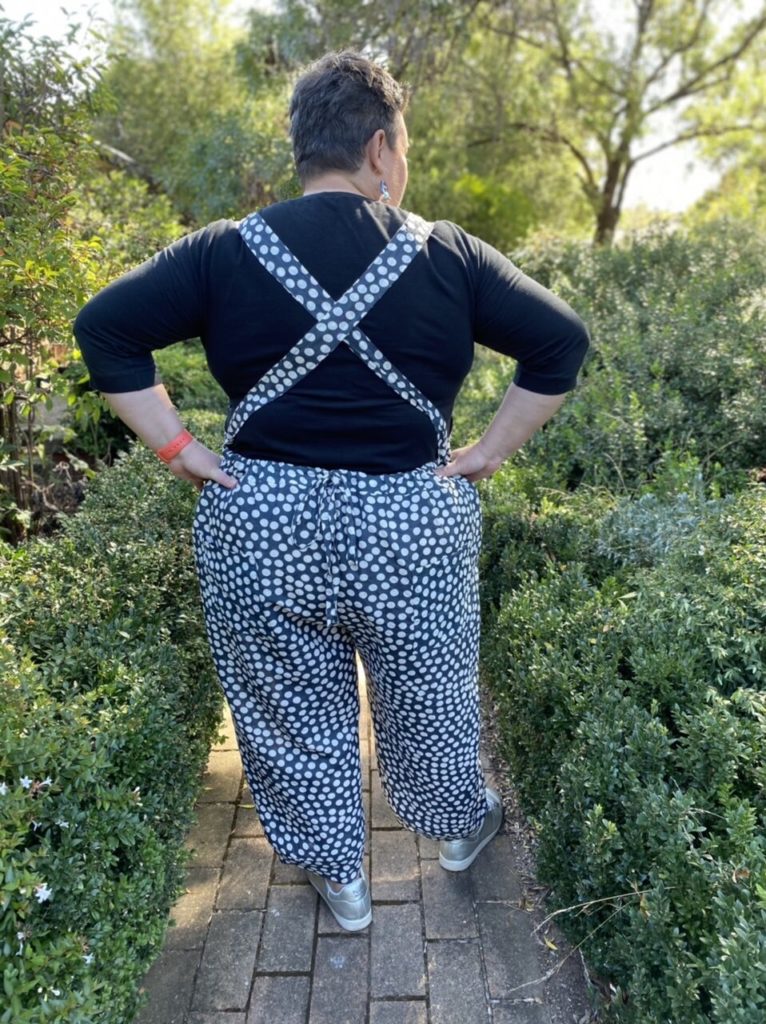
For the waist seam, again disregard the flat felling instructions. Simply pin the Bib to the Pants, right sides together and sew with a ⅝ seam allowance, making sure you don’t catch the Bib Facing. Serge your seams together and press upwards. I would recommend topstitching the seam allowance to the Front Bib. Then pick back up in the instructions at step 17 for securing the Bib Facing by stitching in the ditch.
Converting the seams from flat-felled or French seams to a serged finish is a great way to simplify the making of the Otis Overalls, if you are feeling overwhelmed by the length of the pattern, have physical limitations that make extensive seam finishes challenging, or just want a more relaxing sewing project. Each seam option makes for a beautiful, finished pair of overalls that you’ll wear again and again.
xo,
Judith & Meredith


Responses