Estuary Skirt Sew-Along Day 1
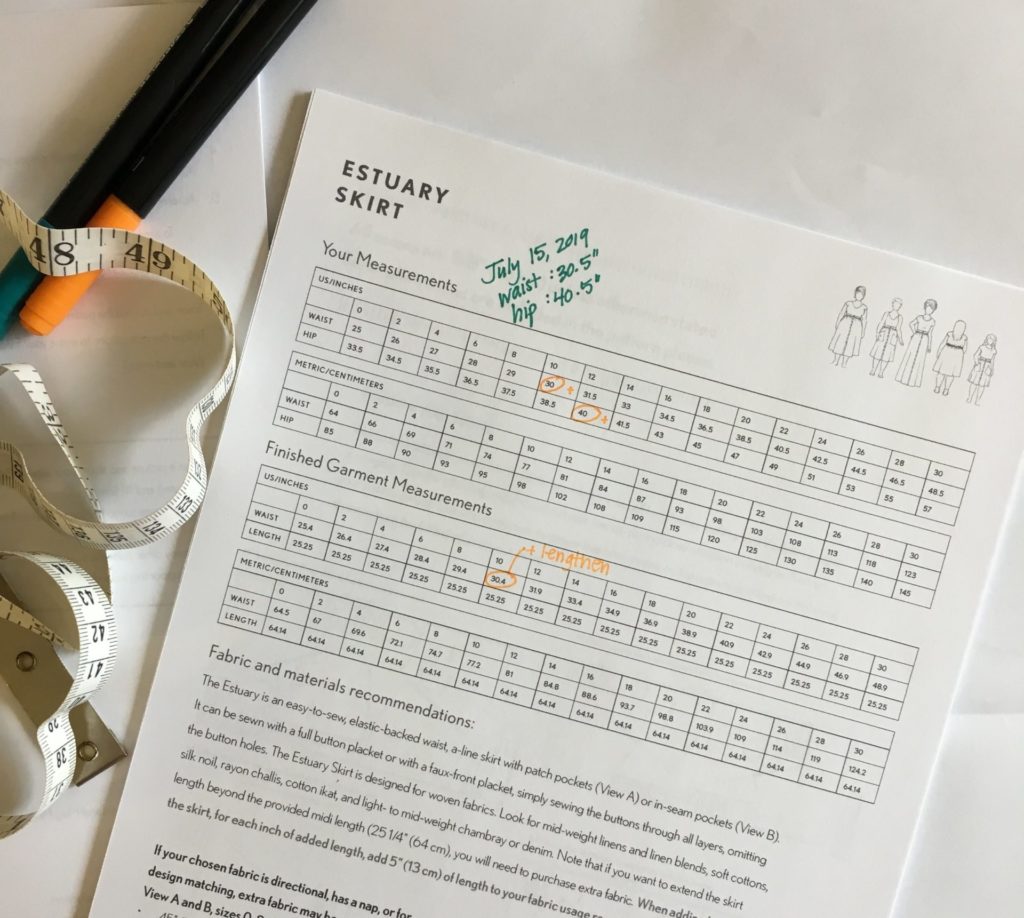
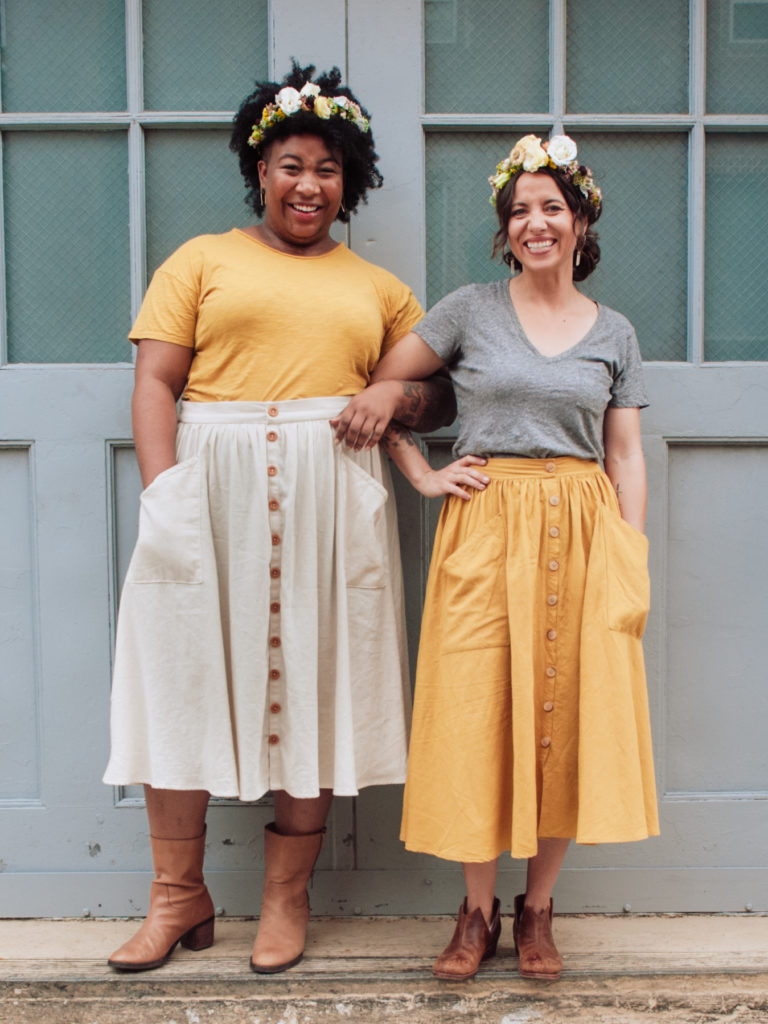
The Estuary Skirt is a beginner-friendly, body-friendly skirt pattern that you’ll feel like wearing every day of the week. It comes in sizes 0-30 and features a comfortable elastic back. The button front placket, which can be sewn with buttonholes OR as a faux, buttonhole-free placket, makes this skirt a great project for all levels of sewists.
For new sewists, a sew-along can provide detail beyond the pattern instructions, and the photos show the skirt being made in real fabric, step by step. You’ll find loads of extra detail and helpful suggestions, so you can gain confidence and grow your skill set. Remember to enjoy the process, take it a step at a time, and celebrate your success!
In this sew-along, I will be making View A (with patch pockets) in a size 10, in a scrumptious thrifted rayon twill. It’s a slight bit heavier than challis, and has gorgeous drape. I love using rayon in a project that I want to feel soft, but press really neatly. The button placket and elastic waistband look great in a fabric like this. I’ll walk you through length adjustments and all of the sewing steps. Keep on reading for more fabric information, tips, and ideas.
Ready? Let’s start!
Day 1
Fabrics and Notions:
The recommended woven fabrics for the Estuary skirt are mid-weight linens and linen blends, soft cottons, silk noil, rayon challis, cotton ikat, and mid- to light-weight chambray or denim. You’re looking for a fabric that drapes well when gathered extensively, can handle the elastic waistband, and presses well in the placket and buttonhole applications.
Here are two suggestions that can start you off on your fabric hunt, if you don’t already have a fabric chosen: linen viscose and Brussels Washer linen from Stonemountain and Daughter Fabric.
In this tutorial, I’m sewing with a lovely rayon twill (in a drape similar to challis). Mine is thrifted fabric, but I’ve seen some fantastic Tencel twills that will sew up similarly at Blackbird Fabrics. This would be a good option for a cooler-weather Estuary.
Follow the pattern directions for how much you’ll need (lengthening and shortening instructions are a bit further along in this sew-along), and remember that if you are working with a large scale print and would like to take care with print placement, you’ll have to allow for extra fabric.
The instructions list Wonder Tape as optional – if you’d like to use it for pocket placement, waistband insertion, and flat-felled seams, you can. Some sewists find that it makes positioning fabrics temporarily so much easier, and some prefer pins. It’s your call, and there are notes in the instructions to help you along either way!
The number of buttons that you want is personal preference, combined with the length of your skirt. In this sew-along, I will be lengthening my skirt, so I’ll be using 14 buttons. I prefer a closer spacing (around 3” apart) on my skirts to minimize the fabric gaping between the buttons.
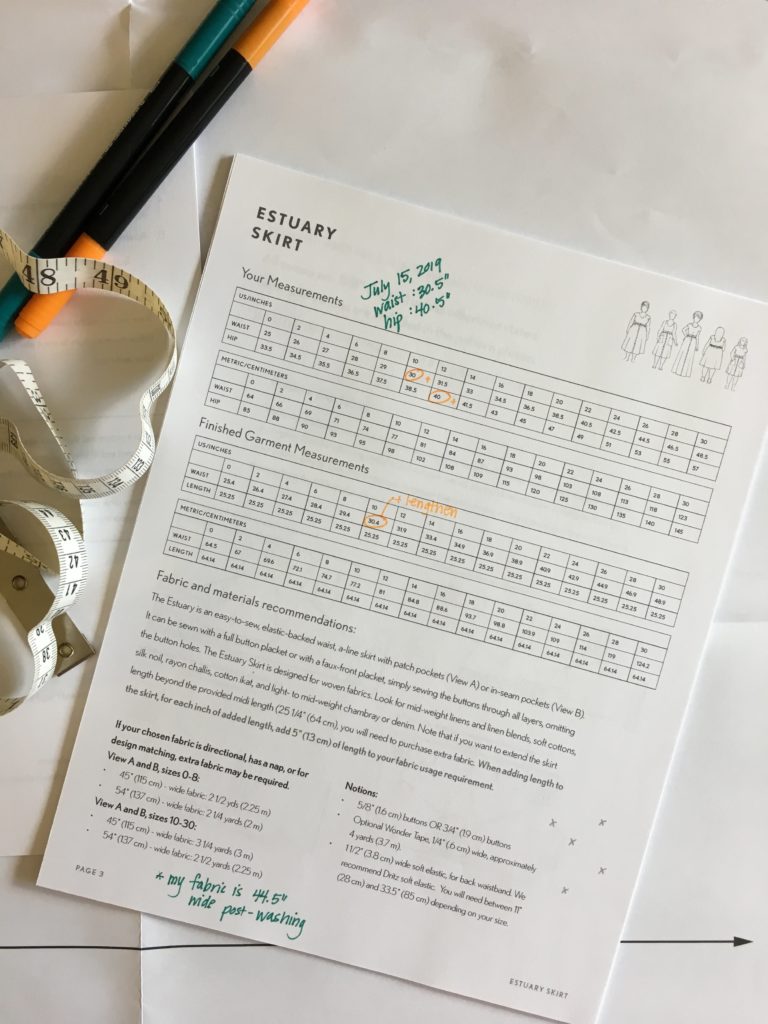
Refer to the chart on page 5 of the instructions for your elastic length.
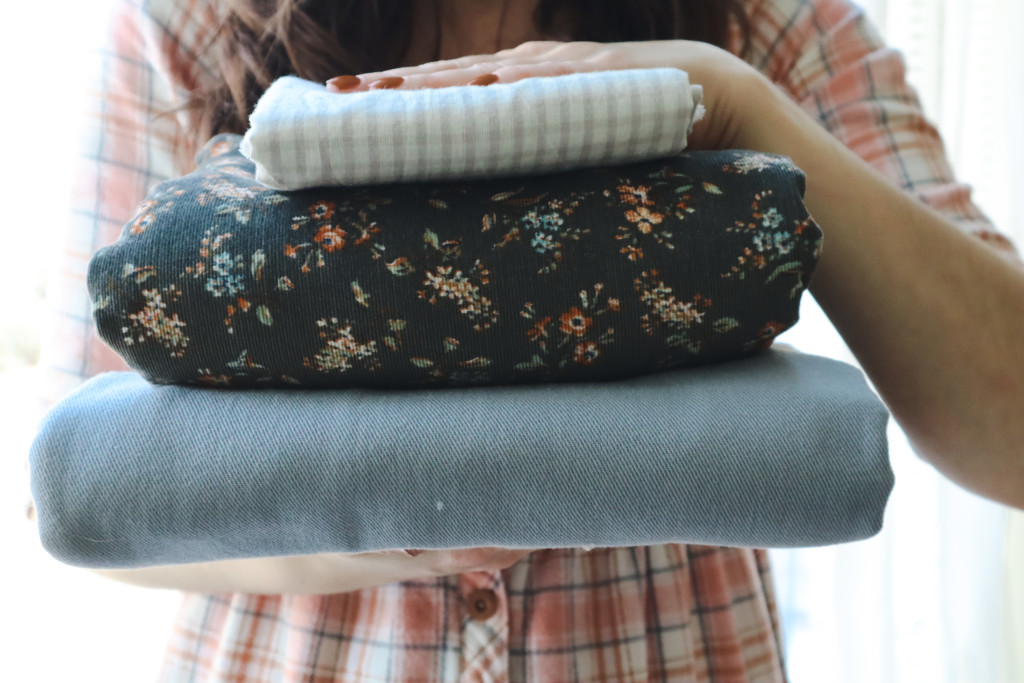
Before you start cutting, it is crucial to wash and dry your fabric in the manner that you intend to care for your garment. If your fabric frays easily, running a line of stitching or serging the ends can keep the fraying to a minimum in the laundry. Because my fabric is red, and is rayon, I washed and dried it twice with dark towels, to be sure that I would not have any dye bleeding, and to make sure that any shrinkage happened before I cut.
I cannot stress enough how much grief you will save yourself by pre-washing and drying! My fabric shrunk in the length and width when it was laundered, and I would have been so upset to find that out after completing my skirt!
Choosing your size and preparing the pattern:
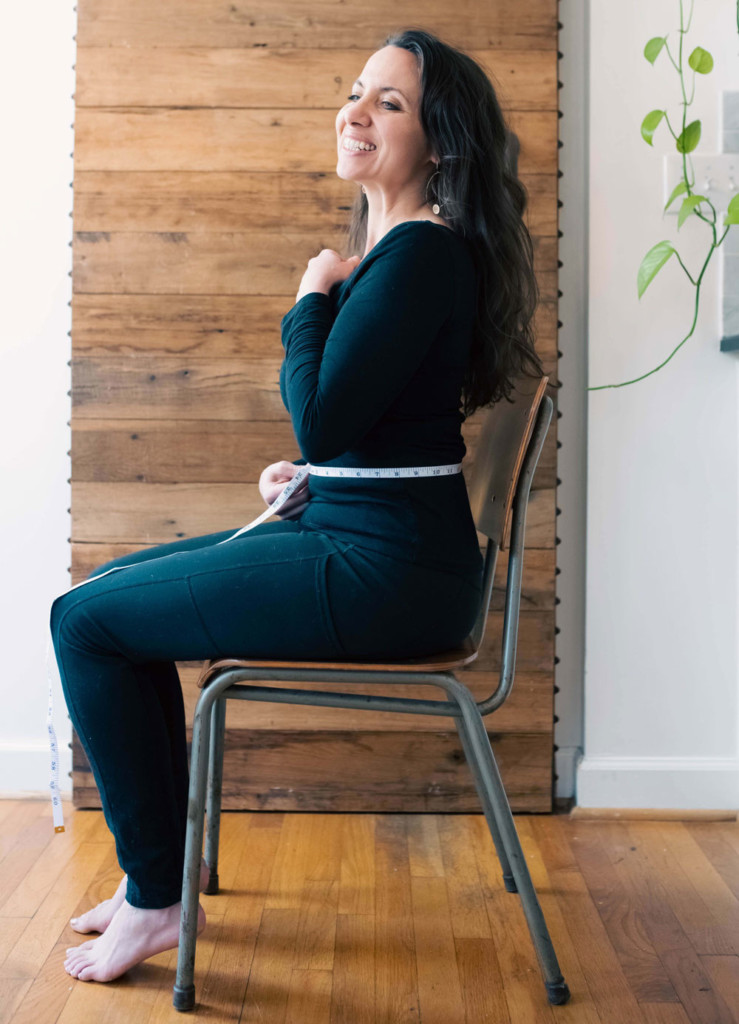
The size charts are on page 3 of the PDF instructions. In the above photo, you can see that I wrote the date by my measurements, and made a few notes to myself. I want to be able to look back and see when and why I chose the size that I did, and where that fits in the finished size range. For this sew-along, I’ll be sewing a size 10, with added length.
Everyone has a preferred method when beginning to use a pattern – you can either have it printed at a printshop and work directly with that print, trace your size off of that print and work with that, print at home and trace off that, or print at home and cut your size directly from your taped pattern. I recommend that whatever you choose, you maintain the ability to work backwards. If you run into a problem, or want to re-make the pattern in another way, being able to refer to the original is important. I’m working with a print-shop print, and I can re-print the file when I would like to, so I’m comfortable cutting the print that I have.
I am adding 14” to my skirt length. To lengthen or shorten the Estuary skirt, lay out the Front and Back pieces in front of you. You’ll need some extra paper or pattern tissue available (the tissue that you see in the photo is examining table paper – I buy it by the roll at the local medical supply store), and a ruler, pencil, and some tape.
There is a lengthen/shorten line about ⅔ of the way down the skirt. Once you know the amount that you are lengthening or shortening, you can cut along this line. The photos below show three length changes: shortening approximately 2”, lengthening approximately 4”, and lengthening approximately 10”. One thing that each of these length changes has in common is that the grainline remains intact in each – it is made longer with the added length, but stays straight and in line with itself. This is crucial to a successful length adjustment!
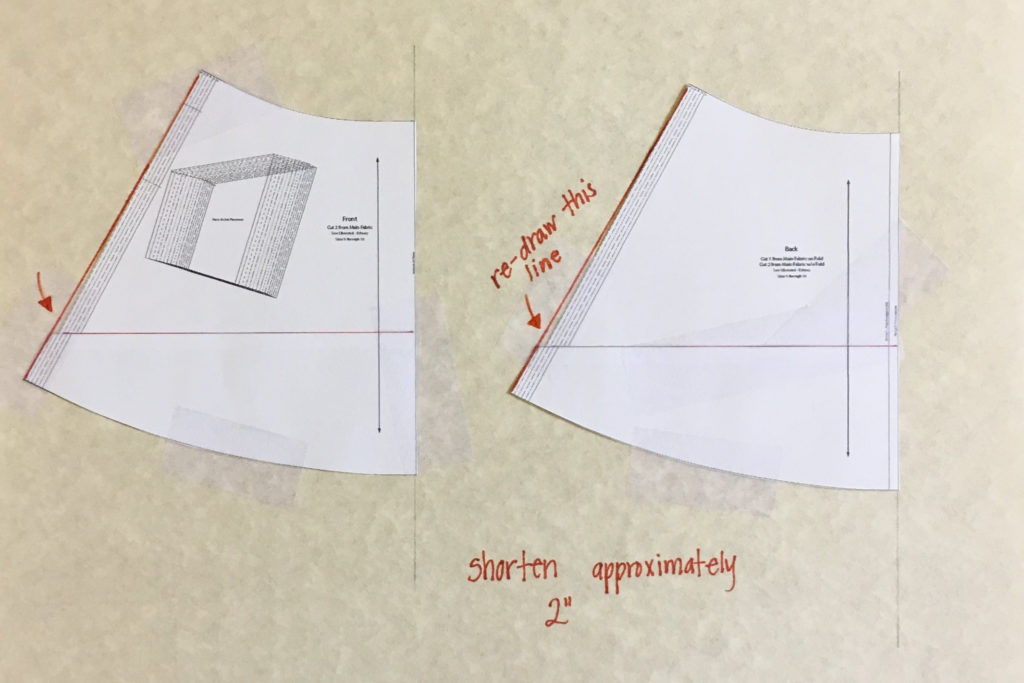
When the skirt is shortened, there’s a little area from the hem to the hip in the side seam that will need paper added. Re-draw a straight line from the original side seam on the lower portion of the skirt to join up to the waist point. Be sure that your adjustment is the same on the front and the back!
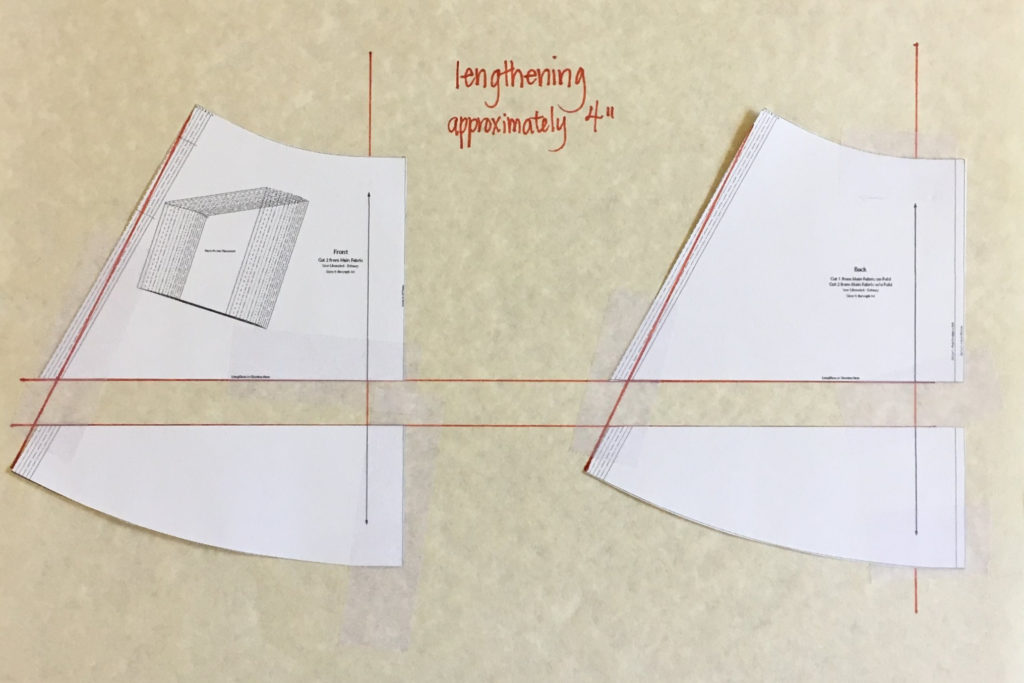
When the skirt is lengthened, you’ll be keeping the sweep of the hem intact, and re-drawing the side seams. Adding 2”, 4”, or more will work out just fine with a simple re-drawing of the line after you’ve added in the desired length.
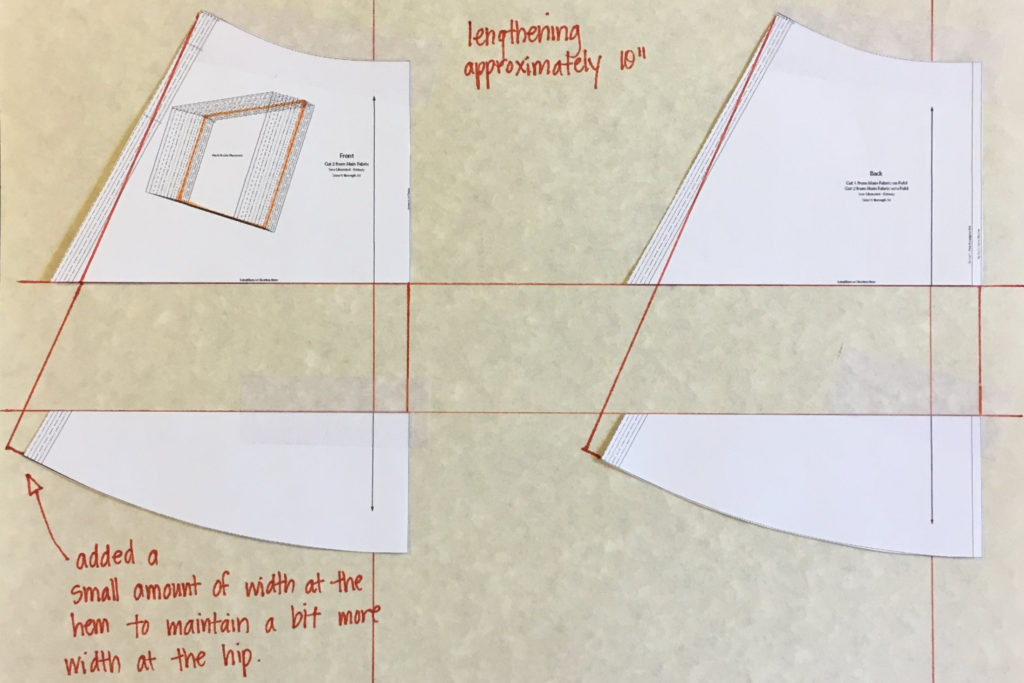
If you’re adding 10” or more, take a look at the drawing above. See how I’ve marked the pocket placement for my size? Since I’m lengthening the skirt so dramatically, I’m increasing the sweep slightly to maintain the pocket positioning. I added 2” (for a total of 8”) to the hem sweep at the side seams before re-drawing the side seams.
And one more very important thing to remember! If you lengthen or shorten your skirt, you MUST lengthen or shorten your Placket pieces by the same amount as well!
Cutting out your fabric:
Once you’re settled on your size and length, and your pattern is all ready, you can dive into cutting. Refer to the sketches on p 4 of the instructions for an efficient way to lay out your pieces. Lay out your fabric carefully, making sure that the grainline is straight, and the fabric is laid smoothly on your cutting surface. Pay close attention to the grainlines on the pattern pieces, and use a tape measure or ruler to ensure that the arrows of the grainlines are the same distance from the edge of your fabric.
Page 5 of the instructions details how many of which piece is needed for each view, as well as the interfacing and elastic instructions.
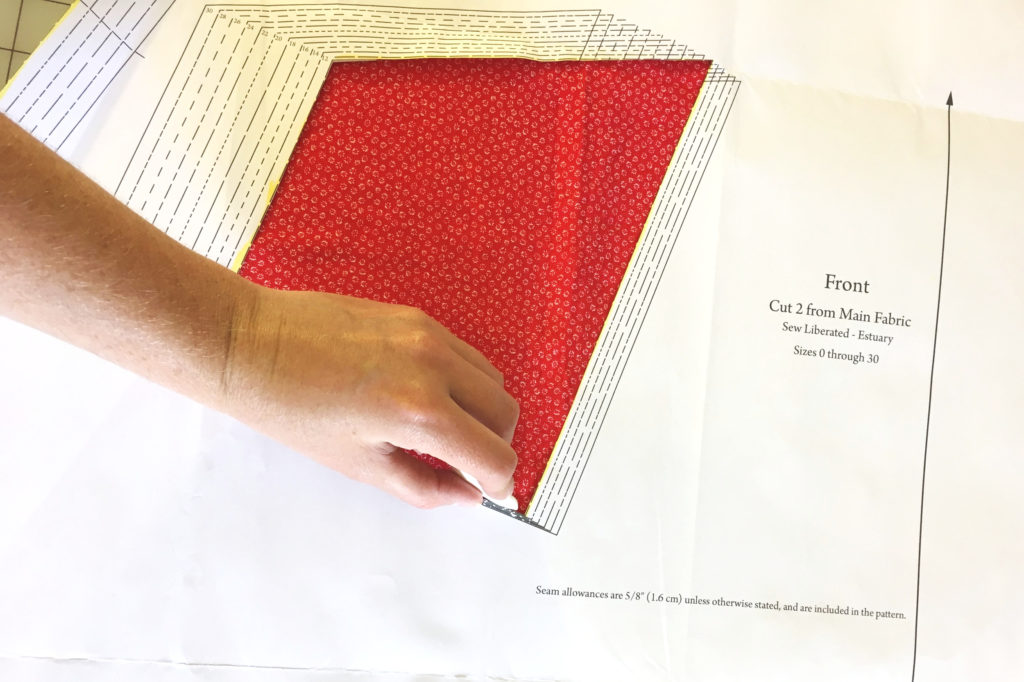
As you cut out each piece, transfer the markings to your fabric. Notches can be a small (¼” (6mm)) cut into the seam allowance, and the patch pocket placement can be marked in a few ways. You can use tailor’s tacks (markings made with a small stitch of thread), punch holes and use chalk or a disappearing marker, or even cut out a window where the pocket placement is, and trace the lines with chalk or a disappearing marker, as shown below.
When working with a solid color fabric, it can be difficult to distinguish between the right and wrong sides of the fabric. It’s a good idea to mark the right sides of the fabric in some manner, either with a small piece of masking tape, or a chalk or disappearing marker.
Interfacing:
- Apply interfacing to the wrong side of each front waistband piece, and to the wrong side of one of the placket pieces. If you’re new to using fusible interfacing, here’s how you tell which side will stick: you can feel the tiny dots of heat-activated adhesive on the side that will stick. Make sure that you have the adhesive side towards your fabric, and not towards your iron or ironing board! I can tell you from experience, it takes a bit of work to clean up mis-placed fusible interfacing.
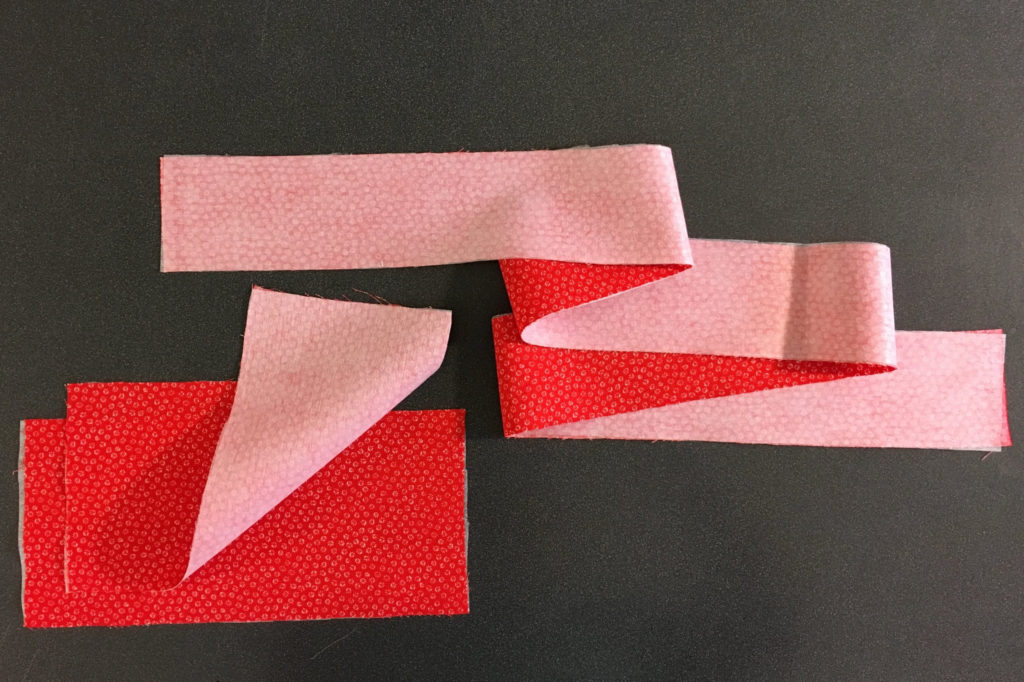
When you apply the interfacing, lay your fabric right side down on the ironing board. Make sure that it’s smooth, even give it a quick pass with the iron, to make sure that you don’t permanently iron wrinkle into it with the adhesive. Place the interfacing piece over the fabric with the ADHESIVE SIDE against the WRONG SIDE of the fabric. Press in place – don’t rub the iron around! Press, lift to move the iron, and place down again. If you rub the iron around while the glue is heated and in the process of adhering, you have a high likelihood of adhering wrinkles into your piece.
Most interfacing take 6-10 seconds to melt and stick. You can double check by feeling for the glue dots. If you can’t feel any bumps, the glue is melted and you can move on. Let the piece cool before you move it.
If you are sewing a faux-button placket, you can omit the placket interfacing. You’ll be skipping the buttonholes, so you really don’t need the interfacing in the placket.
Finishing edges:
Before we get too deep into our sewing, finishing edges keeps the pieces neat and tidy, and provides strength to any edges that won’t be clean-finished. For View A, serge, zig zag, or tricot stitch the CB (center back) seam allowances, if you have a CB seam. For View B, finish the CB seam allowances, side seam allowances, and around each entire in-seam pocket piece. Press any newly finished edges.
On Day 2 of the sew-along, we’ll be assembling the pockets – the bread and butter of the Estuary Skirt. Click here for Day 2!


Hello, thanks for this tutorial, I’ve just started sewing. For view A do I need to finish the other edges on the skirt pieces of just the CB. Thanks!
Hi Chantelle! That’s a great question – in View A, the side edges of the skirt get finished during the seam process, so you’d just be finishing the CB edges at this point.
How much stretch does the elastic backing add to the skirt’s final waist measurement?
Hi Alicia!
I can’t give you an exact percentage of stretch, since it depends on your elastic choice. A firmer elastic will have a lower percentage of stretch than a soft elastic. If you’re looking to fine-tune the elastic measurement, you can do that during the elastic application. See day 5 of the sew along for more details on that here: https://sewliberated.com/tutorial/estuary-skirt-sew-along-day-5-applying-the-waistband
I’m finding the instructions and photos for the placket really confusing and unclear. Can you link me to a good youtube tutorial? I can’t seem to find one that shows a similar placket.
I found it confusing too. This video seems to be similar to what we need to do. Sewing my pkacket today.
*placket
This skirt is so pretty, but the instructions are confusing / not clear / insufficient. For example, how much is the seam allowance on the waistband? And how much is the seam allowance on the right side of the placket?
I highly recommend a video sew along 🙂
Hello! The seam allowances are 5/8", unless stated otherwise in a specific step. There are detailed steps showing the waistband and placket steps in days 3, 4, and 5 of the Sew-Along.
Hi, I didn’t adjust the pattern to be shorter, but I think I may want to hem it one inch shorter. Can I fold 1/2 an inch and another 1/2 inch instead of 1/4 and 1/4?
Anyone else perceiving an error in the layout for the 54"-wide fabric (sizes 0-8)? Looking at the two front pieces, it looks like they are identical rather than proper mirror images of each other–one should be reversed
Thanks for this question, Sassafras – we’re looking into it! You’re welcome to send an email to support@sewliberated.com if you have further questions.
Warmly,
Judith
Hi, I am a little confused why the interfacing is not mentioned in the notions or supplies. Then all of a sudden in the instructions it says to apply interfacing. This seems like a confusing oversight. Am I missing something?
Thanks for letting us know that this was missing in several places. We are fixing that now!
Hello! I’ve just begun this skirt and am still quite confused about the lengthening/shortening process. I have a feeling I will want it shorter at the end — couldn’t I just hem the bottom seam up a couple inches if so? But for future iterations, and wanting to go shorter, it looks like we are supposed to make the skirt pieces a bit wider using the line, but I’m not understanding how you get to that place! Is there a video of this aspect? Thank you!! Excited to dive in! 🙂
Hello! I am a newbie and have been covering the Estuary Skirt for a long time! I find that one of my challenges is determining best fabrics. Do you think a lighter weight flannel would work for the Estuary? Thanks!!
Hi Keely! Without knowing the weight of the flannel, it’s hard to say for sure. I do know that some people that chose to use bulkier fabrics found that sizing down a size or two helped, since the elastic waist had less fabric that needed to be gathered so the elastic didn’t have to work too hard. If you have enough fabric to make a little sample, I’d try checking how well the flannel gathers with your chosen elastic. Making a little sample is a great way to try out ideas and stitch settings! I’d also try doing the topstitching on the waistband with a 3mm zig zag instead of a straight stitch, to allow for the bulkier fabric.
Happy sewing!
I can’t find size charts for any of the patterns before I buy them. I like to have some idea of fitting issues before I spend money on a pattern. Can you direct me to size charts
Thanks for reaching out Karey! Yes, on each pattern page in the shop, you will find a tab labeled “Sizing Charts”, which has that information. We typically also have a tab labeled “Fitting”, with finished measurements and notes on fitting. I hope that helps!
Hello, I am wondering if we should cut based upon our hip or waist measurements? Should I cut for my hip but cut my elastic for my waist size to bring it in?
Yes, exactly! Shortening the elastic is a super way to blend sizes.
There is more than enough ease in the hip to accommodate quite a large difference, though, so IF you have a three or more size spread between your measurements, I’d suggest choosing the size at the halfway mark, so that the elastic isn’t stretched too much inside the casing.
I am a total beginner and have had this pattern cut out ready to sew for two years, I just can’t get my head around it. It says to zig zag CB seam but what does that mean or look like? Its so hard to understand with nothing to go on.
Great question 🙂 If your Back piece fit onto your fabric and you were able to cut it on the fold, you can skip that instruction altogether! If not, you’re zig-zagging the seam allowances “finishing the edges” so that they do not fray in the wash/with wear. This means that you’re sewing a zig zag stitch along the raw edge of the fabric, on one layer only, to keep the fabric stable and avoid fraying. If you’re making View B, you’re doing the same thing around the pocket edges and side seams, for the same reason. Then, in step 14, you’ll sew your CB seam.