Estuary Skirt Sew-Along Day 6: Buttons and Buttonholes
If you’re making a faux-button placket, skip these buttonhole instructions!
Please note the tip in the instructions – if you have hips in a larger size compared to your waist measurement, consider sewing functioning buttonholes instead of a faux placket. This will put less stress on the elastic and seams, which can occur from pulling a tighter waistband up and over your hips.
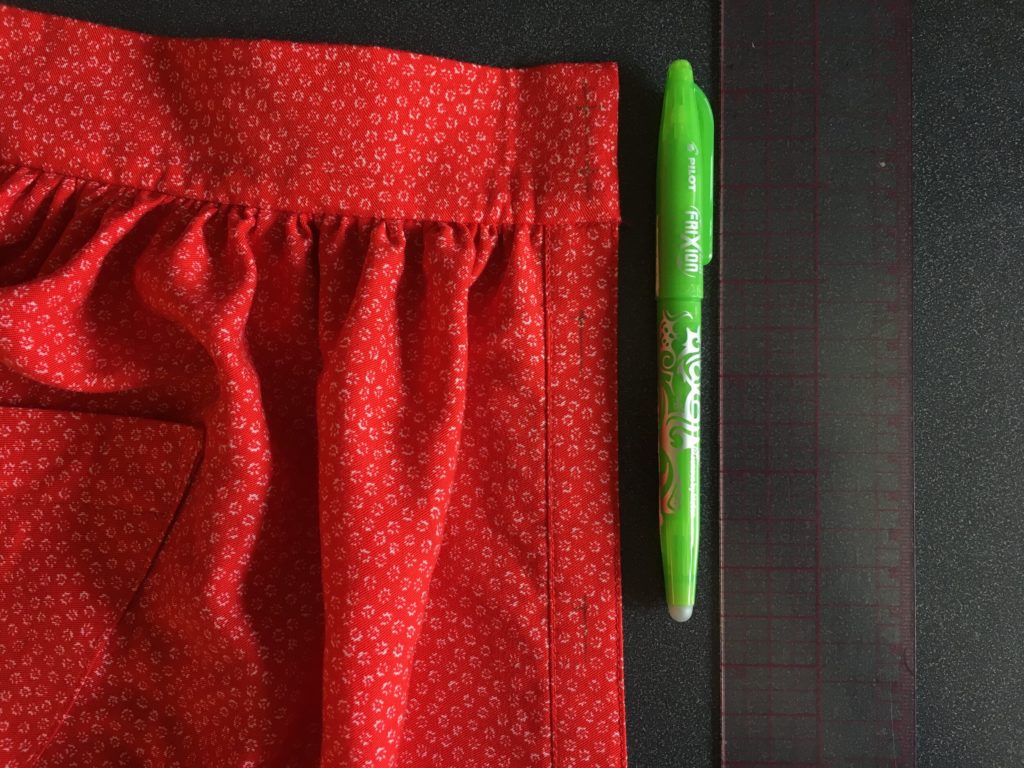
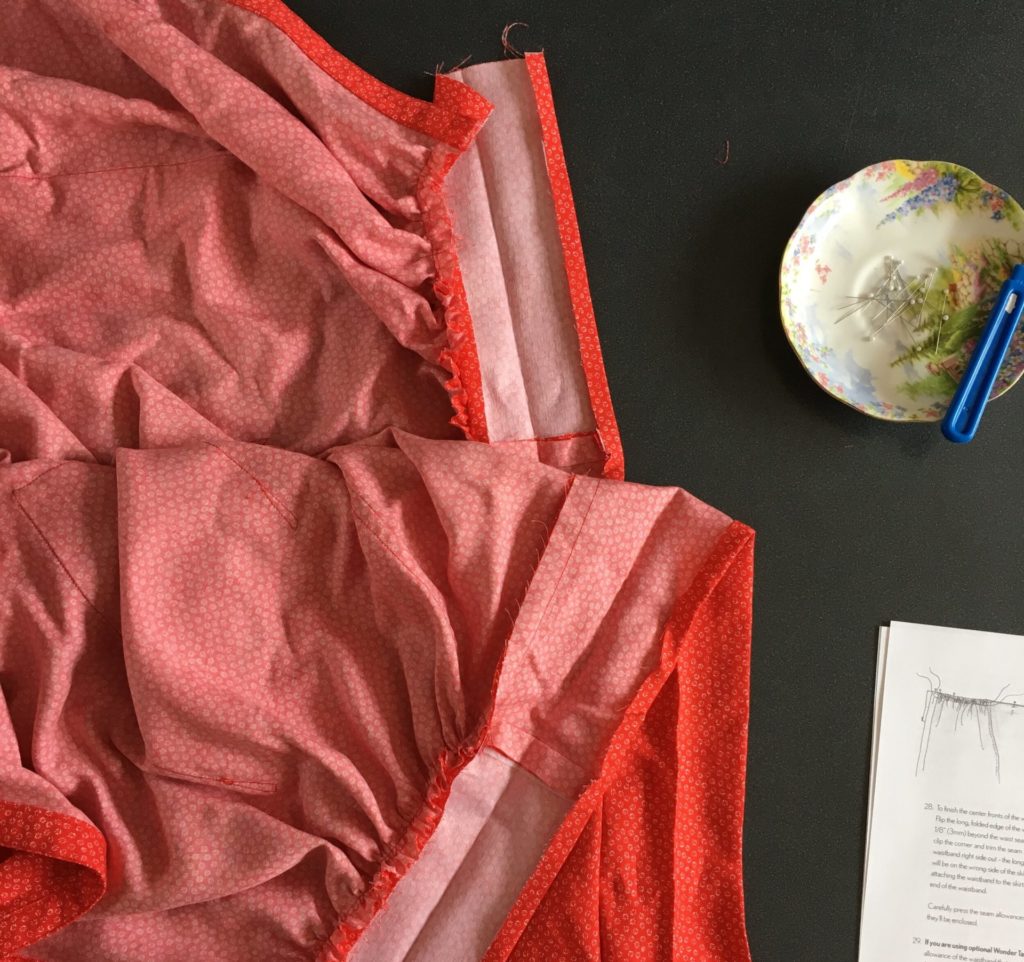
You will be sewing vertical buttonholes to the left Skirt Placket, as seen with the skirt laid flat on a table. If you’re using ¾” buttons, you’ll also be sewing 1 horizontal buttonhole on the left Waistband. If you’re using ⅝” buttons, you’ll be sewing 2 horizontal buttonholes on the waistband. Lay your buttons out on the skirt to decide how many you’d like to use on the placket, and mark their positions carefully.
I’m using ⅝” buttons, so I have two horizontal buttonholes on the waistband.
Using your machine’s specific directions for making buttonholes, GO AT IT. Buttonholes can be intimidating, but search for a YouTube video demonstrating how your sewing machine does buttonholes, and you’ll soon find that you have a new sewing superpower. If you don’t have a buttonhole foot, that’s ok, too. Just search “sewing buttonholes without a buttonhole foot” and you’ll find your way. That said, it is very important to practice your buttonholes on scrap fabric before you begin on your placket. Try to approximate the same thickness as the actual placket by using a scrap of interfacing sandwiched between two layers of fabric.
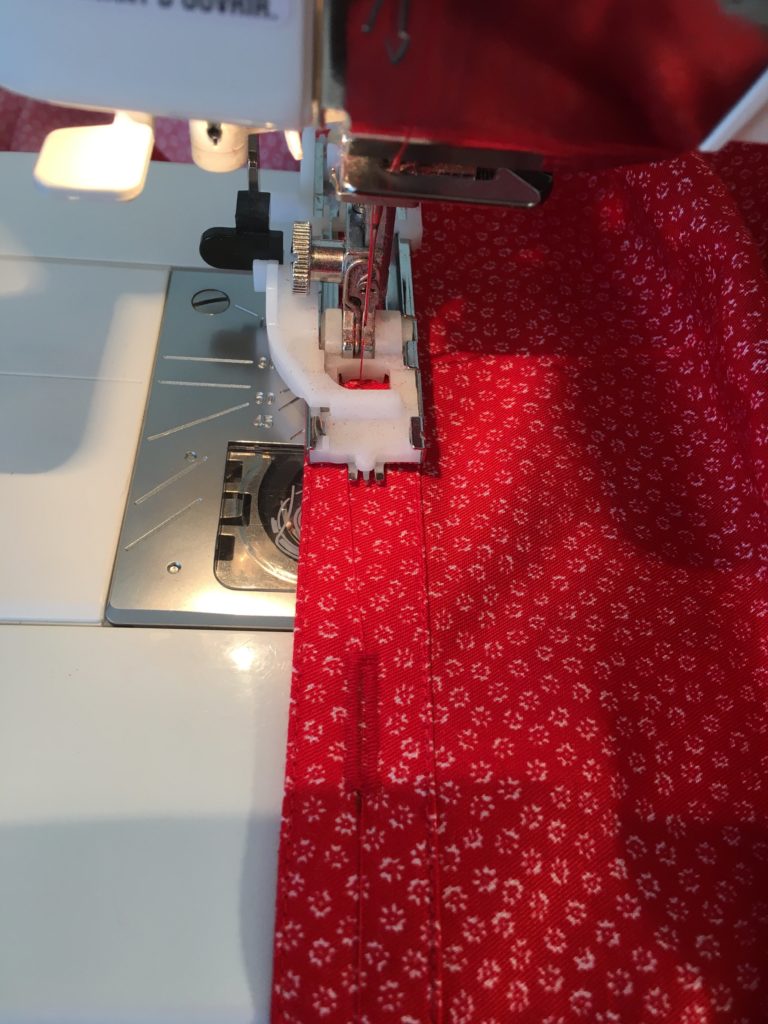
As you’re practicing your buttonholes, pay attention to where they start and end on your machine. My machine has an automatic buttonhole attachment, and in order to lay out the buttonholes accurately, I had the entire skirt behind the machine, and just the CF edge of the waistband facing me as I sewed the buttonholes. Then I marked the top only of each vertical buttonhole, since the machine automatically sets the length. There are markings on the buttonhole foot with which to line up the markings on my fabric.
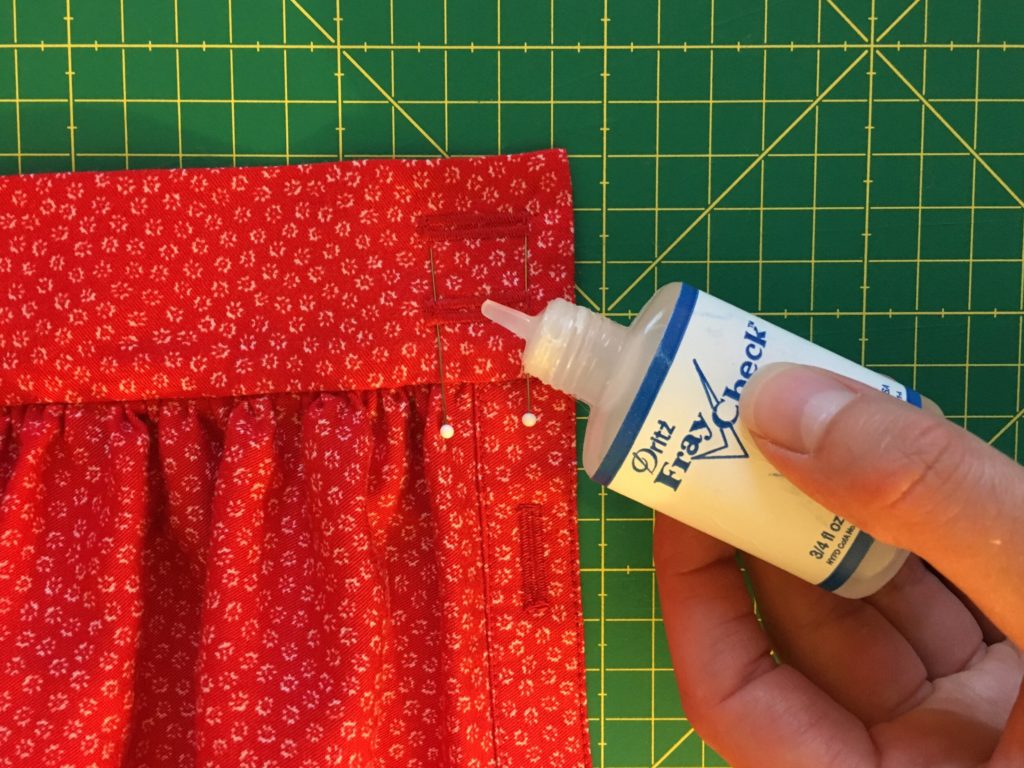
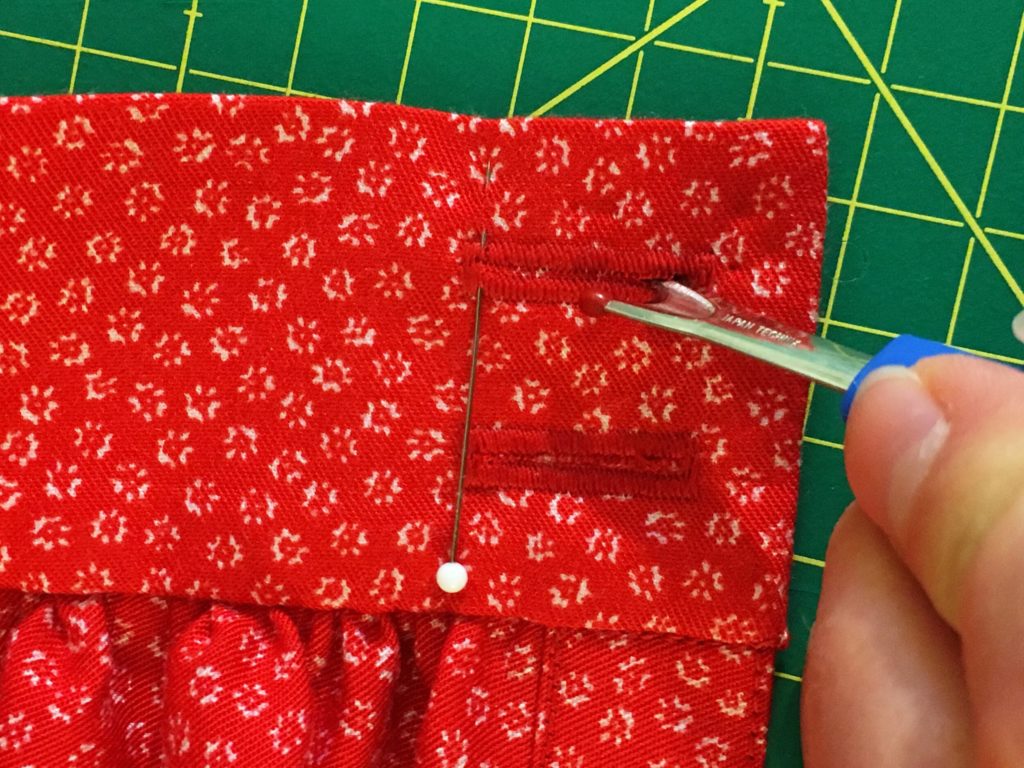
Carefully cut open your buttonholes using a buttonhole cutter, then apply Fray Check to the cut edges to keep them from unraveling.
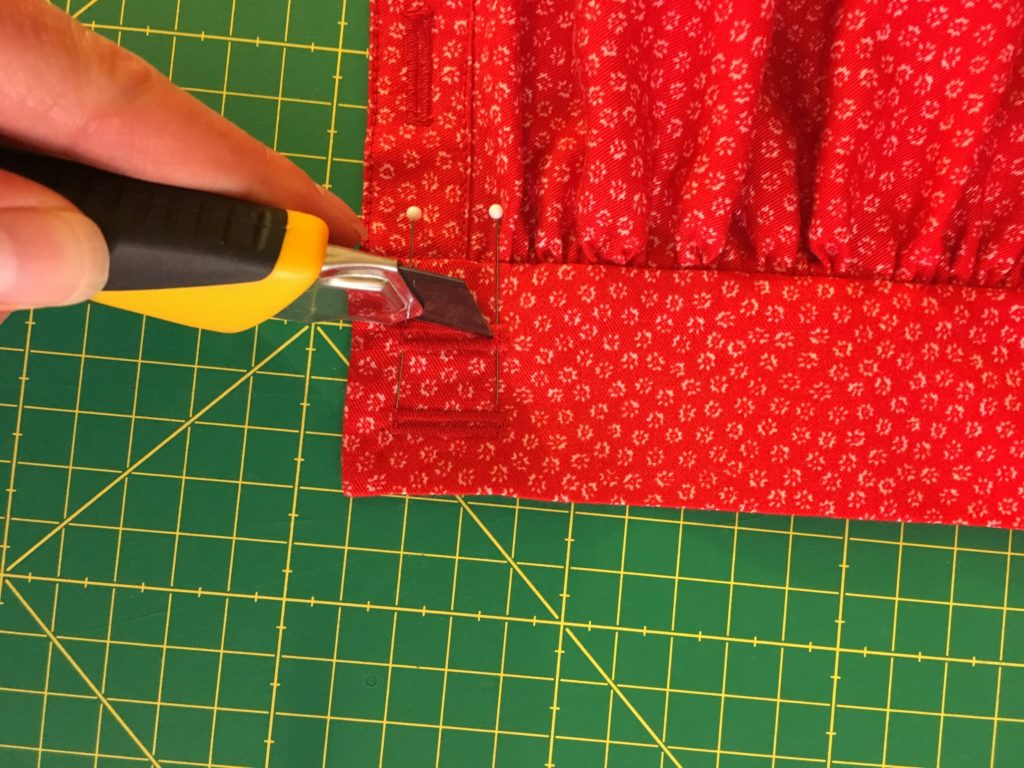

If you don’t have a buttonhole cutter, you can try using a knife on a cutting mat (very, very carefully, and avoiding cutting the ends of the buttonhole), or putting pins through the ends of the buttonhole and using a seam ripper. The pins will prevent the seam ripper from going too far. Whatever method you use, be very careful! Your fabric is stabilized with interfacing and stitching, so it’s strong, and nobody wants a sharp edge accidentally shooting into their hand!
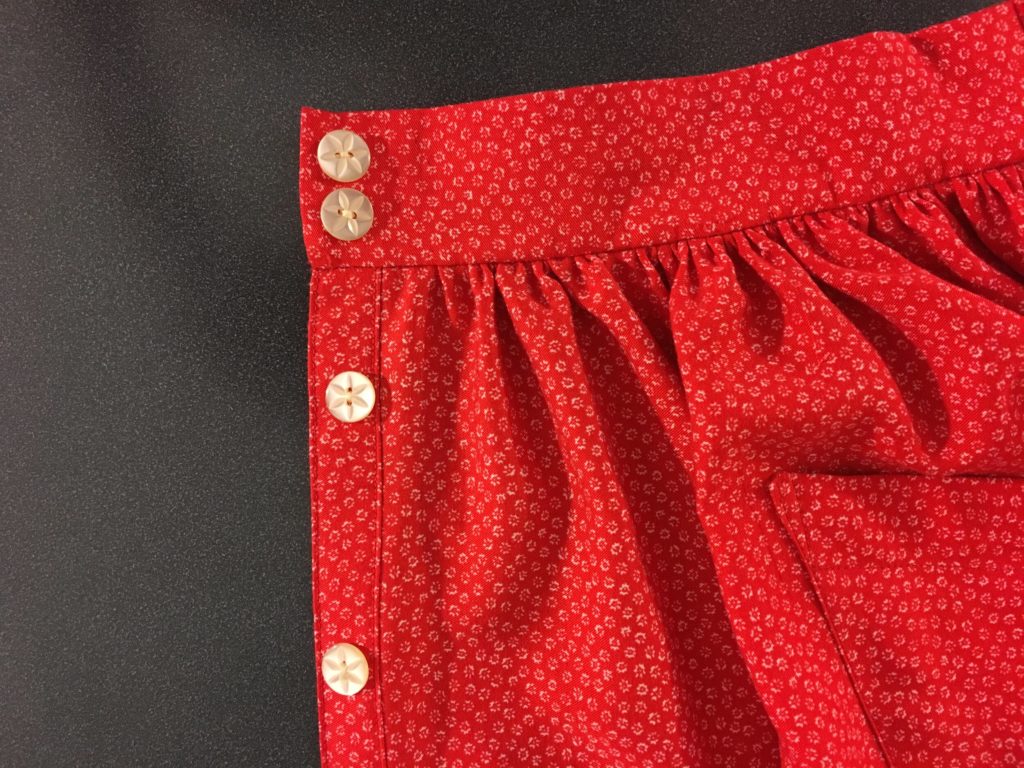
Using your buttonholes as guides, mark the placement for each corresponding button on the right placket. Sew on the buttons securely.
2. For a faux-button placket, pin the left placket (with the skirt laid out flat in front of you, facing you) over the right placket, and pin the waistband overlap in place. Stitch in the ditch right under the waistband across the plackets through all of the layers to secure them. Now lay out your buttons on the skirt front, and space them evenly. Make sure that the plackets are still pinned together before you line up the buttons, so they don’t shift before they are secured together. Sew the buttons securely in place on the waistband and down the placket through all the layers, using the button stitching to secure the plackets and waistband into place.
3. Last step – hemming! You’re almost there! Especially if you adjusted the length of your skirt, but this is a good practice anyway, put on the skirt and check that the hem is hanging evenly. I ended up taking a full ¾” off of the front of my skirt, and tapering it to nothing at the sides. Sometimes the fabric has grown as you’ve sewn, sometimes the bias sections of the fabric have relaxed, and sometimes the pitch of your waist or hip will make you want to make adjustments. In my case, my waist tips slightly forward, so I needed to take a bit off of the front hem to balance the skirt. Flat on the table, the skirt looks a tiny bit short in the front, but that’s okay, since my table isn’t wearing the skirt!
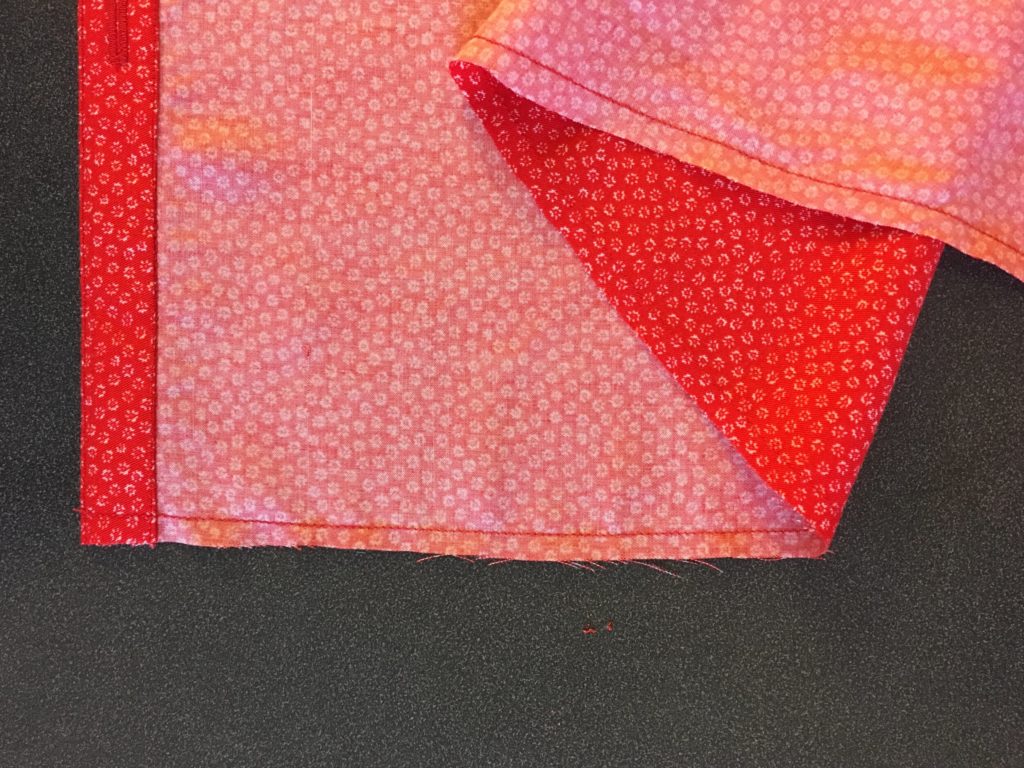
To make the narrow hem, sew a line of stitching ¼” from the raw bottom edge of the skirt, including over the plackets.
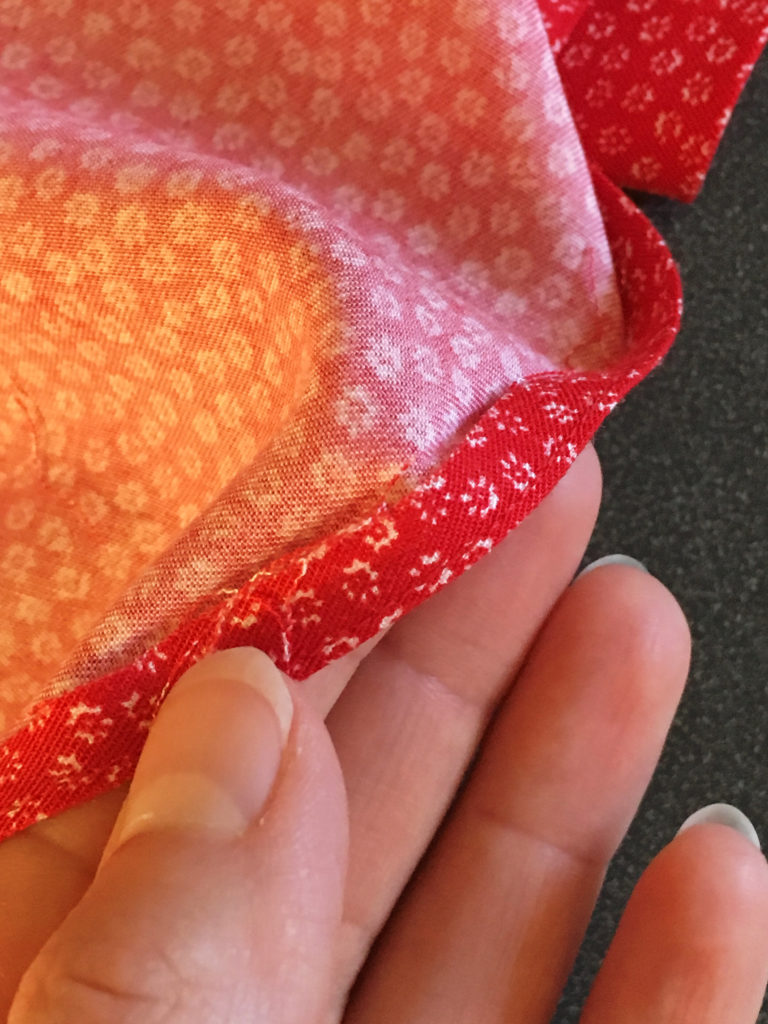
Using this line of stitching as a guide, fold under ¼” to the wrong side and press.
It might seem like an extra step to do this line of stitching, but it will save you a lot of time fiddling around with a hemming gauge. The line of stitching makes the fabric almost magically want to turn exactly where it is, and you have a guide that won’t iron away as you go.
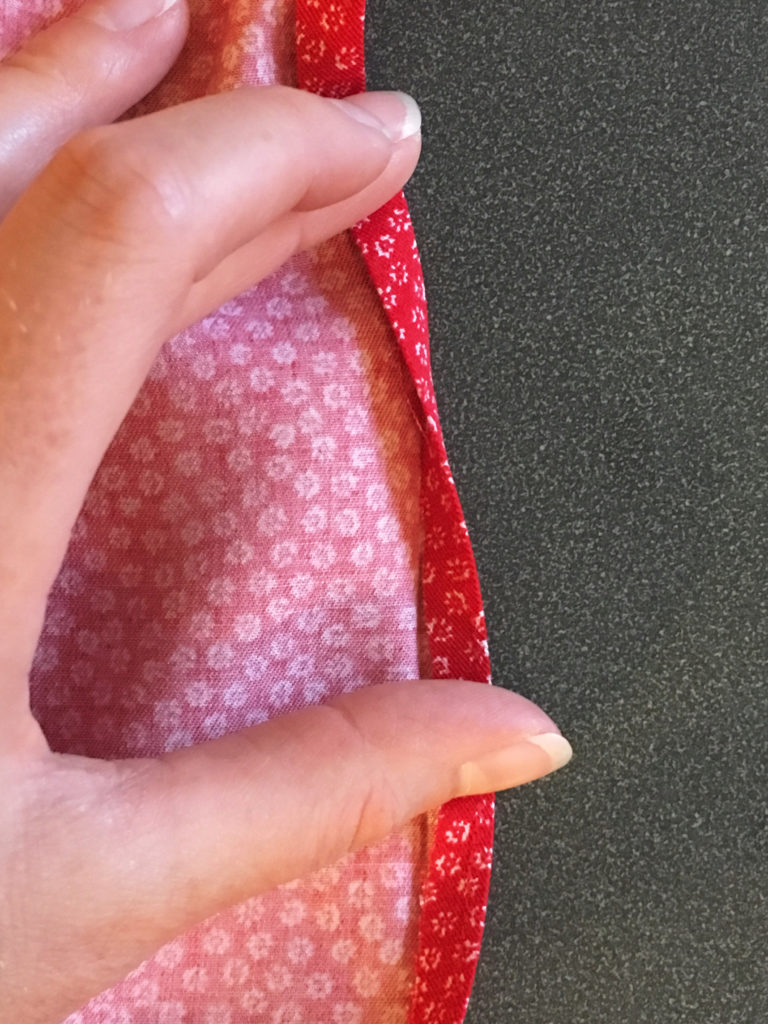
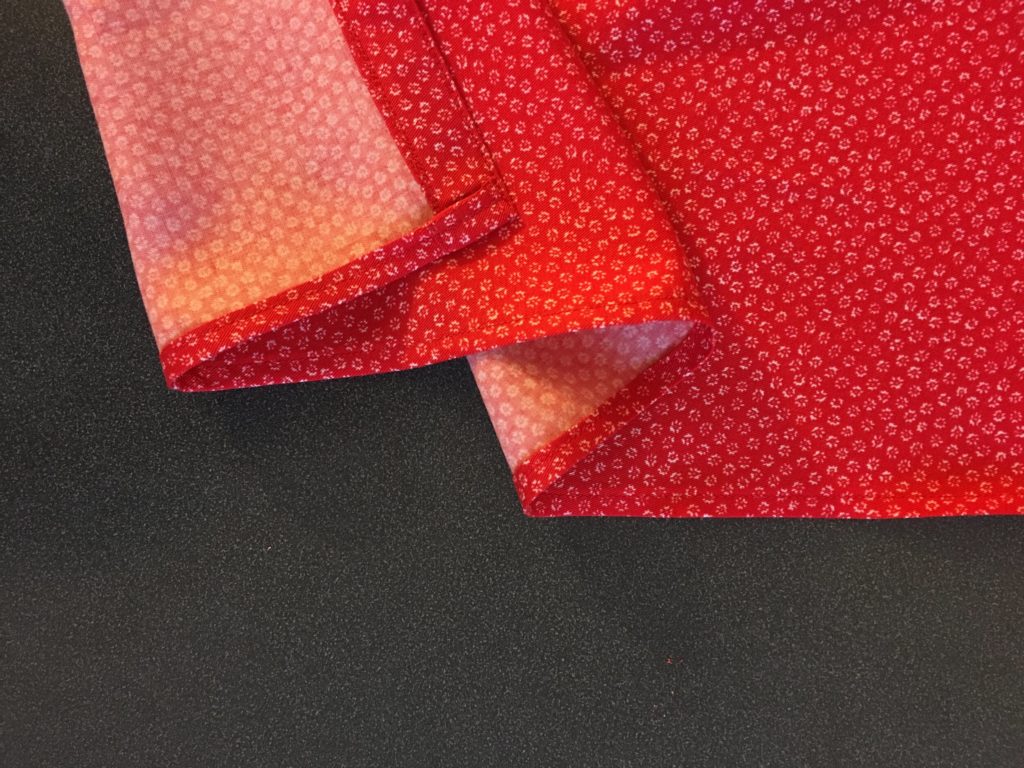
Fold under ¼” again, and press. Pin in place and edgestitch around the entire hem. This is another place where your edge stitching foot comes in handy! I prefer to sew this hem from the right side, to make sure that it looks even from the right side. The feed dogs also keep the hem allowance in check as I sew.
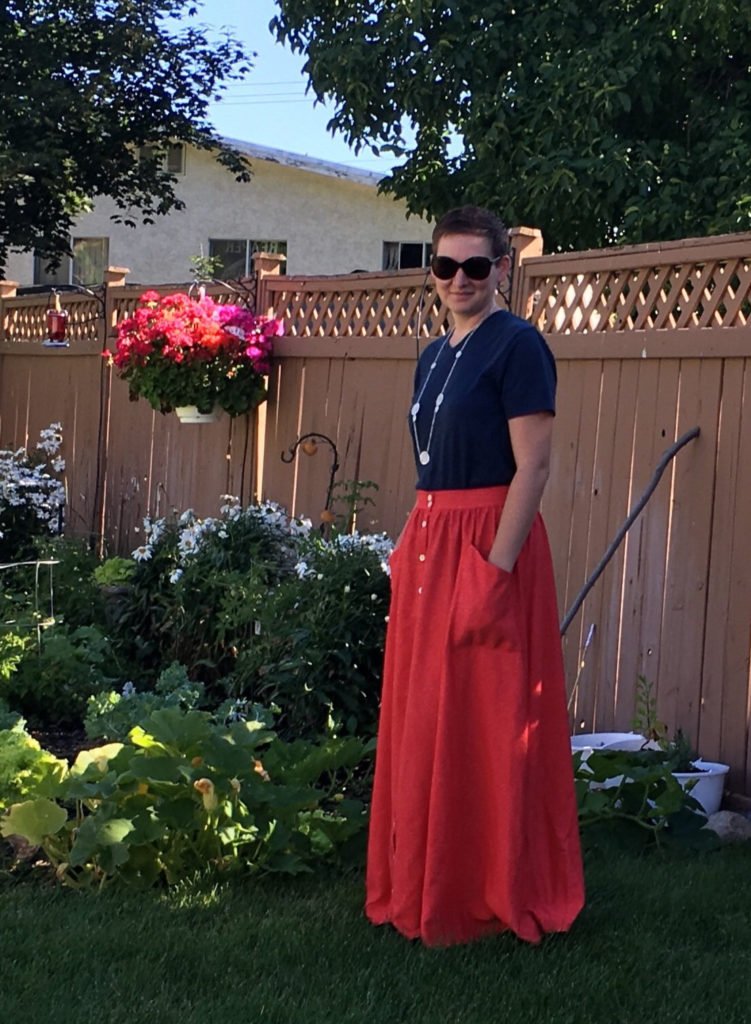
Give your skirt a final press, put it on and do a happy dance!


Hiya!
Button holes are my mortal enemy. I’m excited to try to the faux placket. Can this same process be used on the Hinterland Dress? What would you change to make the full length faux button placket on the dress?
Hi Jennifer! Yes, you absolutely could use this faux placket technique on the Hinterland dress. Since the dress has a wide enough neckline and enough ease at the waist, it can be pulled over your head instead of buttoned up, so you can simple sew the buttons through both layers of placket to secure the dress closed. You will want to do this securely, to make sure the placket stays in place 🙂
Another buttonless option is snaps! There are a few kinds available, so you can just choose the kind that seem the simplest to you to apply.