How to get a professional finish when sewing knits at home
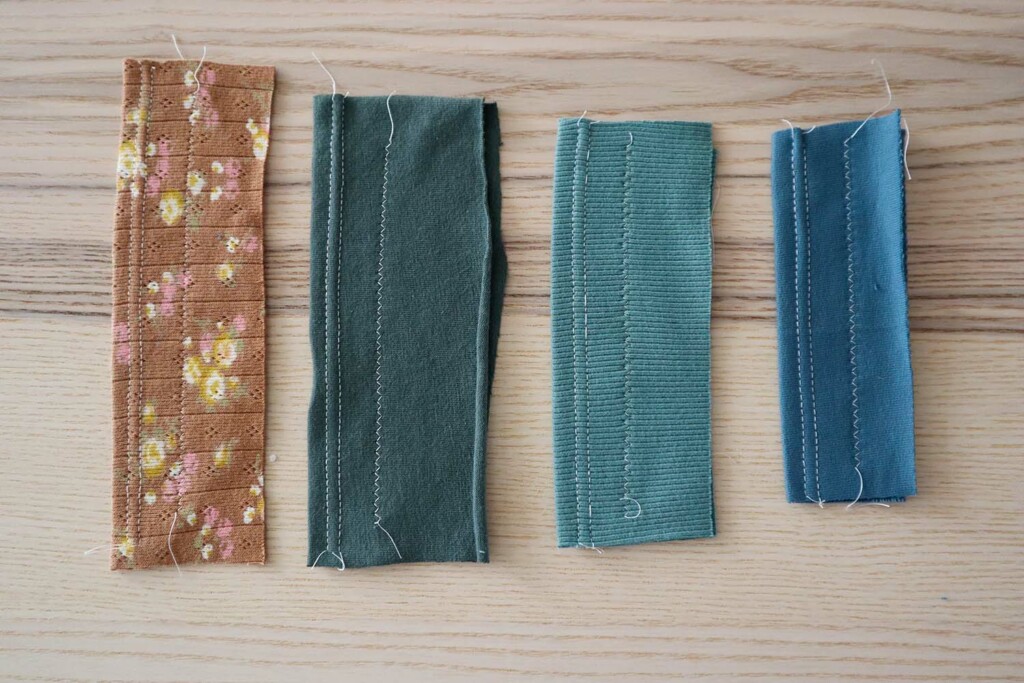
One of the most intimidating things about sewing knits is the finishing techniques. Well, at least for me. Maybe you, dear reader, have never feared your twin needle, but I have, and I am here to tell the tale, and to say, I am no longer afraid! And if you are afraid, that is okay too, because there are other options for finishing knits besides a twin needle. And there are some great notions for making finishing easier. So let’s start there.

Helpful Notions for Finishing Knits
The number one, not-so-secret, best way to improve your finishes is Heat&Bond Soft Stretch. This stuff is basically magic. Like wonder under, it is ironed on and helps a seam stay in place. But this version is made for stretchy fabrics, is wider, and washes away. Not only does it hold your hem in place without pins, it stabilizes the fabric, making it easier to keep your stitches even, whether you choose a twin needle or a zig-zag.
The next most important thing is making sure you have the right needle. I like a chrome ballpoint or stretch needle. Twin needles also come in regular and stretch so make sure you have the right one. I am not too proud to admit that when I first began sewing I had no idea that there were different needles for wovens and knits and I just sewed everything with my regular needle! How I have changed, and how my knit sewing has improved because of it!
And now let’s get into the minutiae of using a twin needle.
Use a Twin Needle
First of all, and this may be obvious to some of you, but it was not to me, a twin needle must be used from the right side of the fabric. I was very used to doing hems from the wrong side so that I could make sure I caught the fabric. But that won’t work with a twin needle, since the underside is a zig-zag. But fear not, there are a few solutions if you are nervous about catching the fabric.
The most beginner friendly is to first baste the hem in place. Then you can use those basting stitches as a guide, either above or in the center of your twin needle. Once you finish, simply remove them.
The other option is to measure your hem and use a seam allowance guide that is ⅛ inch less than your hem. For example, if I turn my hem up ¾ inch, I sew it with the bottom edge at a ⅝ inch seam allowance.
Make sure, when using a twin needle, to increase your stitch length. I prefer 3mm, but do a little experimenting on some scraps to see what you prefer and what works best with your fabric.
And lastly, I find it really difficult to get tension unless I have two spools of the same thread. While you can wind a bobbin and use that, which saves you some thread and a trip to the store, I find my twin needle finishes always look better (and require less cursing) when I have two spools of thread. When threading the twin needle take care not to twist your threads around each other. It is also worth referring to your machine manual as well, to make sure you are following the recommended instructions for using a twin needle.
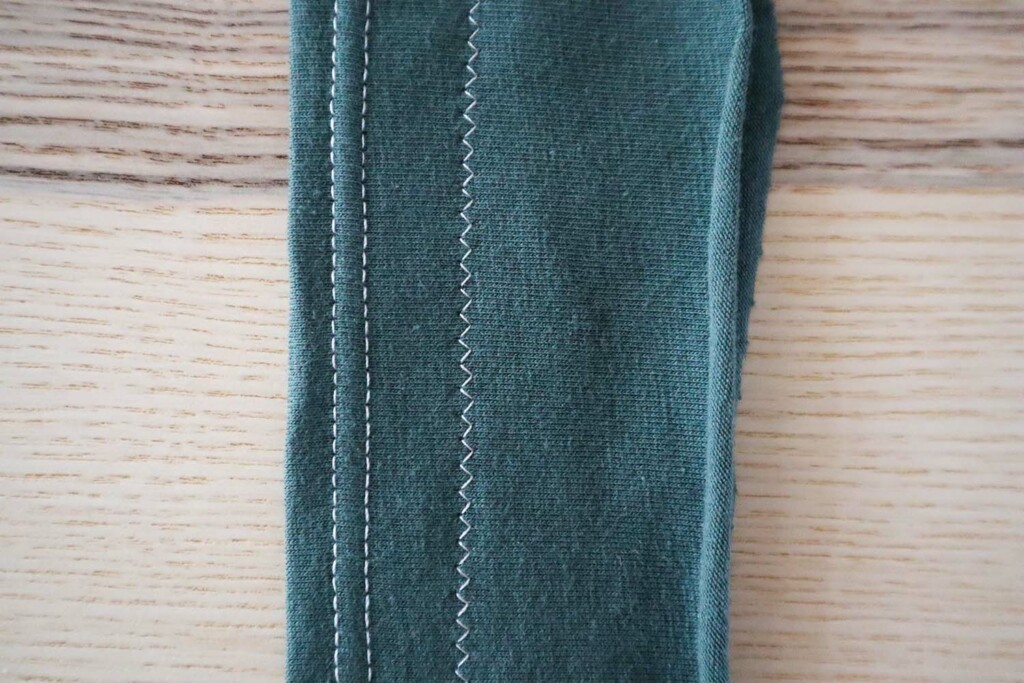
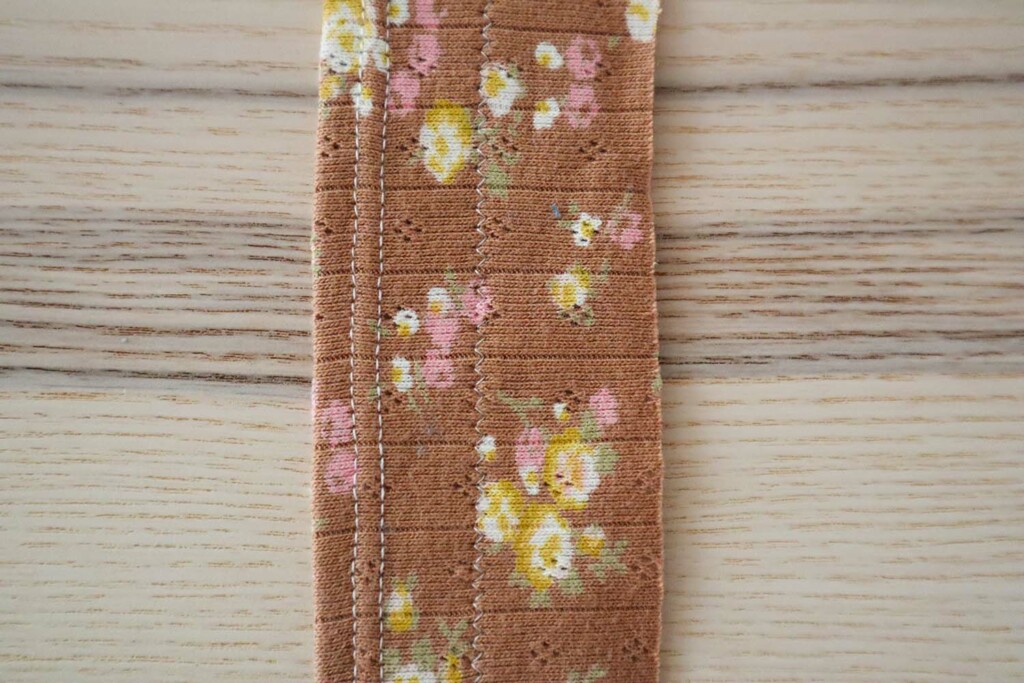
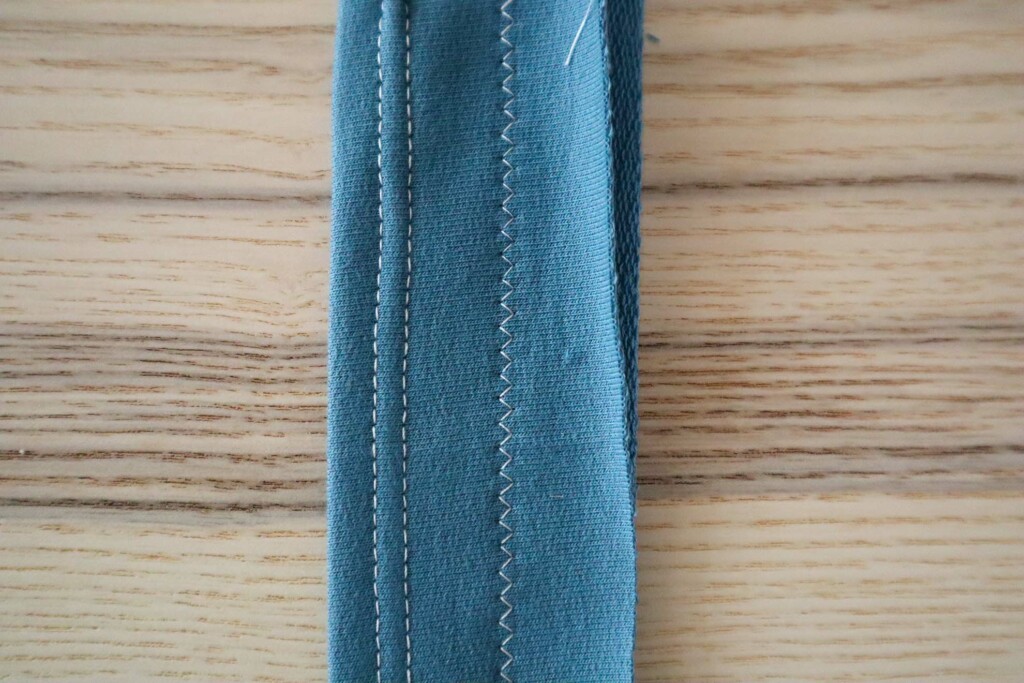

Zig-Zag
Twin needle not for you? Welcome to the world of the zig-zag stitch. You are probably familiar with this world. I will venture a guess you’ve spent some time here before. And if you haven’t that’s okay too. The zig-zag stitch is a versatile, weird, and beautiful little stitch. It is great for seaming, finishing, and hemming. You can adjust its width and its length.
One benefit of the zig-zag stitch is that it looks the same from the right or wrong side. So if you prefer to stitch from the inside, that is no problem. Another benefit is you only need one spool of thread. Nothing fancy is required.
Like with a twin needle, for a zig-zag stitch, you will want to experiment with length and width. It can really vary depending on what kind of fabric you are using, and which part of the garment you are finishing. This is when having a notebook comes in handy. Write down the length and width and fabric so that you remember them for the future.
If you are very new to knits, I think it is best to start with a zig-zag. It is just a bit easier to manage than a twin needle. That being said, there are no rules about how much experience you need, and if you have your heart set on a twin needle, give it a try!


I make LOTS of knit tops; I rarely buy any ready-made tops. I like long tunics and have several patterns I use over and over with different fabrics. I have used a double needle for sleeve and bottom hems, and it works great. However, it is a little fussy and time consuming to set it up. So I generally use a neat zig-zag stitch for all the seams and hems of my tops. I also use a one inch-wide soft iron-on tape I get on Amazon for the sleeve and bottom hems. It’s made for knits and stretches a little while it stabilizes the hems. I iron it onto the edge of the wrong side of the hem; then, all I have to do is fold it up one inch and press. It’s very easy because it almost just folds automatically at the one-inch mark. After pressing, I only need to pin it at long intervals before sewing it up. Plus, on knits, there is absolutely no need to finish the rough edges; they WILL NOT ravel. I love sewing knits because notions and techniques like this make it so easy!
I feel exactly the same way, Debi! All you need are a couple of notions and knits are a breeze to sew and so easy to wear! Tees might be my favorite thing to sew up, especially when I want a relaxing project.
I love the twin needle! Though sometimes I often get skipped stitches on the right hand stitch. Any pearls of wisdom why this might happen?
Hmm, there are a couple of possible causes. Most likely it has to do with the tension. Make sure you are threading the right side needle with the spool closest to you on your machine and make sure the two thread are on either side of the tension disc when you thread the machine. The other cause could be the fabric. You might want to try further increasing your stitch length and see if that helps. I often find that happens with sweatshirt fleece or french terry. Happy Sewing!
I love a zigzag finish on my knits. It is easy, looks good, it is unassuming and it isn’t trying to be something it is not. It gives my knits an edge that celebrates garments specially made for the wearer.
I agree. A zigzag is a great finish.
I use a twin needle for knit hems and my hems always fold up to the right side. Will using the Heat and Bond tape cure this issue?
I think it will help a lot. You may also want to aim for sewing closer to the hem’s upper part while still catching the fabric, if that makes sense.
I am relatively new to sewing knits. Even when using a zig zag stitch, I have trouble with the fabric getting stuck in the needle/throat plate (that covers the bobbin). Any suggestions? Will using the heatnbond tape help? Should I just take your knits course? 🙂
Hi Rachel! the heatnbond will definitely help. Try lengthening your stitch a little too. And we would love to have you in the knits course! It has some great tips and tricks for beginners and just provides great instruction and moral support.
How does a serger compare to zigzag and twin?
A serger for hemming is a little more specialized, since you need a serger capable of a coverstitch. On a serger, the two needles make the two lines of stitching visible on the right side, and the looper(s) make the flat loops visible on the wrong side. It’s the factory standard for hemming knits since it’s secure, efficient, and quick, but for home sewists, the machine is a financial and space commitment that isn’t always practical or feasible to make, especially when we have the options that Meredith has shared! If you’re an avid sewist of knits, and a coverstitch machine is within your space and financial considerations, it is pretty great, but most certainly not a necessity.
If you already have a 4-thread overlocker that does not have a coverstitch function, there might be one option that could still work, called a faux flat lock hem, using one needle with very loose tension, and two looper threads, resulting in a stitch that has tiny parallel lines on the right side, and a flat-ish serged finish on the wrong side. This one is fun, but takes some fiddling and practice to really get right. I’d suggest some internet searching for instructions, and some sampling before going for it on a project!