Lichen Duster Sew-Along Day 2: Interfacing, Finishing Facing Edges, and Staystitching
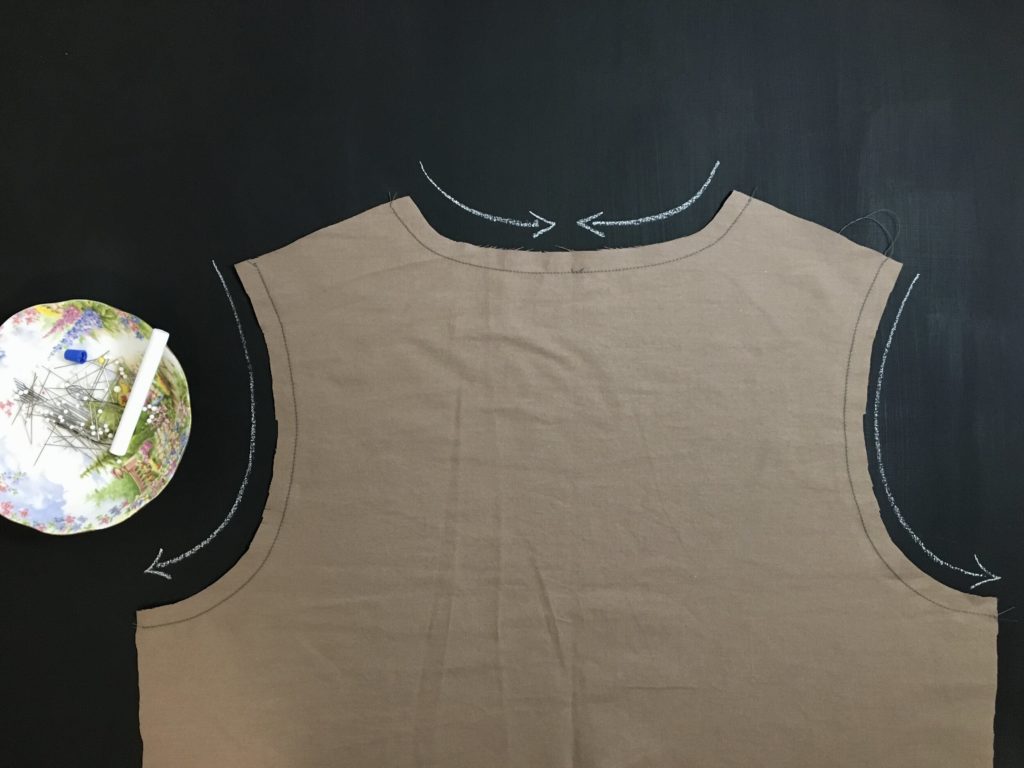

As you begin Day 2 of the Lichen Sew-Along, you will be at the Glossary of Seam Finishes (beginning on Page 8 of the instructions). The Lichen Duster has many opportunities where you can choose a seam finish based on the fabric that you’ve chosen and the area on which you are working. It’s a bit of a “choose your own adventure” of sewing! The glossary will help you make these decisions, give you specifics on the types of seam finishes as applied to this pattern, and allow you to make these choices based on your fabric, machine capabilities, and your desire to machine or hand stitch.
I know I’ve said it before, and I’ll say it again: read through the entire instructions before beginning! When you’re reading through the instructions before you start, you can refer to this glossary and start taking notes on your plan. If you need help deciding between two finishes, making a small sample is a great way to try them out.
Applying Interfacing
Refer back to page 3 of the instructions for the notes on fully interfacing or spot-interfacing, and apply your interfacing now. When you’re applying interfacing, try not to rub too vigorously with your iron. The adhesive on the interfacing is melting in the heat, and rubbing can push the interfacing around and make a mess. A press, lift, and re-position motion will give a better result.
(NOTE: in these sew-along photos, you’ll see a fully interfaced Front Facing and Back Facing).
To create tailor’s tacks on the drill marks of Fronts and Front Facings, you first need to locate the markings. You will have either spot-interfaced or fully interfaced these areas already on the Front Facings, so you can pin them back to the pattern piece to get the tailor’s tacks in place. It’s important to have the markings as you work, so a tailor’s tack is a nice reliable way of having these drill marks on all of your pieces. Chalk can be rubbed away too easily, and disappearing pen will probably be steamed away too soon!
With the two Fronts pinned to the pattern piece, thread a needle with a long double strand of contrasting thread and insert the needle right on the outside of the black circle. Holding the layers of fabric firmly to prevent shifting, draw the thread through until the tail is 2 or 3” (5-8 cm) long. Now bring the needle back up through the opposite edge of the black circle, creating a small stitch on the lower fabric, and making sure you still leave the 2-3” (5-8 cm) thread tail. Insert the needle into the side of the black circle again, and draw it through, this time creating a 2-3” (5-8 cm)loop. Bring the needle back up through the fabric and pattern, creating a small x on the lower fabric.
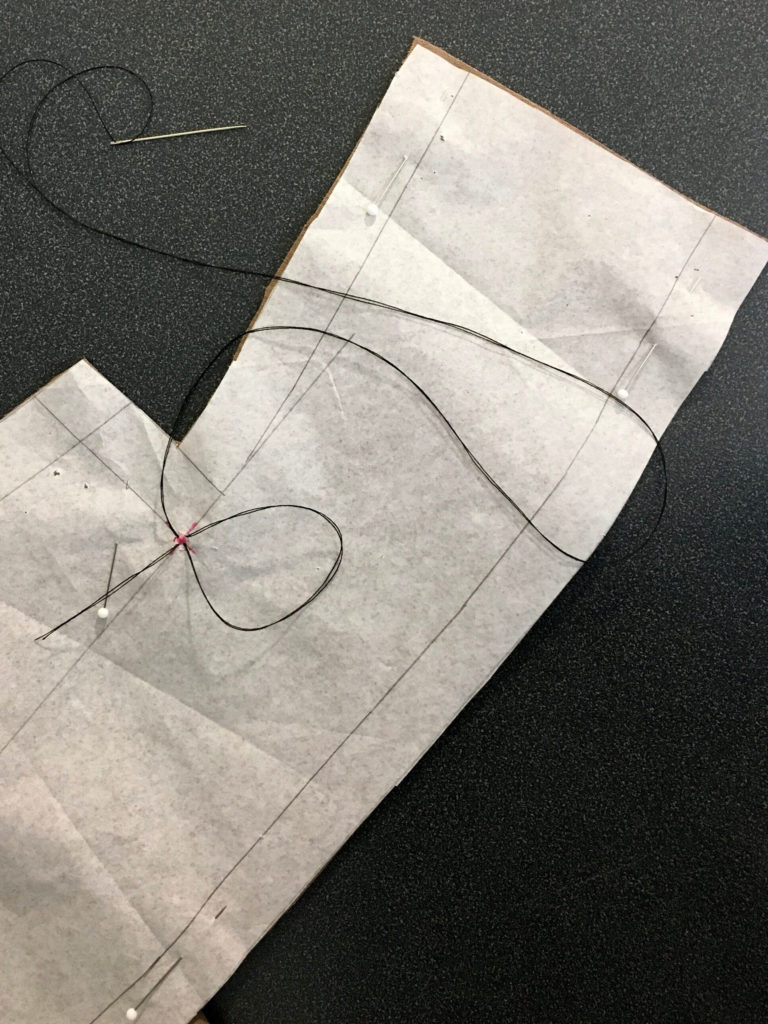
Cut the thread, leaving a 2-3” (5-8 cm) tail here as well. Set aside the needle and thread, and snip the loop that you created in its centre. Now unpin the pattern and carefully remove it, gently pulling the threads through the paper so that they stay in the fabric.
Pull apart the two layers of fabric carefully, until there is about 1 ½” (3.8 cm) of thread in between the layers of fabric. Snip right in the middle of this thread, so that there are thread tails in each layer of the fabric, marking exactly where the drill mark is.
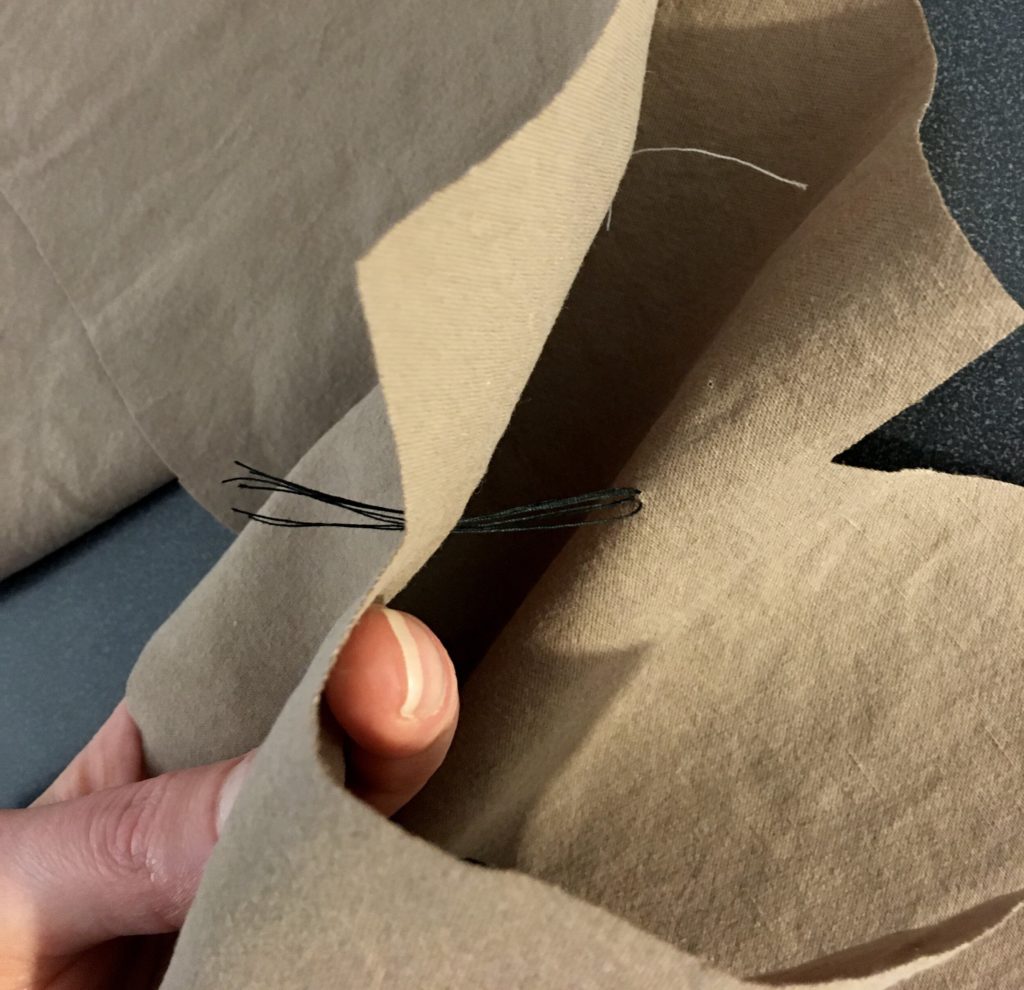
You’ll have tails and an x on one layer of fabric, and tails on each side of the other layer of fabric. Repeat this process of making tailor tacks for the drill marks on the front facings.
Finishing edges
The facing edges will be exposed on the finished garment. You can choose bias binding for an heirloom finish – either in a matching colour for subtlety, or in a complimenting or even contrasting colour. The long front seams and the vertical back seams are all candidates for the same bound edge finish, if you decide to go all-in with the seam binding!
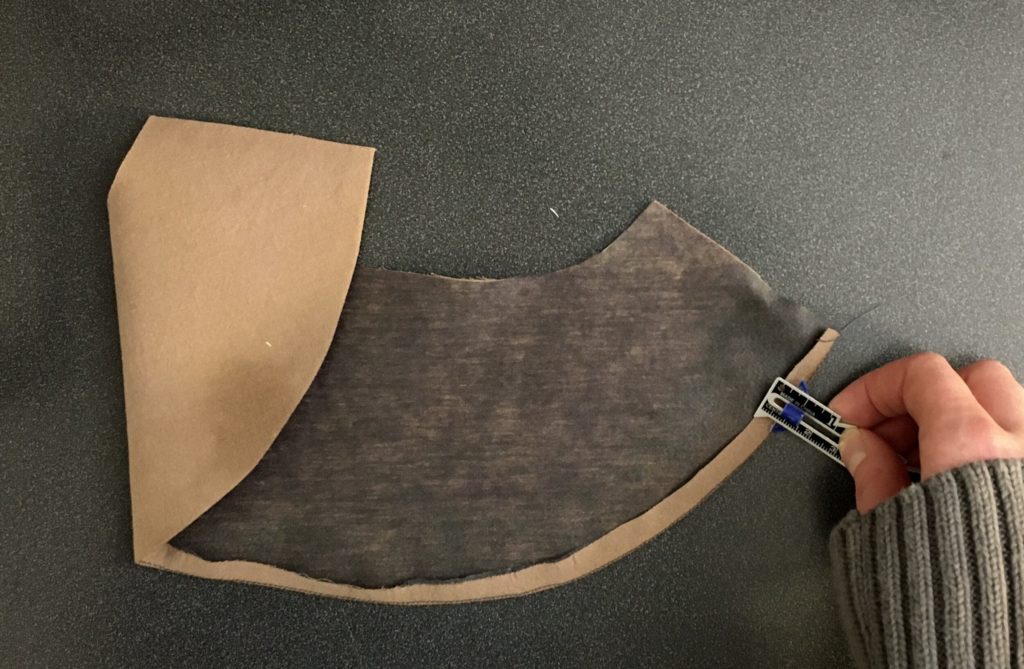
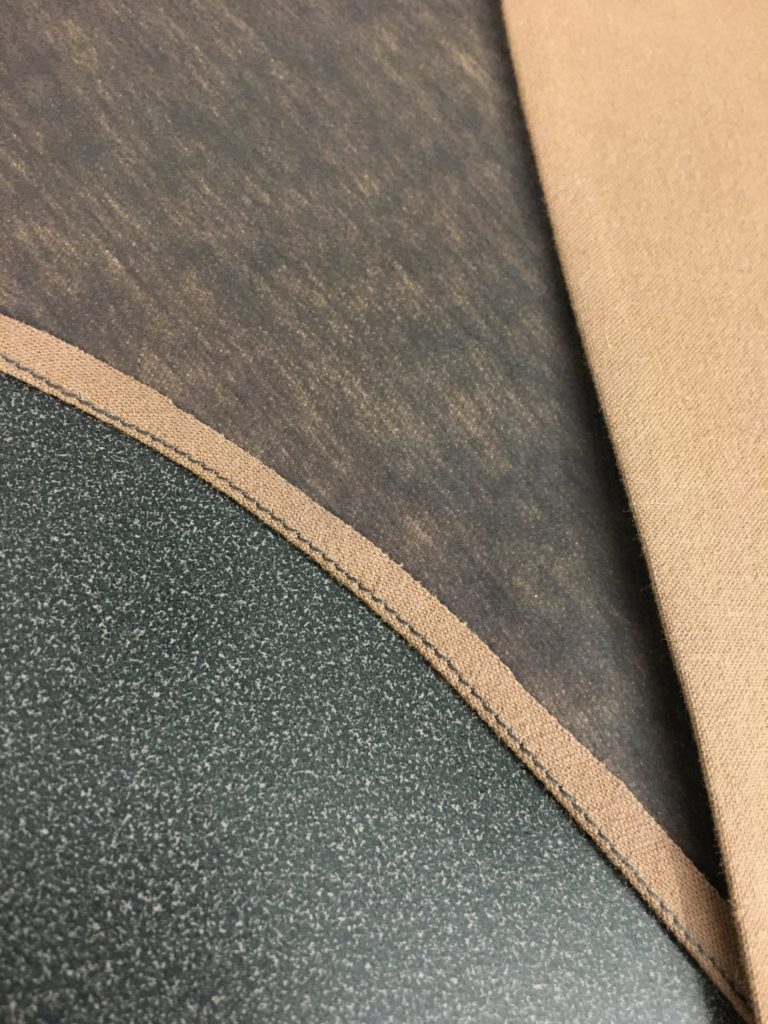
If you don’t intend to use binding, run a line of stitching along the long, curved edge of the Back Facing with a ¼” (.6 cm) seam allowance. Using the line of stitching as a guide, turn the long, curved edge of the Back Facing under ¼” (.6 cm) and press well (I recommend this option), or choose an alternative edge finish. If your fabric is puckering or wrinkling as you turn it under, you might need to notch the curve. If the fabric resists staying turned under, an edgestitch along the fold (⅛” (.3 cm) from the edge) will keep it in place neatly.
Repeat for the long curved inside edge (not the lapel edge!) of the Front Facings.
Staystitching
Staystitch the Back neck at a scant ⅝” (1.6 cm) [a scant ⅝” (1.6 cm) is just 1/16” less than ⅝” (1.6 cm), to prevent your staystitching from showing on the outside of the finished garment], starting at the shoulder seam and sewing towards the center back, stopping, and starting at the shoulder seam again and sewing towards the center back.
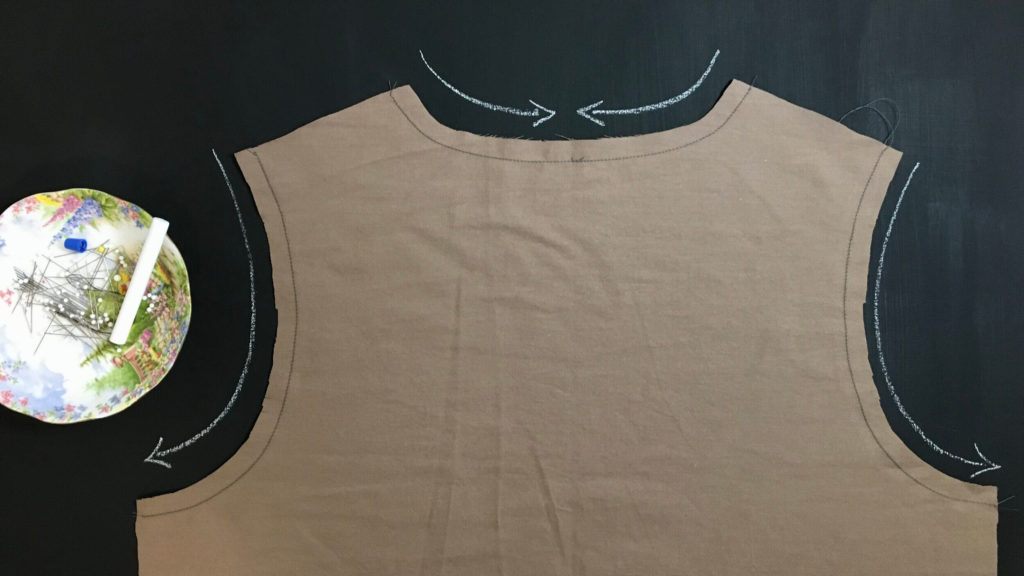
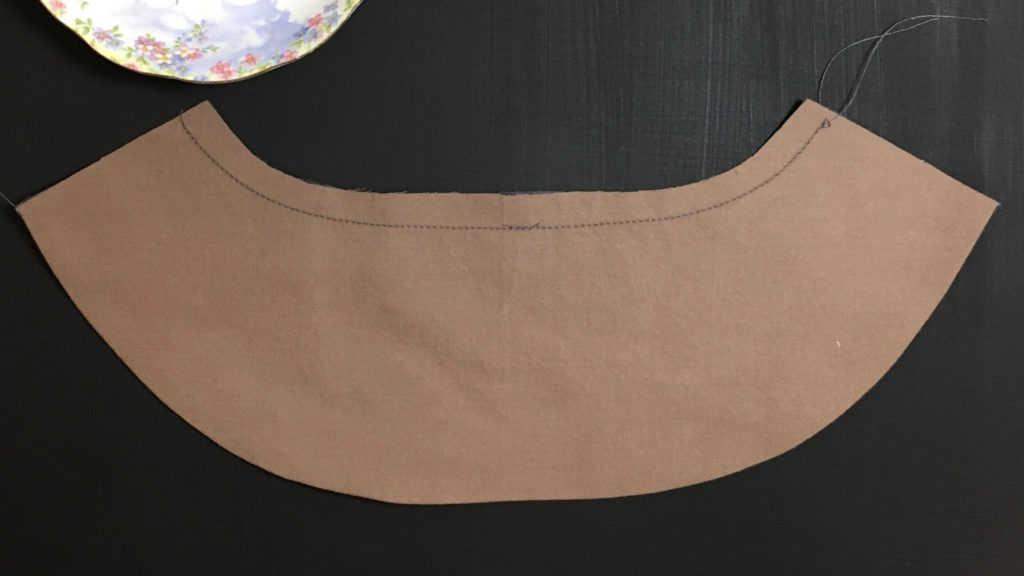
Then (this isn’t shown in the photo above, but is shown in the instruction illustration!) staystitch the shoulder seams, starting each at the neck and stitching towards the armscye. Your lines of stay stitching will cross over the neck staystitch, creating an x on each shoulder seam at the neck point. Repeat this staystitching on the Back Facing.
Staystitch the Front pieces, from the shoulder seam to the drill mark, pivot, and continue up along the neck edge of the collar towards the CB. It can be helpful if you mark the seam allowance with chalk or an erasable pen first.
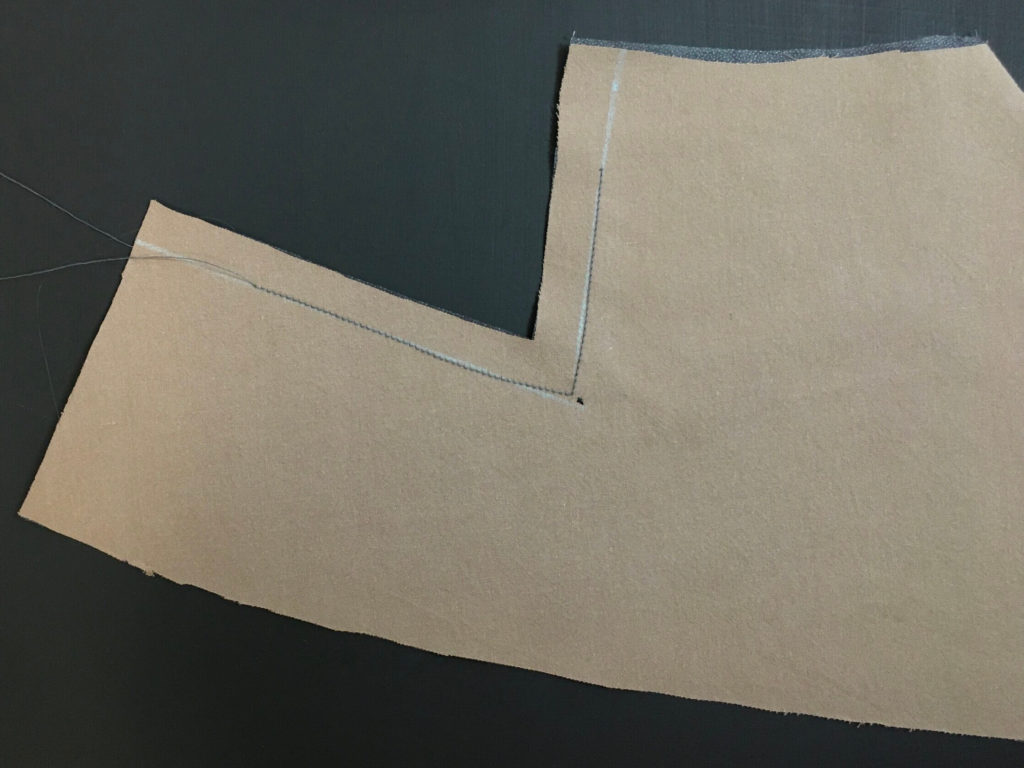
Staystitch the Front pieces, from the shoulder seam to the drill mark, pivot, and continue up along the neck edge of the collar towards the CB. It can be helpful if you mark the seam allowance with chalk or an erasable pen first. The staystitching on the front panel should be just less than ⅝” (1.6 cm) (to be precise, 9/16” (1.43 cm) is ideal), since it will not be picked out after construction. You also don’t want it to be less than ½” (1.2cm), because the staystitching is crucial to the durability of this inside corner. It both prevents the seam from stretching out during handling and adds to the stability of the junction of the collar and shoulder seam.
Repeat this staystitch on the Front Facing pieces.
Staystitch the armholes of the Side Front pieces at ½” (1.2cm), from the shoulders to the side seams.
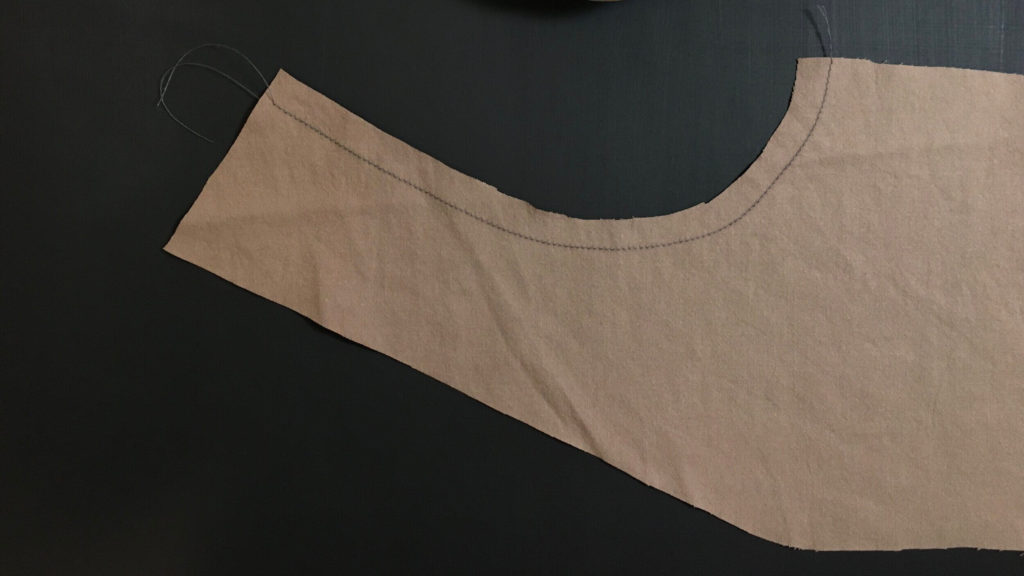
You’ll be handling the bodice a fair bit before you insert the sleeves, so this will help the armholes to maintain their shape as you work.
If your fabric is quite loosely woven or has a fair bit of give, you may also want to staystitch the angled edges of the Fronts, Lower Side Fronts, Side Fronts, Side Backs, and Center Back.
And now it’s time for a happy dance and a deep breath. That’s it for Day 2, and I’ll be back on Day 3, when we’re going to start the assembly!



Hi – I am planning this project, but I have a question (probably more). Firstly, I am a novice sewist. I am not in a hurry to complete this Lichen Duster, so I will be taking each step very slowly. Are stay stitches done on a single layer of fabric? Thanks in advance. – Gabi
Hi Gabi,
Yes, taking the process slowly will be a good plan. It’s an intermediate pattern with some challenging spots, so making a muslin (toile) in a fabric that’s not too precious can be a great learning experience before you cut into your good fabric.
Yes, Stay stitching is done on a single layer of fabric. It holds the fabric in place, preventing it from stretching out of shape while you’re handling it, and sometimes also supports something like sewing into a corner or around a curved edge.
Happy sewing!
Hi Gabi! Great question – yes, stay stitches are done on a single layer of fabric. They prevent the fabric from getting stretched or misshapen during handling, especially helpful on curved edges like necklines and armholes. Stay stitching is always done with a smaller seam allowance than the actual seam allowance, so you don’t have to remove the stitches later.
I’d highly recommend making a muslin, so you can work through the sewing steps and fitting on a fabric that isn’t too precious! Happy sewing!
Hello! I am looking forward to sewing my Lichen duster, and have bought the fabric, shrunk, pressed and straightened it, so all ready to go! I just have one question…. when I have sewn garments before, I have often needed to take an inch or so off the Back-Waist measurement as I am short-waisted. I can’t find any reference to how I might do this on the pattern pieces or in the instructions… what do I need to do to achieve this, or doesn’t it matter much with this garment?
Many thanks, Heather
Hi Heather! What a great question to be thinking about ahead of time. The waist is not very low or fitted on this duster in the back, and isn’t defined in the front, so you might not need to do anything. You could remove length around the entire torso, to make sure that the back waist is short enough and the collar also suits your proportion. Your changes would impact the back, side front, front, and front facing. Draw a line perpendicular to the grainline 2″ up from the back waist, and 1 3/8″ above the waist notch on the Side Front, Front and Front Facing. This will allow you to cut and overlap evenly the whole way around the bodice. You might have to smooth out some jogged lines – as long as your Front and Front Facing edges are exactly the same, you’ll be good to go! Feel free to send an email if you need a bit more detailed support, and happy sewing!
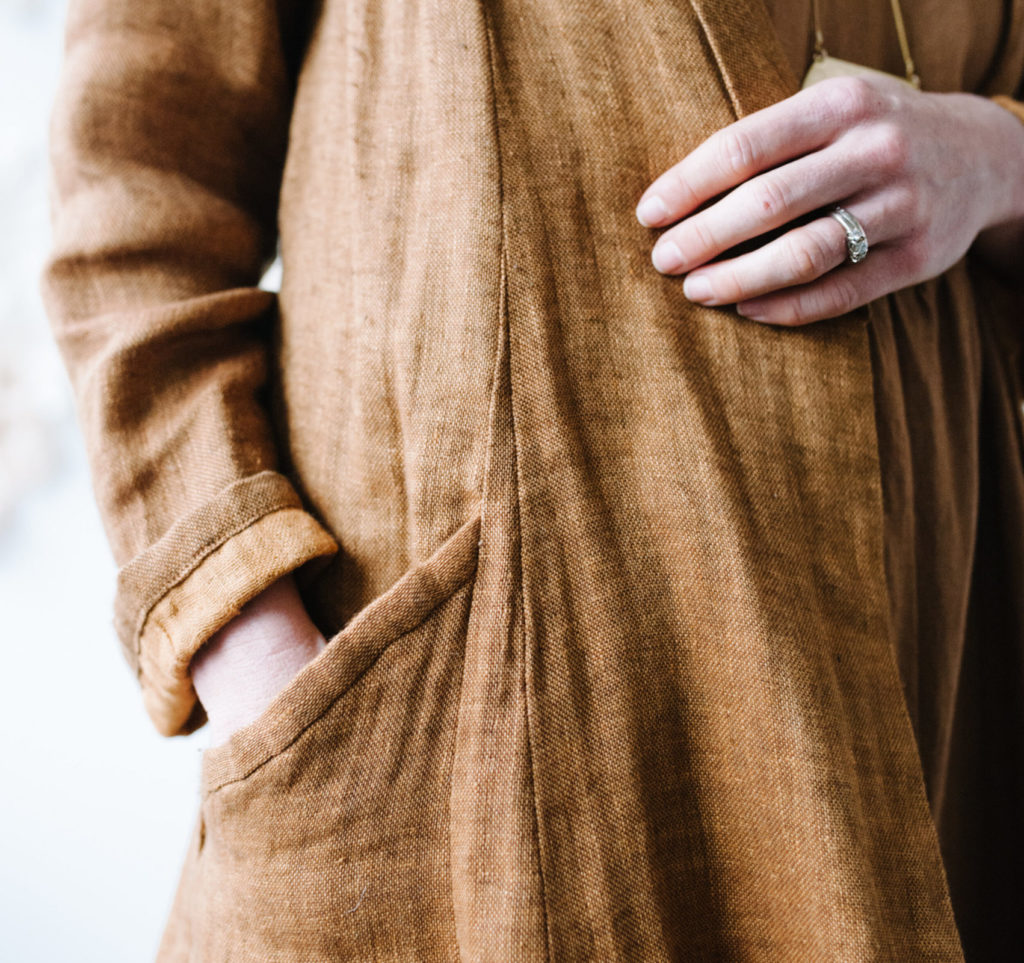
Is the lichen duster collar lined? When the collar is turned, around the neck, both sides will show. How wide is the finished neck collar?
Thank you!
Hi Barbara! Yes, The Lichen duster’s collar has a facing, so the Facing is actually what you see when the collar is worn folded down, and the facing extends all the way to the hem at the CF. The collar is about 2″ wide, measured at the CB, depending on the hand of your fabric.
Happy sewing 🙂
Hi:
I am sewing the Lichen Duster and am almost done. I cannot tell by the directions where or how the collar facing is inserted. Do you have a video on this? That would be helpful.
Thanks,
Chris.
Chris, Thanks for the great question! Day 5 of our Lichen Duster sew-along should be helpful for that: https://sewliberated.com/blog/lichen-duster-sew-along-day-5
And we will look at the instructions to see if we can improve the clarity of the words and diagrams. Thanks for pointing out that you found it confusing. We like to find places to improve!
Hi! I just want to share that this video on how to sew tailor tacks through two pieces of fabric was extremely helpful: https://www.youtube.com/watch?v=XkSEAhM9a7A
I purchased a yard of dark fusible interfacing, as suggested in your pattern. I should have checked–but…my front facing is 48-inches long. How does that even fit? And there would not be room to cut out the back facing too, even if it were long enough. My facing is 20-inches wide. Is that not normal? It’s Pellon.
Hello! Great question. Piecing interfacing (overlapping the edges by 1/4″ while fusing) when needed is pretty common on really long pieces like a facing, or you end up with vast amounts of unused interfacing with each project. The interfacing width isn’t specified on the fabric requirements, and the interfacing that we used was over twice the width of your Pellon, making 1 yard a generous amount rather than a really tough fit on half of that width! Thanks for sharing that really helpful information!