Lichen Duster Sew-Along Day 5: Shawl Collar

Welcome back! Today is a fun day in the Lichen Sew Along, because we have a video! A lot of sewists express intimidation over collar assemblies, and I admit, they can look a bit scary. Here’s the thing: once you’ve wrapped your mind around how the opposing curves fit together, you are going to be just fine. Really!
So take a look at the video, which covers how to sew the neck and shoulder seams, and we’ll meet back here to sew the lapel edges when you’re ready.
Now that you’ve followed the video and your instructions, you’ve arrived at step 11.
We’re joining the Facing assembly to the Main assembly. As you’re working, it’s important to remember that since the collar is turned over when you’re wearing your duster, the Front Facing lapel is what you’ll see, and the Front lapel is the undercollar. You’ll put this nugget into practice in a sec…
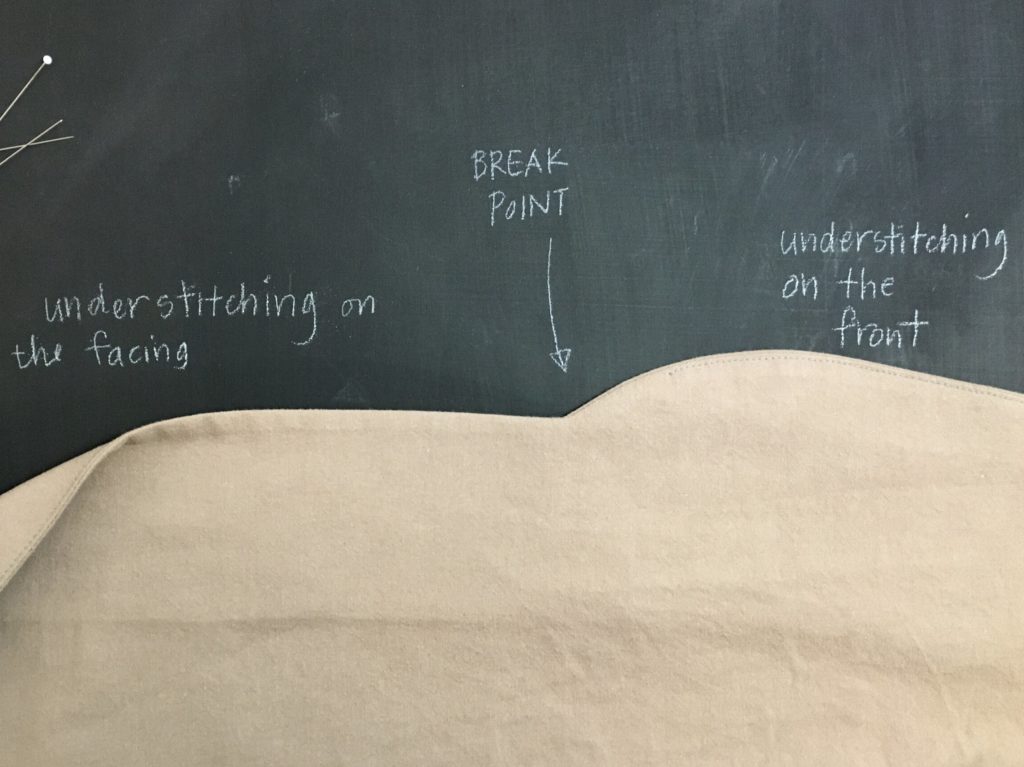
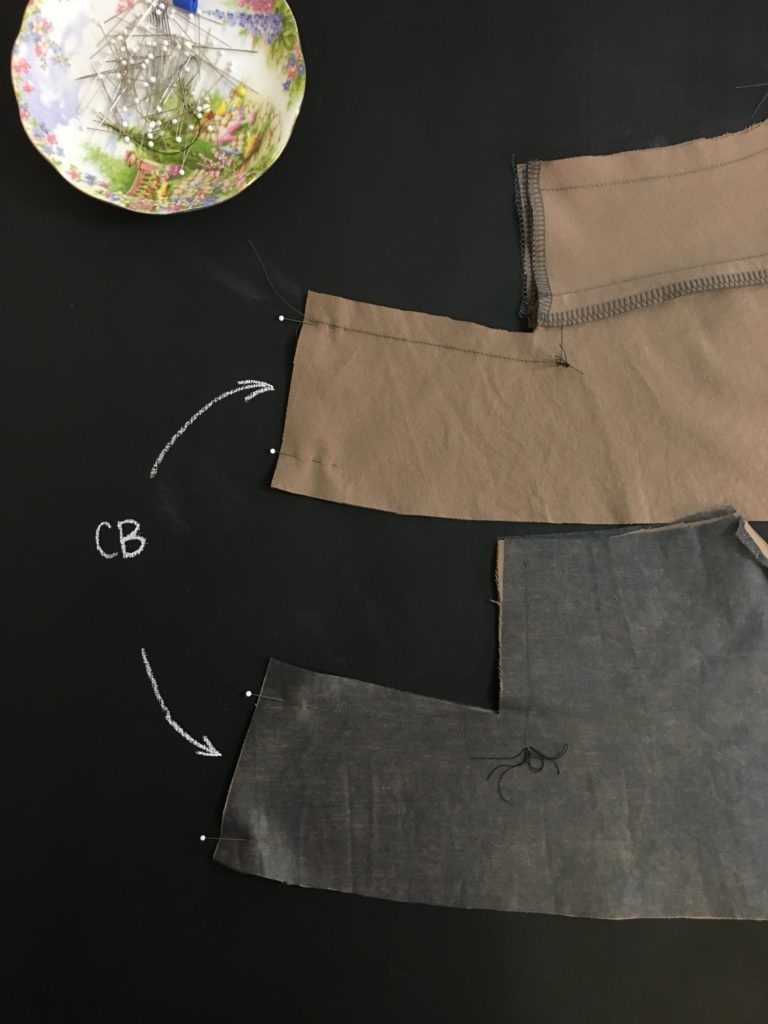
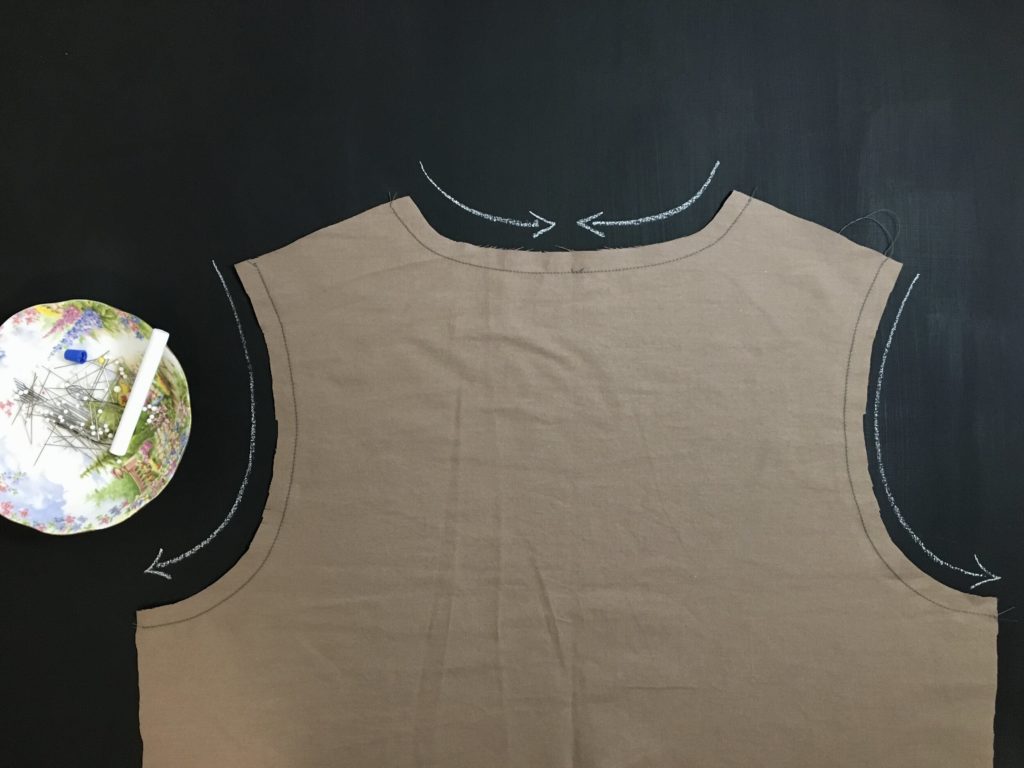
Pin the Facing to the Front, right sides together, along the outside collar edge, all the way from hem around the full collar, to the other hem. (The notch at the bottom of the collar curve is called the break point – it’s where the collar gets turned when you are wearing the final garment. The notch at the break point helps you line up the long seam, and serves to guide your understitching in step 11d.) Be sure the notches at the break points are carefully aligned, and put a pin there, to remind you to pivot neatly when you get there. If you’re worried about sewing that corner neatly, you could chalk in the seam allowances! It can help to have a line to guide you when you get there. Double check that the center back seams are lined up neatly and pinned securely.
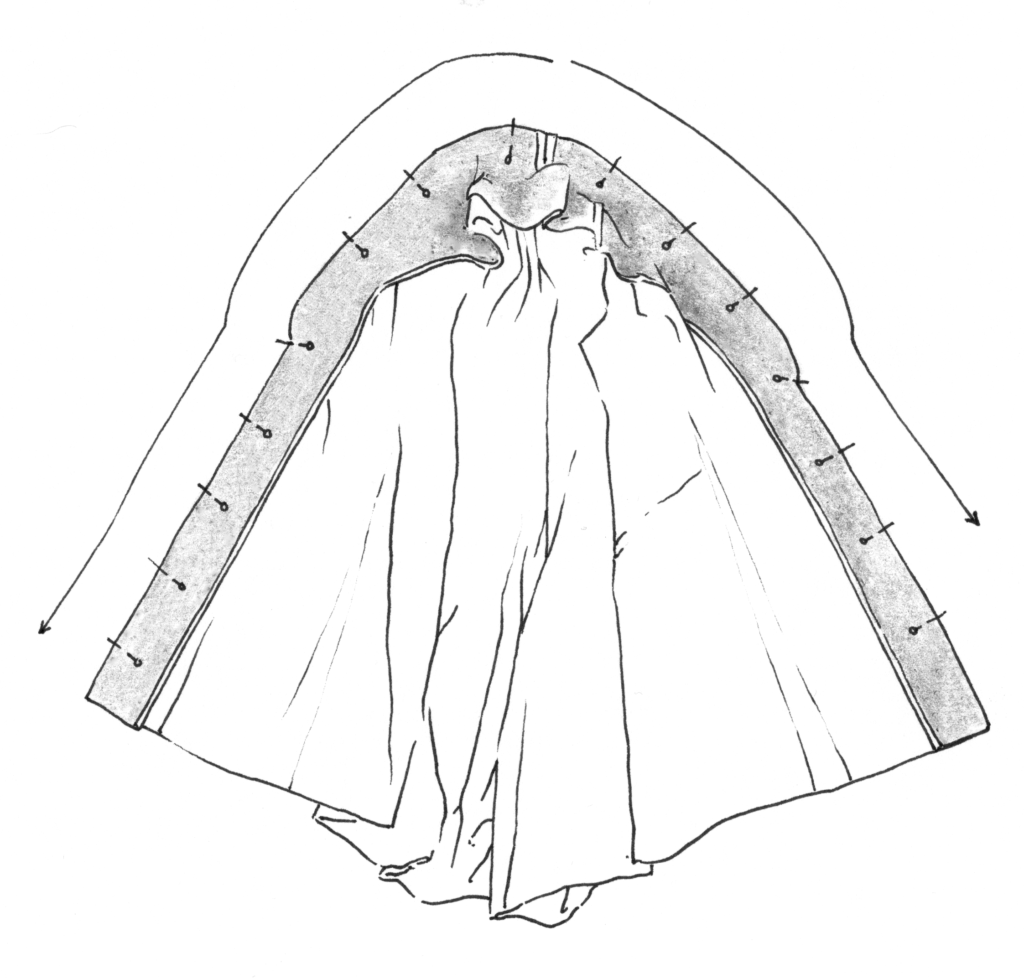
Starting AT THE CENTER BACK, sew down one collar edge to the hem, pivoting to make a small inside corner at the break point. Return to the center back, and sew down the other side. This is really important! If you sew around from one hem up and over to the other, you’ll sew one side of the collar in an upwards direction, and one side in a downwards direction. This will pull and skew the collars just slightly as you go, and can be quite noticeable in the way the collar sits when it’s finished.
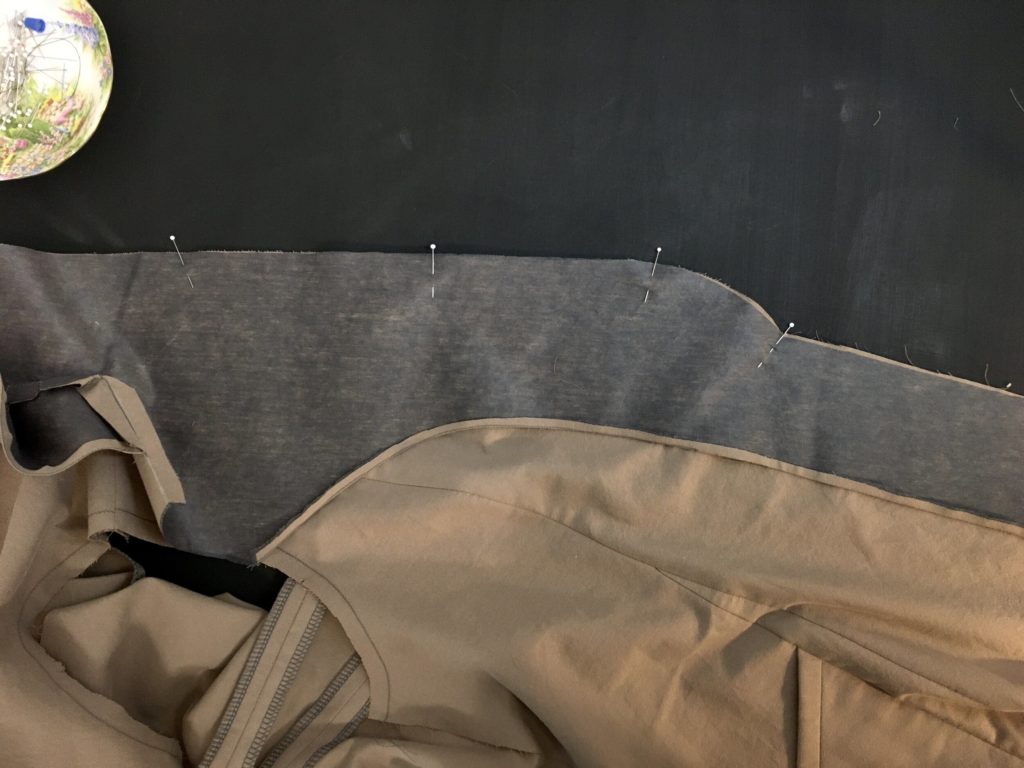
Clip into the seam allowance at the notch at the break point to ⅛” (.3 cm) (.3 cm) from the stitching line (a scant ½” (1.2cm) snip). Fig 4. If your fabric frays a fair bit, sewing another line of stitching right over top of your first line from 2” above the break point to 2” below the break point can add some extra stability.
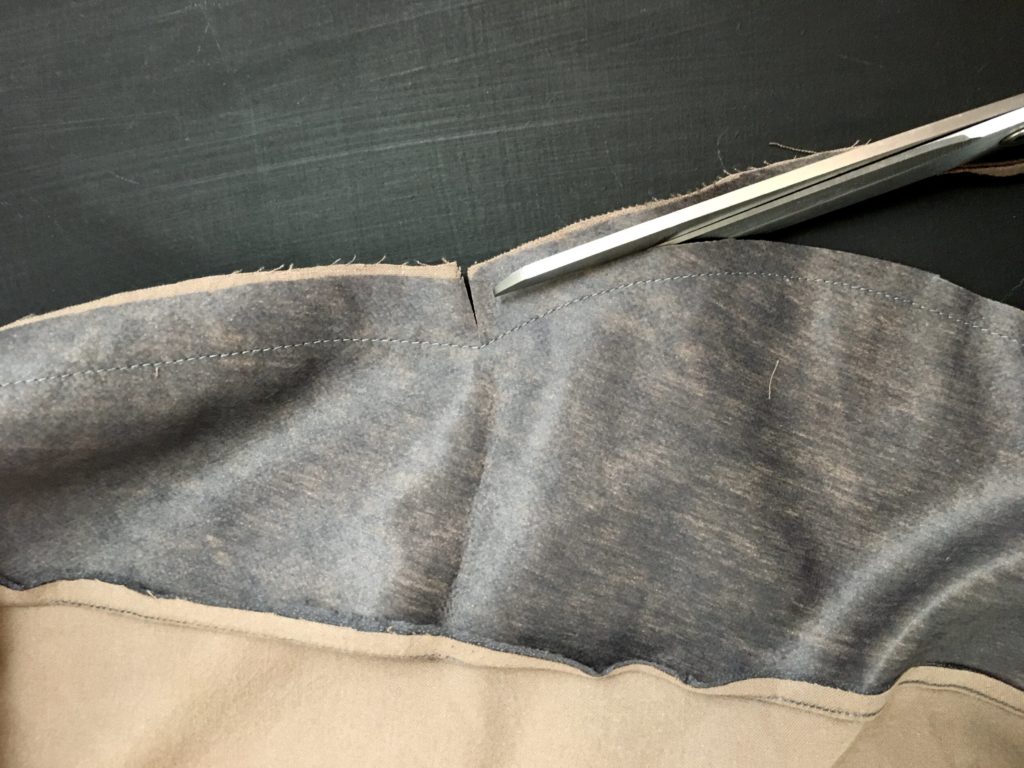
Trim the seam allowance to ⅜” (9mm) – ¼” (6mm), all the way around the lapel edge that you just completed. You can leave a larger seam allowance if your fabric is very soft and frays easily. Or you could skip ahead to the understitching, and trim afterwards. I’ll do this if my fabric is very soft, or if my fabric is very bulky, like the plaid in the video, and I want to be able to hang on to the seam allowances as I understitch. Fig 5.
Understitch :
- From 1 to 2” below the breakpoint to the hem edge, with the seam allowances towards the FACING, on each side.
- From the center back to 1” from the the breakpoint, along the lapel edge, with seam allowances towards the BODY, on each side.
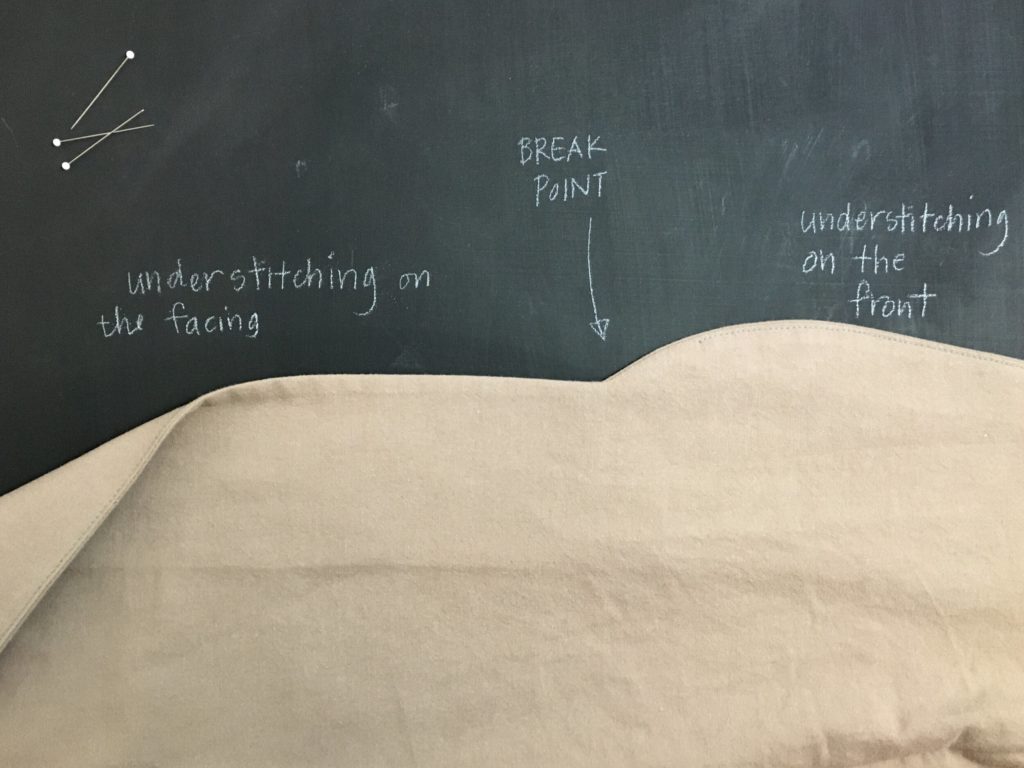
Flip the Facing so the collar is right side out, and press the collar edge carefully, with steam, making sure that the undercollar isn’t showing. Your understitching will help the seams roll into place as you’re turning the edges right side out.
Line up the back neck seam allowances of the Front and the Front Facing, inside the duster. Make sure the center back seams are lined up, and sew the seam allowances together, just a bit inside (towards the seam allowance) from your stitching line, to secure the collar in place.
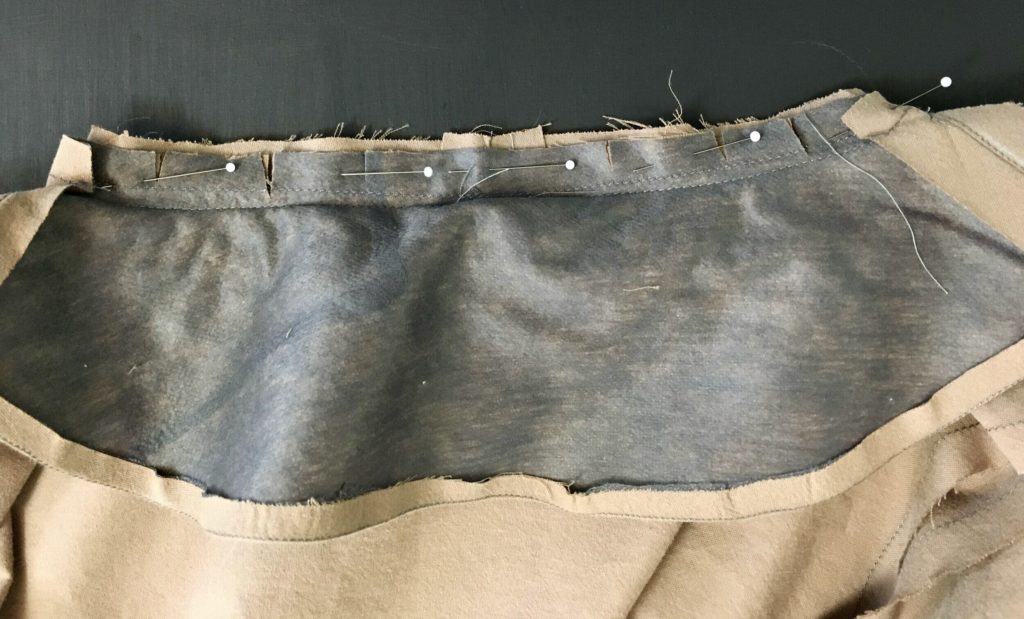
Flip the duster right side out, and check the collar. If everything looks good, trim the seam allowances of the back neck to ¼” (.6 cm) (6mm). Again, if your fabric is soft and fraying, you don’t have to trim these seam allowances back.
Three cheers for you – you did it! When we meet again on day 6, it’s time to try on your duster to check the fit, get the sleeves sewn in and the side seams sewn.



This tutorial was Soooooo helpful. Thank you so much. I don’t think I could have successfully completed the duster without the collar video and the great step by step instructions. I LOVE the duster. Thank you!
Loving it so far. So glad that your patterns are available in printed form. Making this as a shop sample and am sure I will be selling many of your patterns in my shop. This is introducing your patterns to my customers. I will be sharing the power of your tutorial with everyone that purchases your patterns from me.
Clarification of steps 10B and 10f would be really helpful. The video and this tutorial skip those parts, and I’ve had trouble distinguishing right/wrong sides on the materials used in both. Somewhere in step 10 my Lichen wound up with a backwards back! 🙁
Hi Valerie! Thanks for letting me know that this was a challenge – I’m sorry that this step was a struggle! You’re welcome to send an email if you need support on a project – I’m happy to help!
The bad news – I didn’t find this video until after I’d wrestled with the collar and shoulders, although granted I didn’t look for it until now, so mea culpa.
The good news – I’m currently working on a wearable toile, so I can get it right on the final version. Phew!
While I’m enjoying constructing my linen duster, I am now completely confused about the front and back facings, how I put them together, and then how I attach them to the front of the duster. Thank you for your help with this.
I can help! I’m sending you an email, Susan, so I can attach some photos with further details! 🙂