Lichen Duster Sew-Along Day 7: Hem and Belt
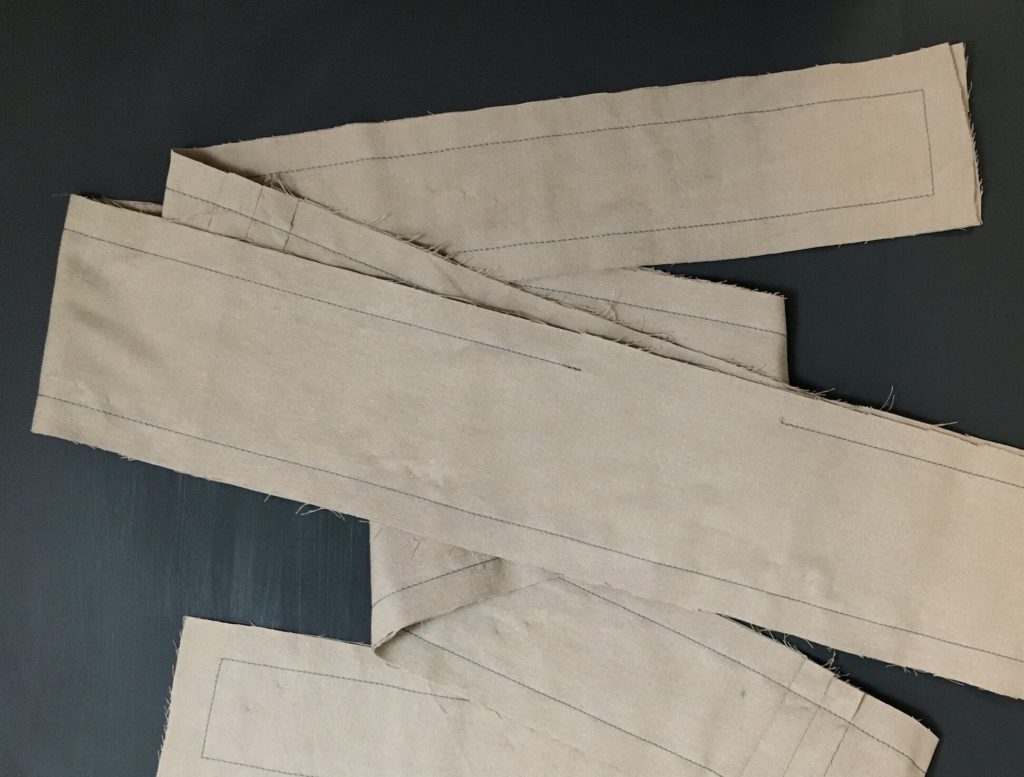
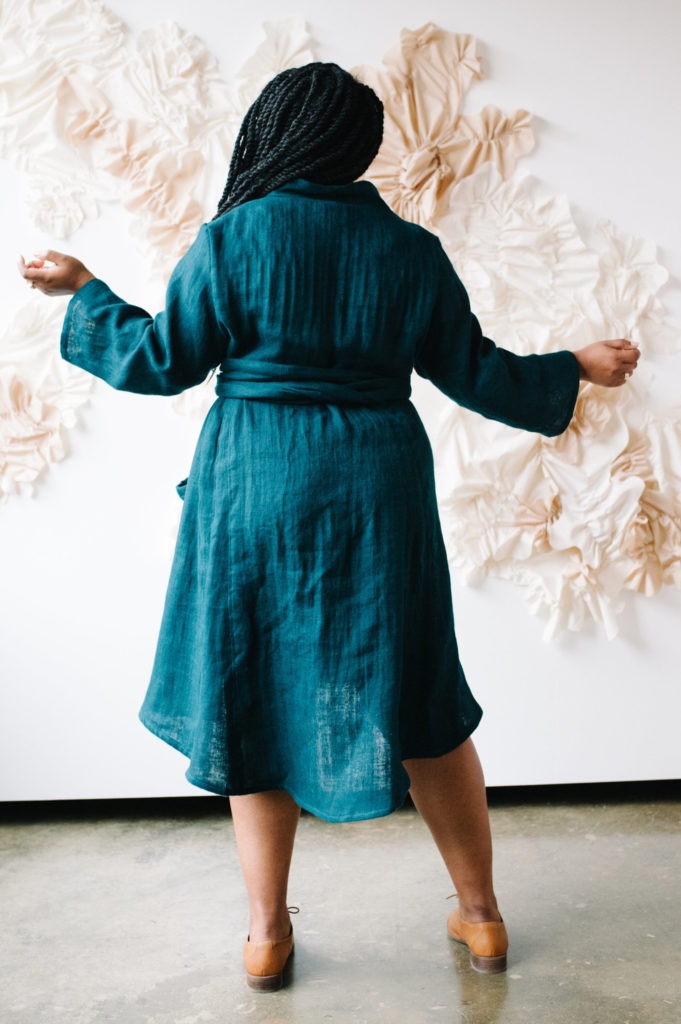
Hem:
Sew a line of stitching along the entire hem edge (excluding the bottom of the Front Facings) at ¼” (.6 cm). Fig. 1 This line of stitching provides a break in the fabric, similar to using a scoring tool on paper before folding it.
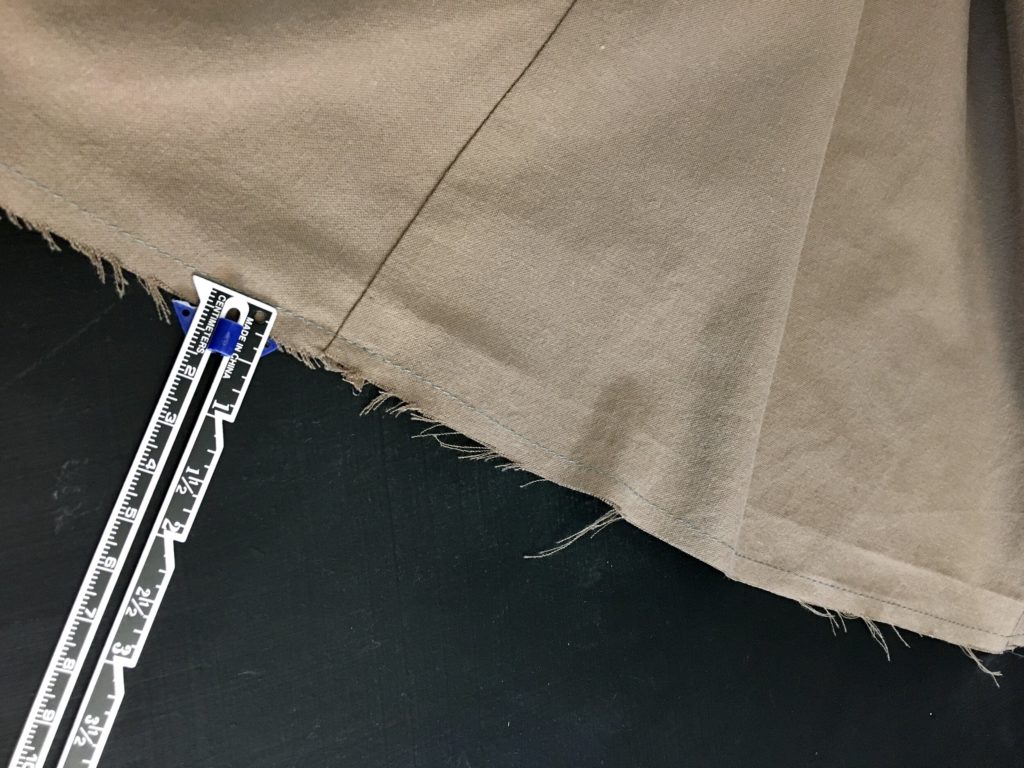
Press up the ¼” (.6 cm) to the wrong side. (Fig. 2)
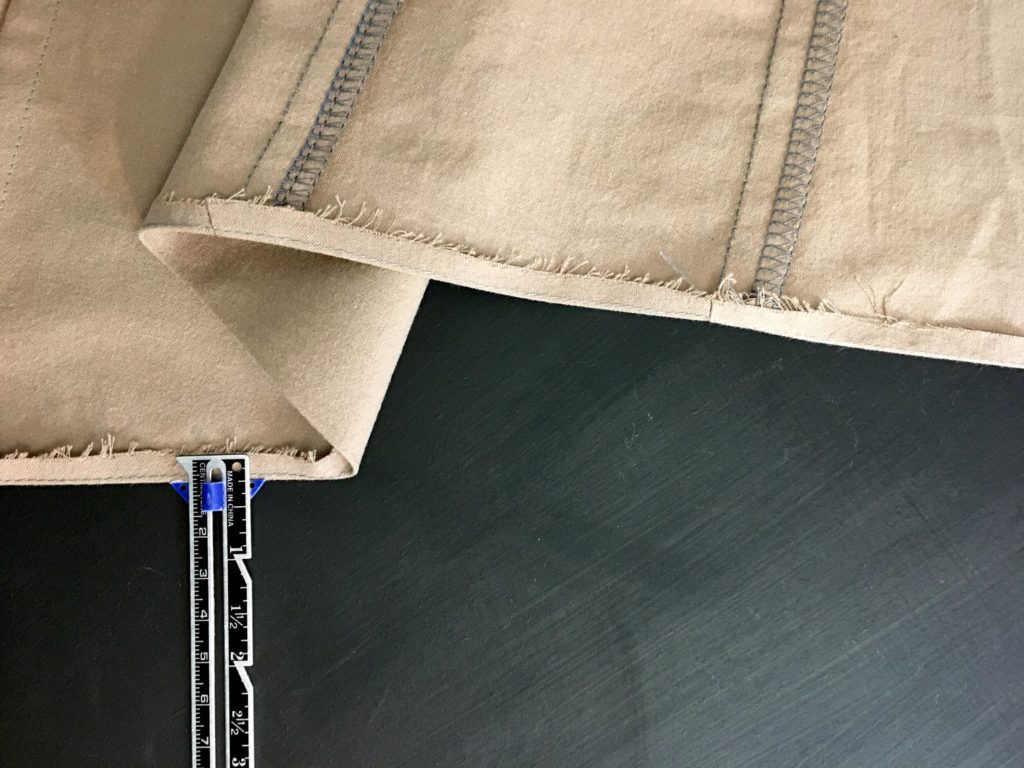
Fold again and press the hem up an additional ½” (1.2cm) to the wrong side.
Before you sew the hem in place, you’ll sew the bottom to the Front Facing to the Front along the finished edge. Flip the facing to the outside, so the right side of the Front Facing is against the right side of the Front. Use the fold line on the front edge, not the seam line, as your guide (since the facing is pressed slightly to the inside of the duster).
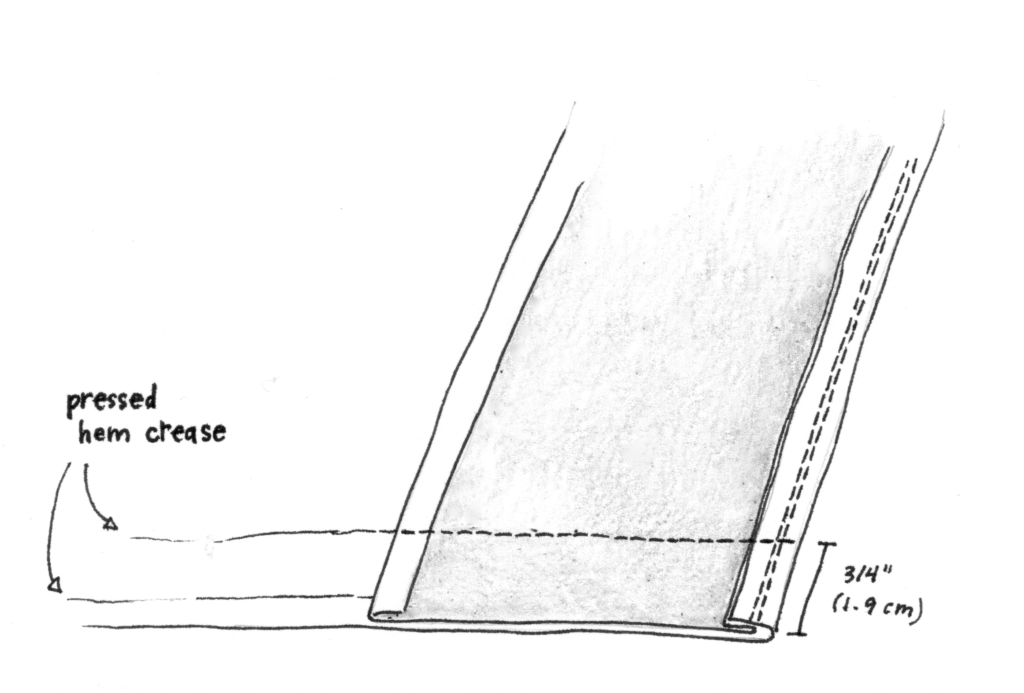
Sew along the bottom of the facing at ¾”, in line with the pressed hem crease, securing it to the front, across its full width. (Fig. 3) From ½” (1.2cm) toward the center front from the folded edge of the facing, trim the excess seam allowance to ½” (1.2cm). Turn the facing right side out, and press neatly to form a cleanly finished corner.
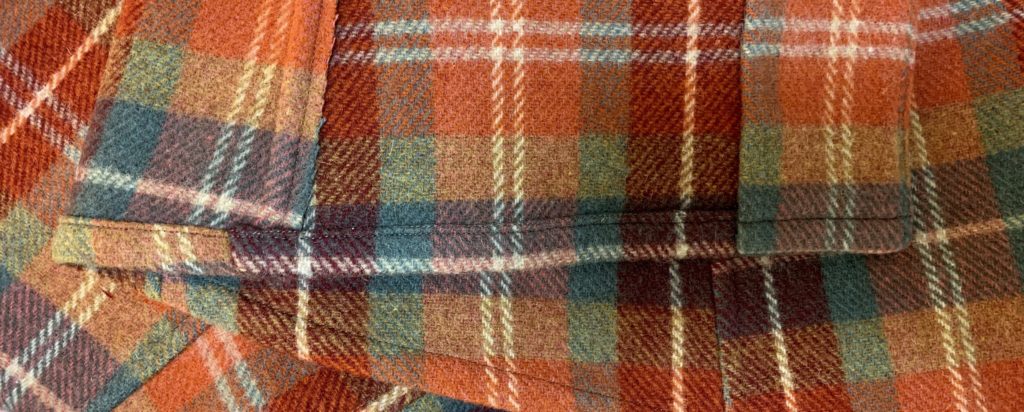
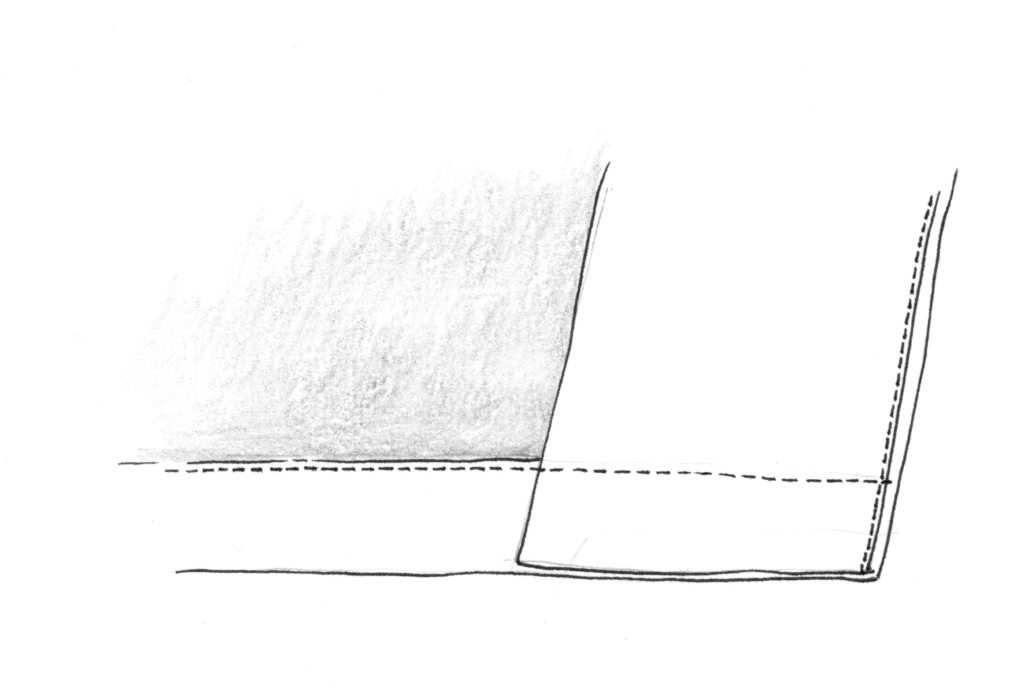
Sew the hem in place from the right side (Fig. 4), from center front all the way around to center front. (Fig. 5)
On each sleeve, turn in a ¼” (.6 cm) hem allowance, followed by a ½” (1.2cm) hem allowance. Press well and edgestitch the hem in place.
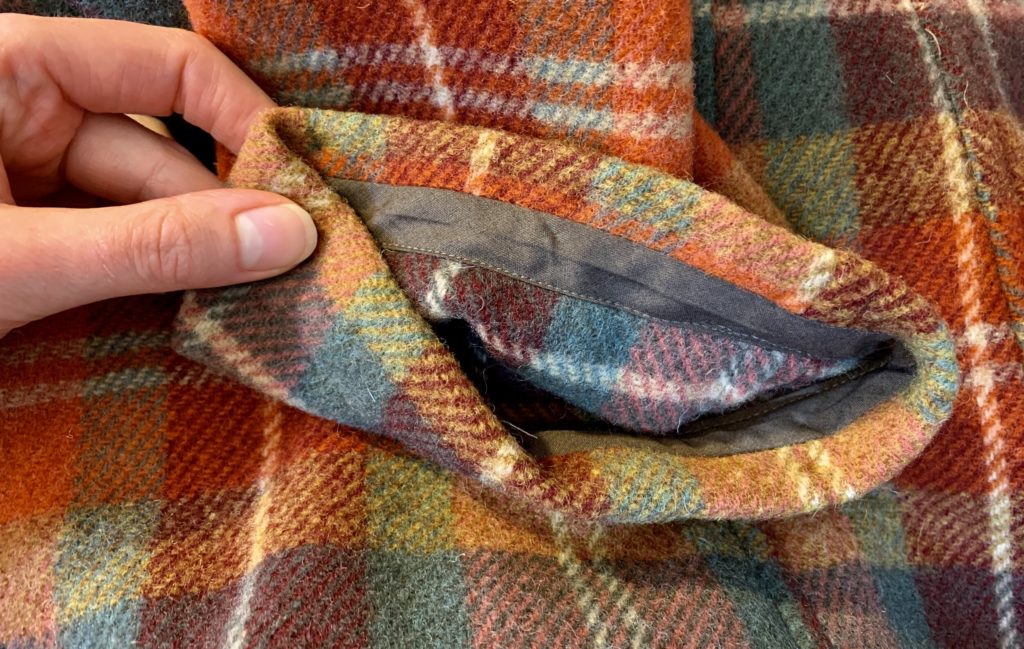
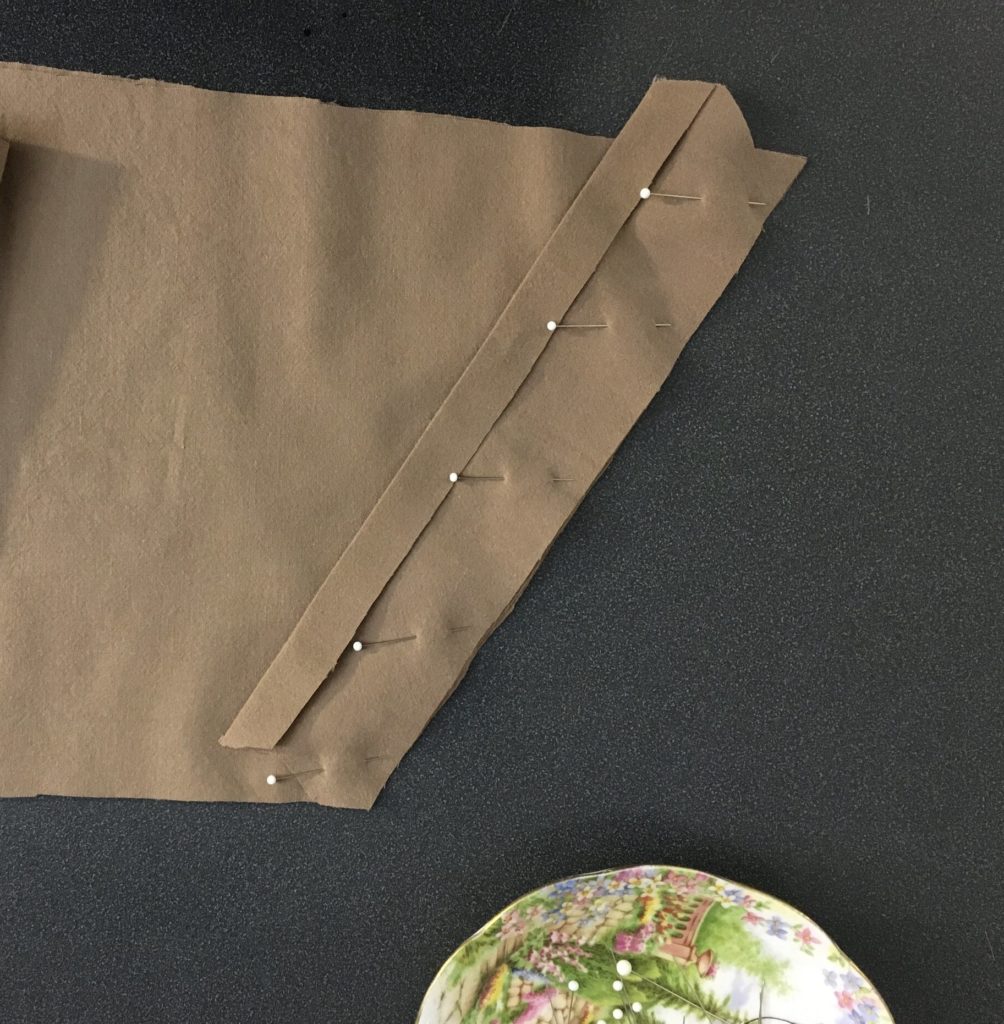
On my wool plaid version, I adjusted the instructions for the sleeve hem a bit, because I wanted the hem to be a bit smoother on the wrist. Rather than turning under twice, I used some pre-made bias tape (the same one that I used on the shoulder back on sleeve day, Day 6), to finish the edge. (Fig. 6)
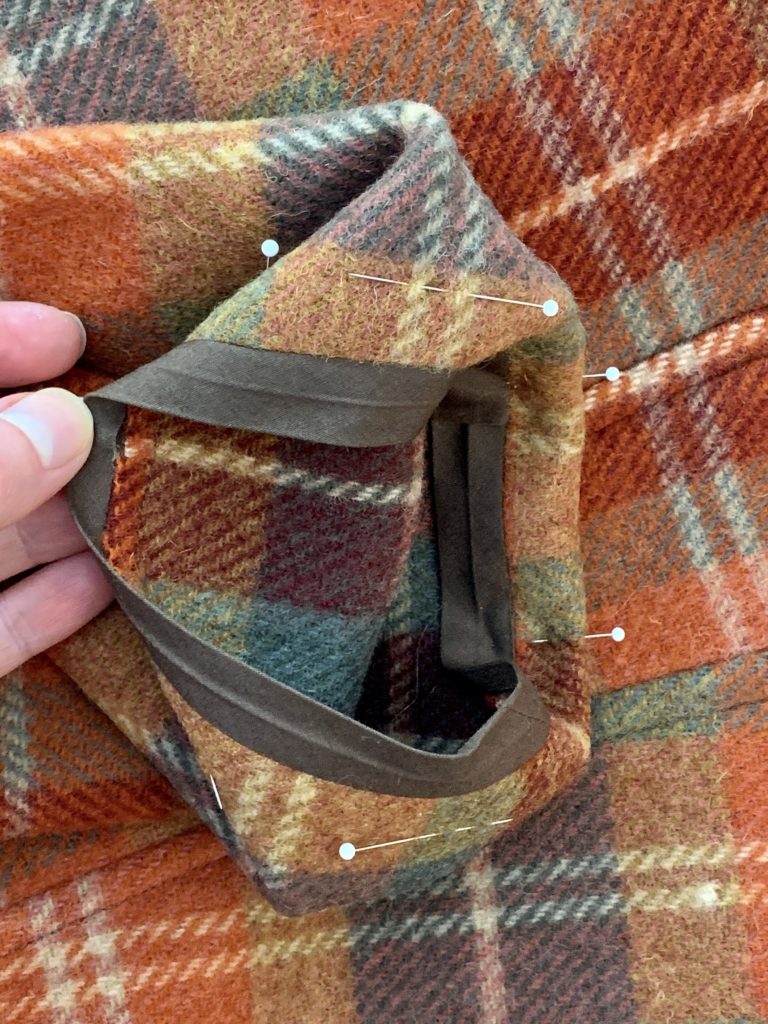
Then I turned the hem up and edgestitched the bias tape to the sleeve to secure. (Fig. 7)
Belt:
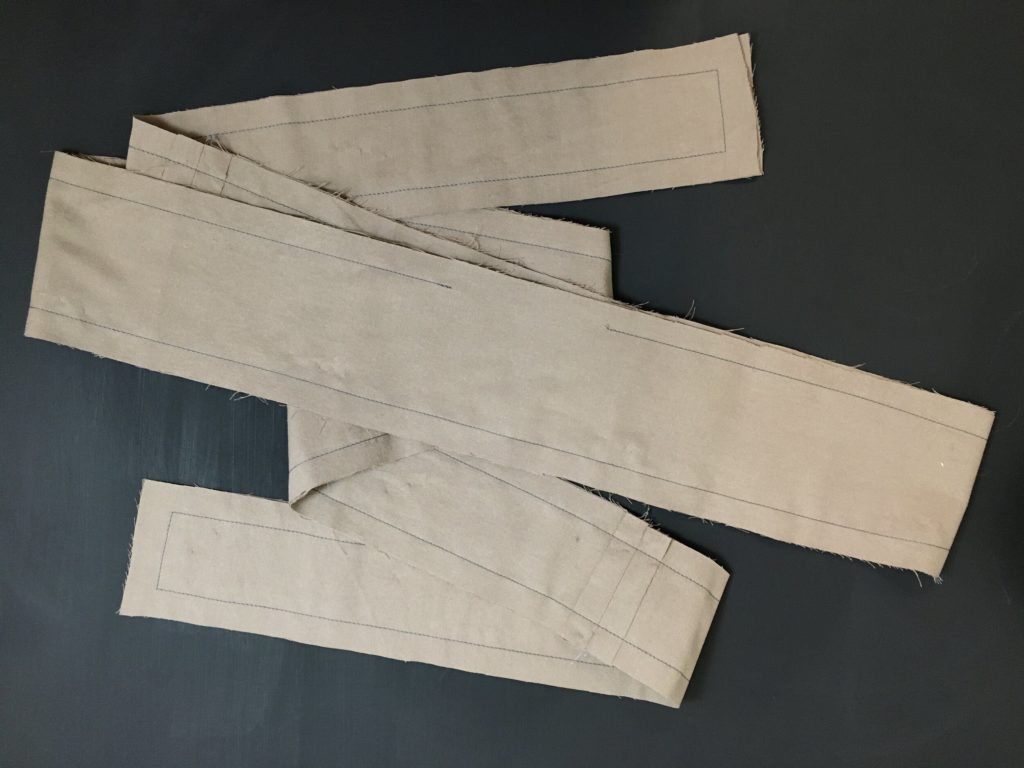
If you chose to seam the Belt pieces, now is the time to make sure those seams are sewn and pressed open. Pin the Belt pieces together, right sides together, and sew around almost the entire Belt, leaving a 4” opening in the wider center area to turn the Belt right side out. (Fig. 8)
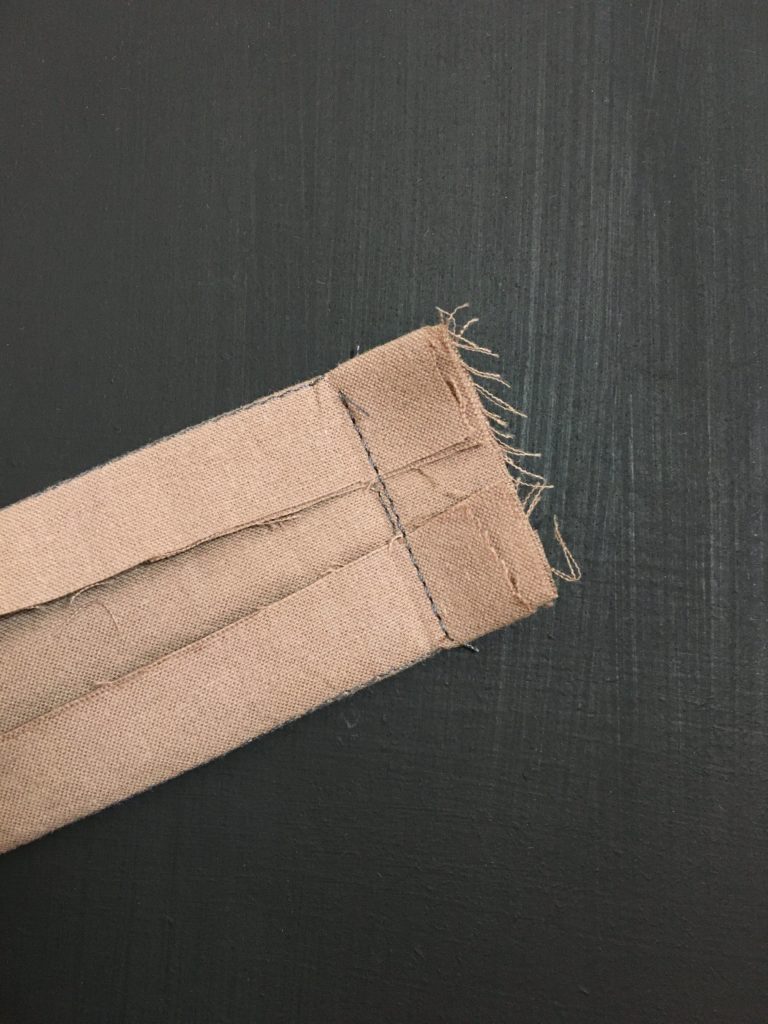
Turning the ends right side out can be tricky, so fold the seam allowances of the long edges in and sew them in place in the seam allowance of the end. This will help hold the corner in place as you turn the whole Belt right side out. (Fig. 9)
If your fabric is very light and frays easily, don’t trim down the seam allowances before turning. If your fabric is heavier, and you’re concerned especially about the bulk of the corner, you can trim the seam allowances to ¼” (.6 cm) before turning. Turn the Belt right side out. Use a ladder stitch to close up the opening, as shown below, and press the Belt well.
*Optional: Topstitch around the belt, using a width that is consistent with any visible seam topstitching that you’ve done on your duster (like the width of a felled seam, for instance).
Final finishing:
Use a blind catch stitch to secure the Front Facings and Back Neck Facing in place (Refer to the Glossary for details). This will be a flexible, durable way of holding the facings where they belong, while being invisible from the right side.
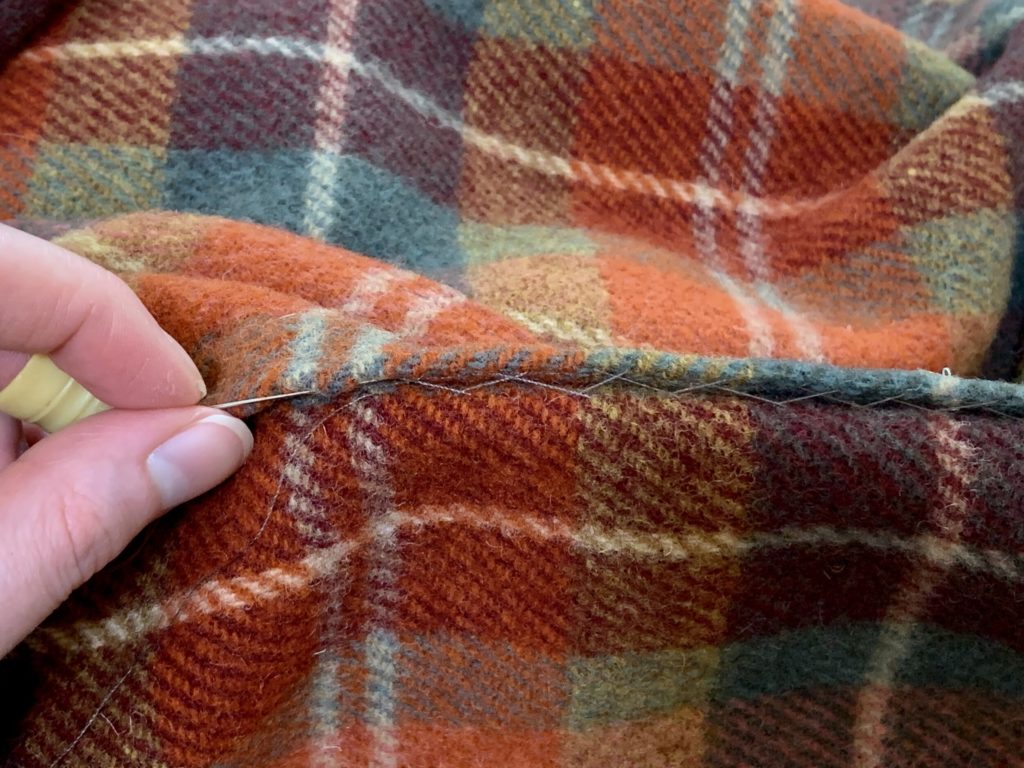
It’s the perfect time to take your project to a comfy chair for some hand sewing. Take your time – the catch stitch is fun and mesmerizing, so enjoy the process! If you’re struggling with the facing shifting, you have a few options. Put the duster on, and use safety pins to hold that facing in place once it’s neatly positioned. Or use Wonder Tape to secure it, and it will wash out, giving you the flexible finish for which the catch stitch is so helpful.



Responses