Sewing Otis Slowly
When I first learned to sew garments
I would spend hours and hours at a time on a garment, often staying up all night to sew, or spending a full weekend on a project to complete it as quickly as possible. There was something exciting about this frenetic pace! I was so into sewing I just couldn’t stop!
But it wasn’t sustainable to focus so intently for such long stretches of time, not to mention the sleep I was missing out on, making work during the day really difficult. I also found that I was making a lot of mistakes late at night, and having to redo things the next day.
In my quest to finish quickly, I was making a project take even longer. I soon realized it was better to divide the steps over a few days, always checking in with myself and stopping when I got tired or began to feel frustrated.
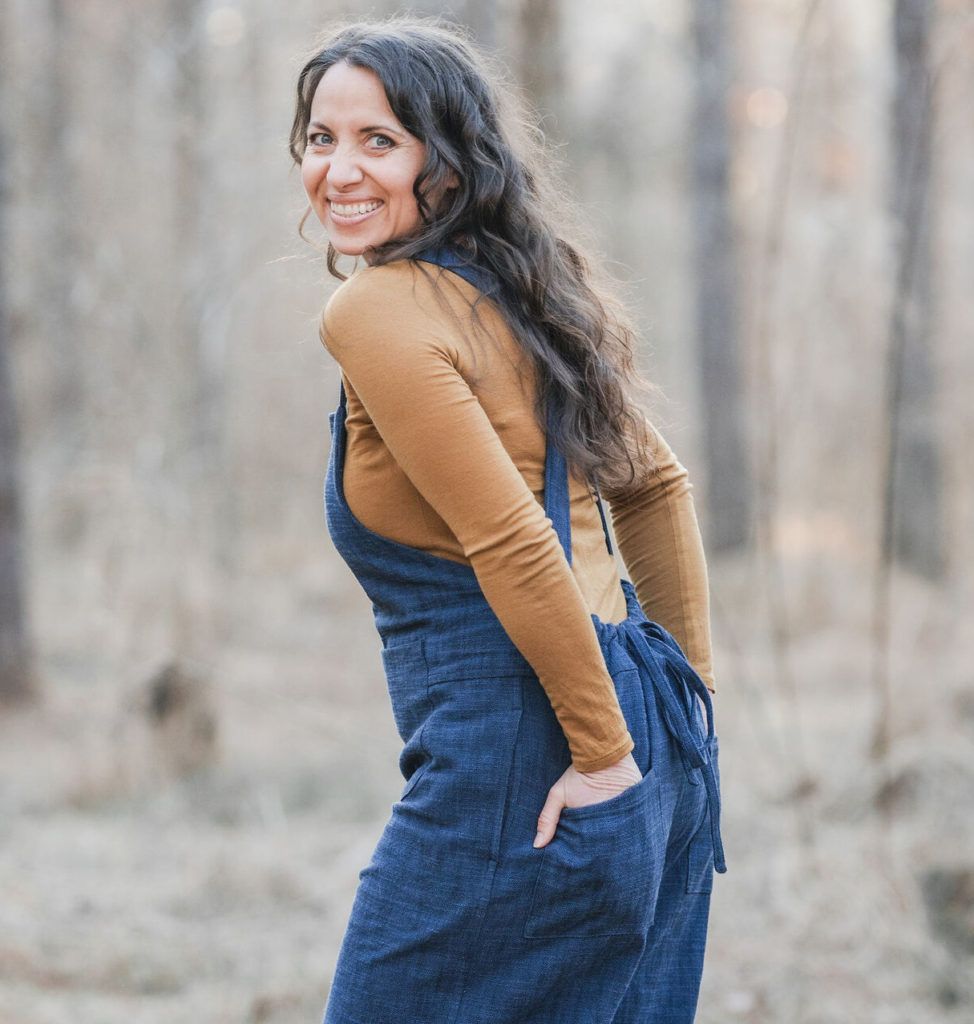
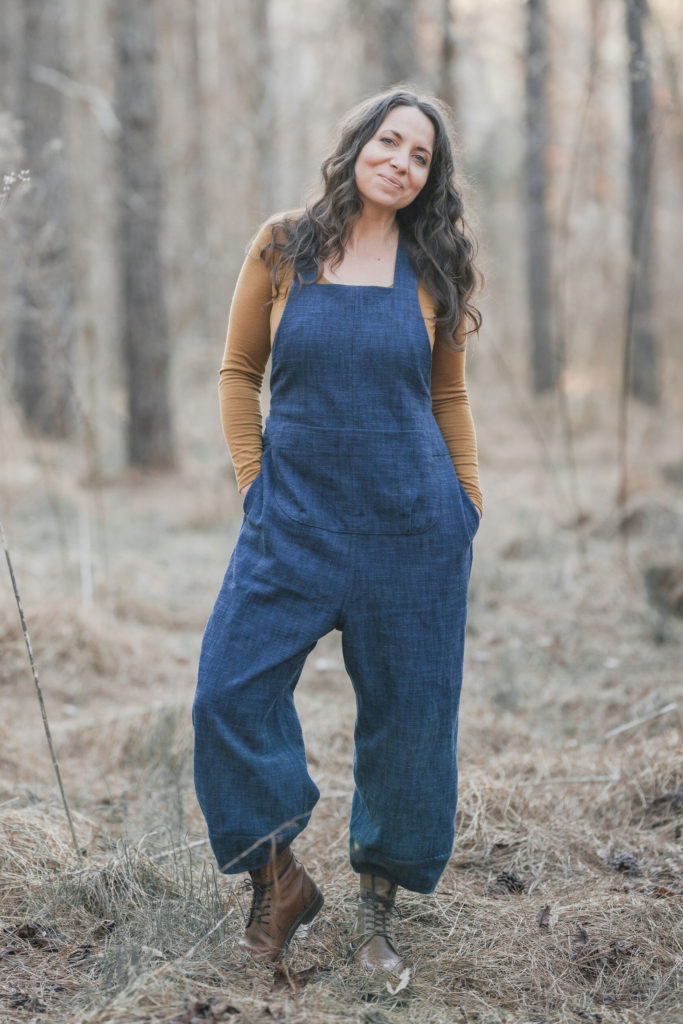
For a pattern like the Otis Overalls, my previous method of making would have only resulted in frustration.
The Otis Overalls are an intermediate sewing pattern
The instructions are detailed and have a lot of steps, which can be intimidating, even for very experienced sewists. Breaking the work up into multiple days ensures that the sewing remains manageable and enjoyable. Below, I will outline how I broke up my sewing and cutting, but feel free to further break it, or combine things as works for you and your schedule. This is simply a guide.
Before we get into that though, let’s talk about making a muslin. Before I began working at Sew Liberated, I am embarrassed to admit this is something I almost NEVER did. I was just too impatient.
But for Otis, making a simple muslin will save you a lot of heartache in the end. You need to be fairly far into the instructions before you’re able to try on the overalls, so making a muslin will not only prevent a LOT of seam ripping, but potentially losing the precious fabric that you’re so excited to use for this project.
We have a post with tips about fit and making your muslin here. You can use the same guide below for sewing your muslin, while following Judith’s tips for making that process a bit quicker.
One thing we really get earnest about at Sew Liberated is the value of process, and how embracing the entire project as a process can help you to slow down and truly enjoy the project. Yes, this even includes ironing your yardage. (We talk about this a LOT in the Mindful Wardrobe Project, if you want to do some intentional learning in this direction.)
Perhaps you’ve viewed cutting your pattern out as a bit of a bore in the past, but taking your time and breathing through each of the preparation processes really does help the entire project go more smoothly!
Tracing, Cutting, Marking
Start by reserving an entire evening or afternoon just for tracing, cutting out your pattern, and marking your pieces or applying interfacing. That way, when you want to sit down and sew, everything is ready to go.
Prep 1, Steps 1-3
In this first session prepare the straps, waist ties, and front pocket.
Prep 2, Steps 4-5
Next prepare the back pockets and secure them to the pant backs.
These two “prep” sessions could be combined depending on your schedule. If you have a whole Saturday afternoon, go for it! If you are trying to get a few seams in after work, keep them separate.
In-Seam Pockets, Steps 6-7
This is the trickiest part of the Otis Overalls, so I would allow an entire afternoon or full day for these steps. If you have a little time the evening before, you could prepare the pocket bags beforehand. When you have finished the inseam pockets give yourself a pat on the back and take a long break
Assemble the Pants, Steps 8-10
This includes sewing the crotch seams, the inseams, and attaching the cuffs. If you are following the flat-felling instructions I would allow a whole morning or afternoon for these steps. If you are subbing in serged seams, this could be combined with the next session if you so desire.
Assemble the Bib and Bib Facing, Including inserting the drawstring, Steps 11-15
This might seem like a lot of steps grouped together, but none of these seams require flat felling! Remember to stay stitch before assembling.
Attach the Bib to the Pants, Step 16

Although this is technically only one seam to sew, the finishing steps included flat felling as well as stitching in the ditch, so I like to allow plenty of time for it, so I can go slowly and carefully. It is easy to rush when you are close to the end, but this step will turn out better if you take your time.
Hand Sew the Facing and Attach the Front Pocket, Step 17-18
After so much machine sewing, I find hand sewing the facing very relaxing. I made myself a cup of tea, and sat on my couch with a favorite tv show as I slowly hand stitched it in place. Top stitching the front pocket in place is the final step! Put on your Otis Overalls and do a little dance, because you are finished!
I hope this guide is helpful in figuring out how to break up the Otis Overalls into manageable pieces. Depending on your schedule and preferences, as well as your speed, these sessions can be further divided or combined to suit you. Just remember that it isn’t a rush, and making anything is as much about the joy of the process as the joy of the finished garment.
xo,
Meredith & Judith



Responses