Estuary Skirt Sew-Along Day 3 – Waistband and Plackets
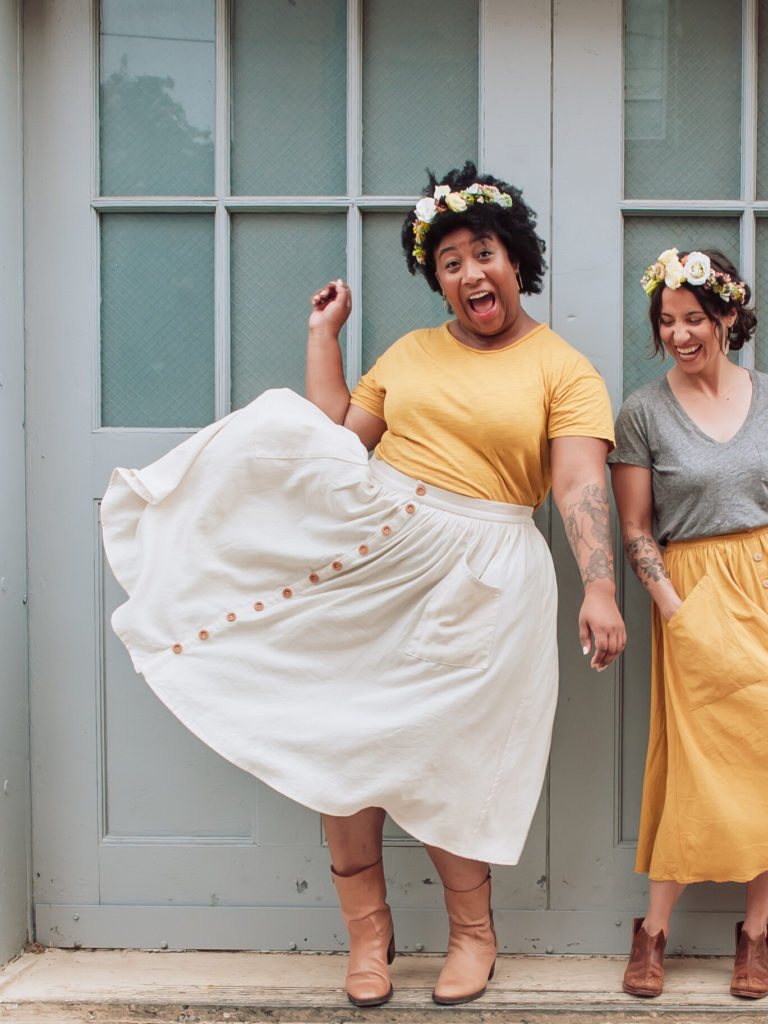
Today we’re focusing on preparing the waistband and sewing the skirt’s plackets (where the buttons will be sewn on.)
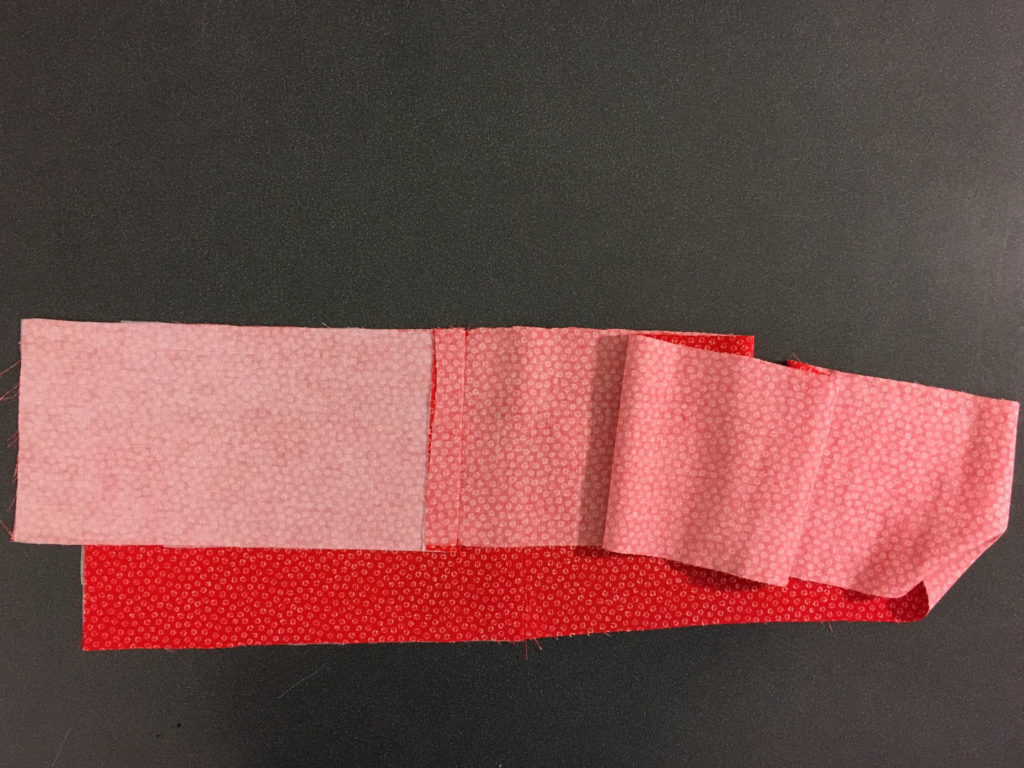
- Sew the Front Waistband pieces to the Back Waistband, right sides together, matching the short edges. Press the seam allowances towards the front.
- Press the waistband in half lengthwise, wrong sides together (WST).
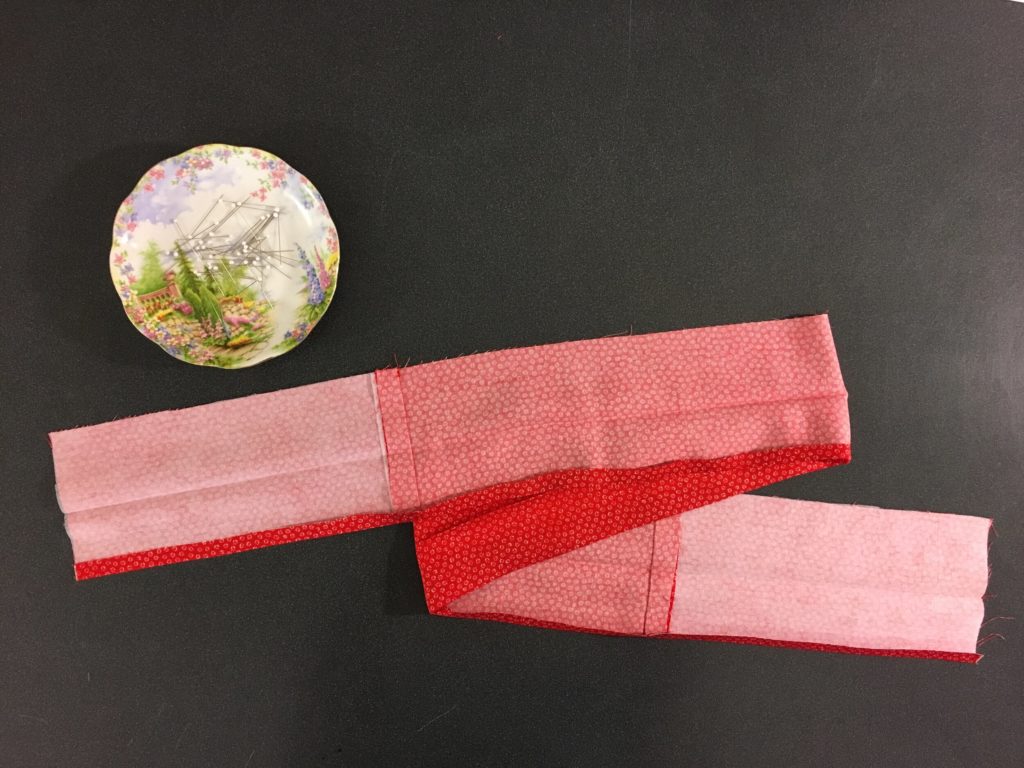
3. On one long edge of the waistband piece, press up ⅜” (9mm) to the wrong side. Set the waistband aside.
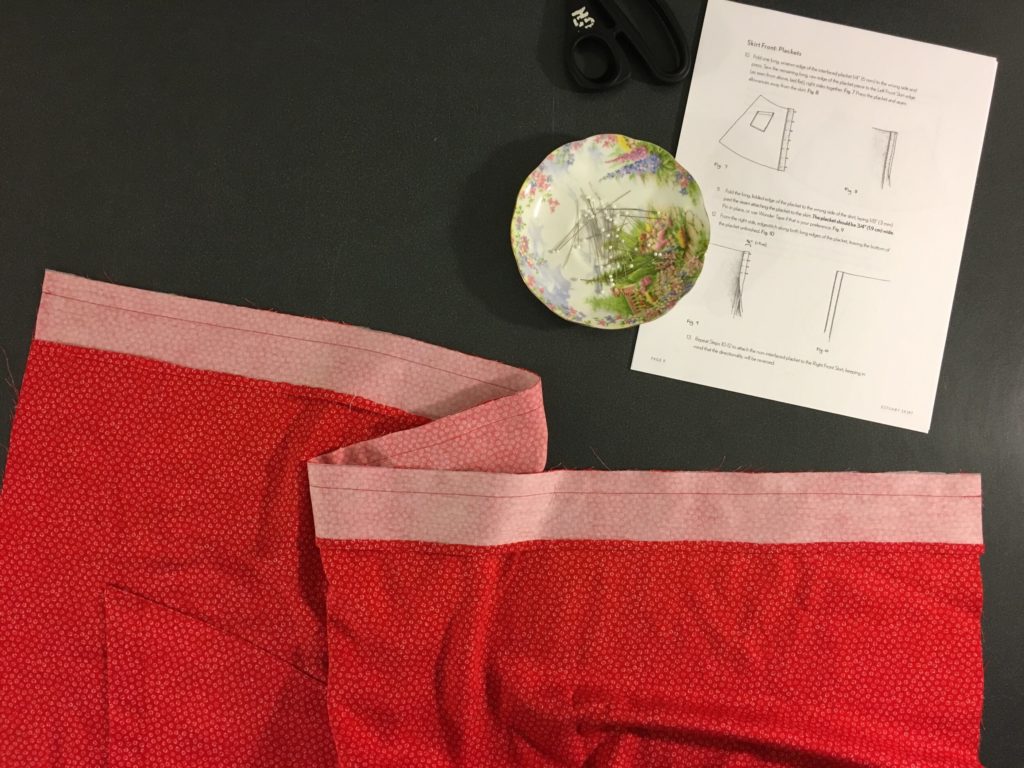
Skirt Front Plackets:
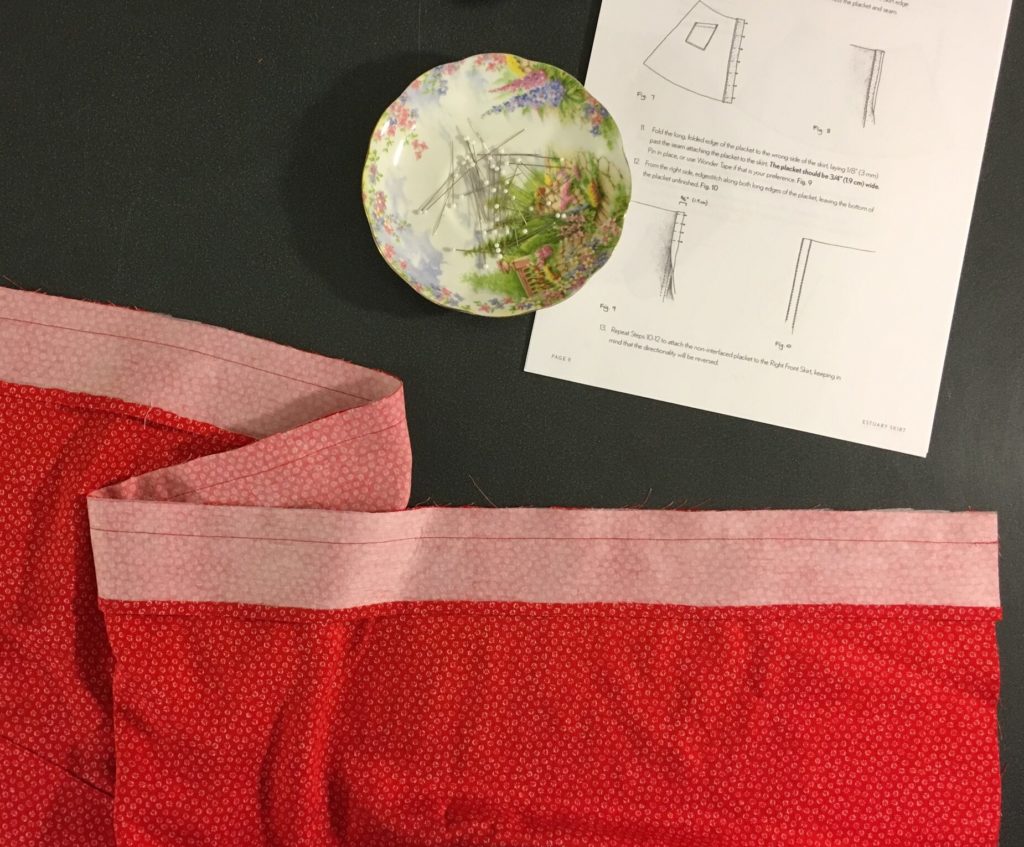
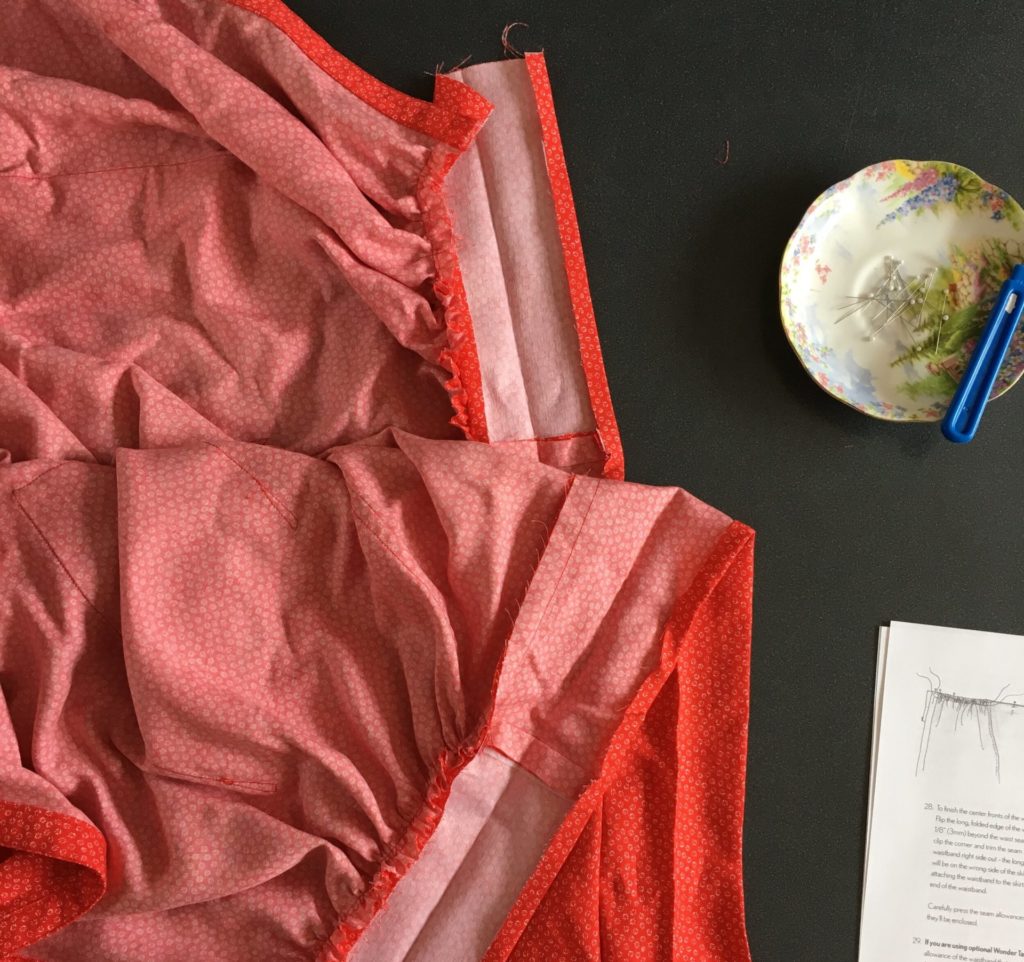
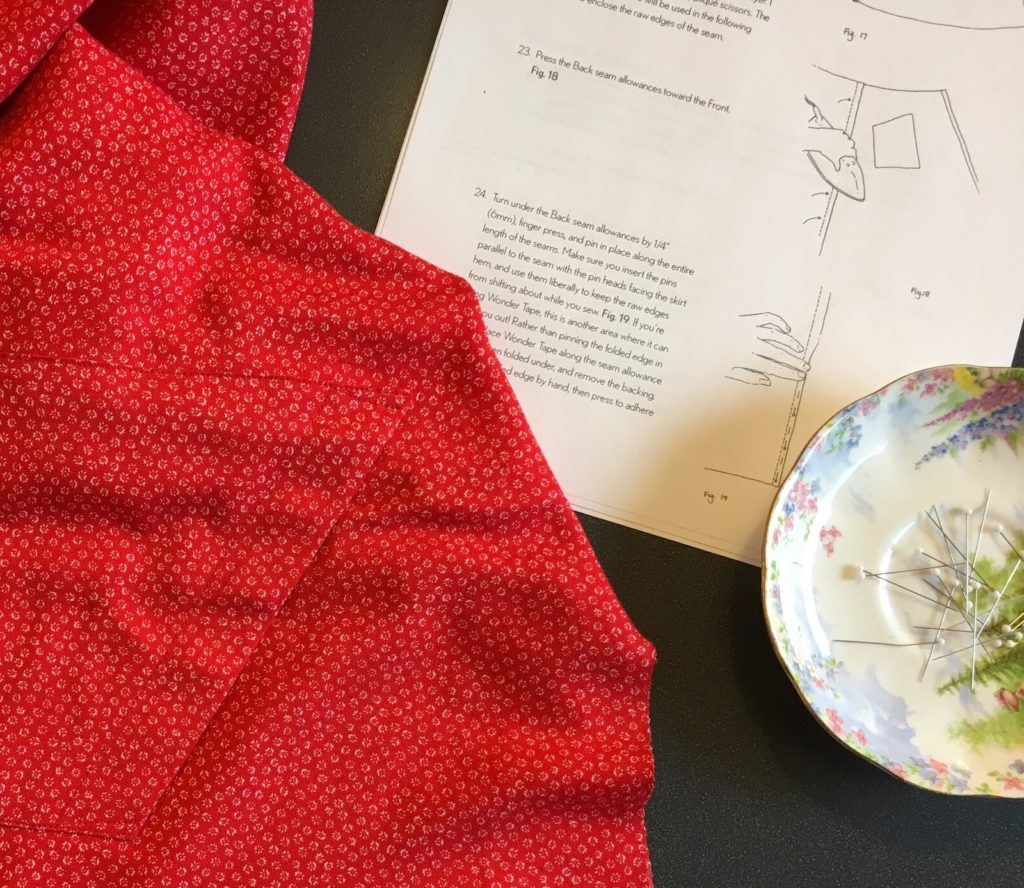
4. Fold one long, unsewn edge of the interfaced placket ¼” (6 mm) to the wrong side and press. Sew the remaining long, raw edge of the placket piece to the Left Front Skirt edge (as seen from above, laid flat), right sides together (shown above.) Press the placket and seam allowances away from the skirt.
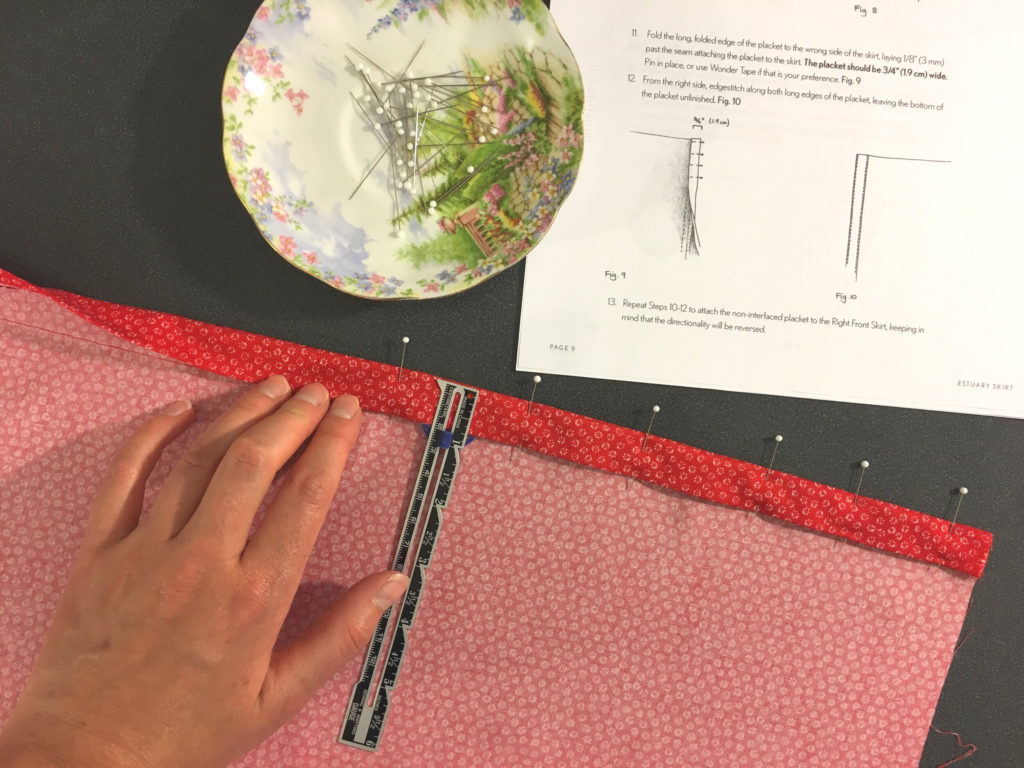
5. Fold the long, folded edge of the placket to the wrong side of the skirt, laying ⅛” (3 mm) past the seam attaching the placket to the skirt. The placket should be ¾” (1.9 cm) wide. Pin in place, or use Wonder Tape if that is your preference.
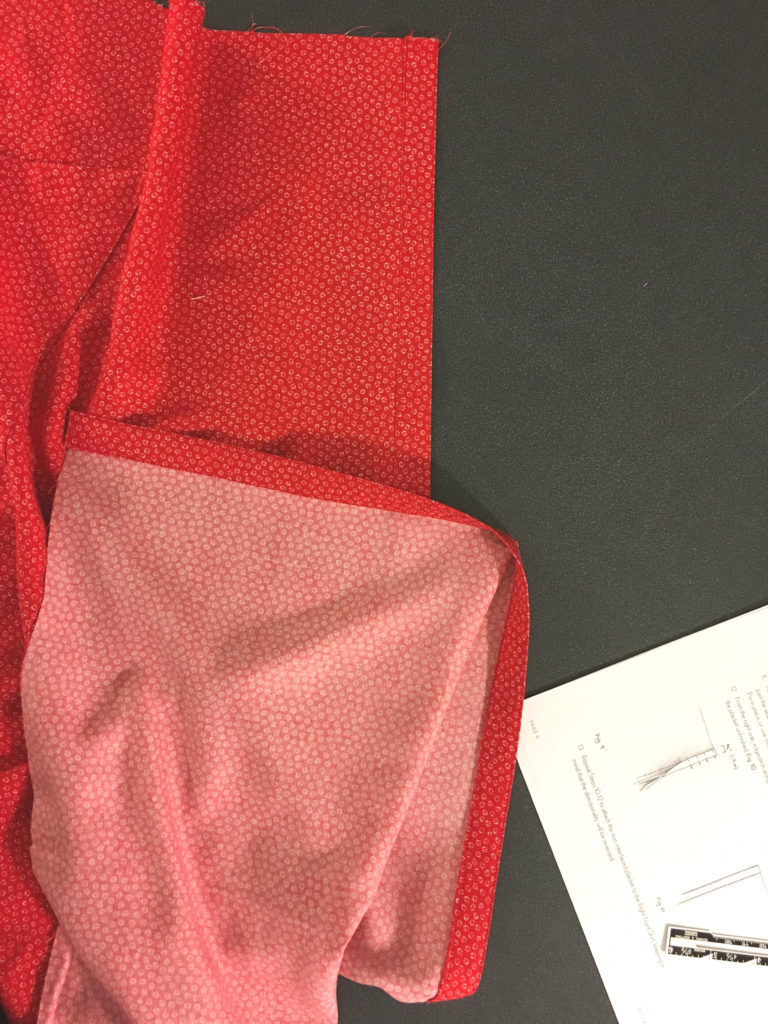
6. From the right side, edgestitch along both long edges of the placket, leaving the bottom of the placket unfinished.
If you have one with your sewing machine, this is a great time to use your edgestitch foot! It will also come in handy when we get to flat-felling the side seams, but any time that you want a consistent edgestitch, this tool can make a huge difference for neatness! Before you start sewing with the edgestitch foot, double check your needle position. I move my needle all the way to the left, since the metal piece that goes against the edge is at the center of the foot.
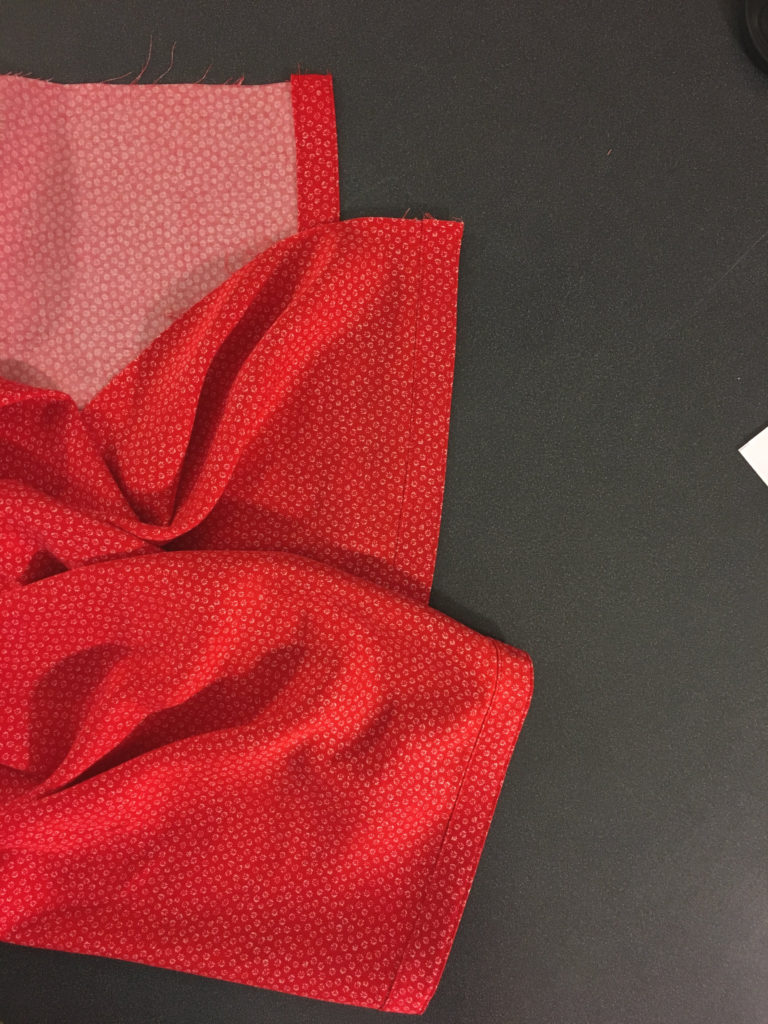
7. Repeat Steps 10-12 to attach the non-interfaced placket to the Right Front Skirt, keeping in mind that the directionality will be reversed.



Do we nedd two plackets? It does not say this on the pattern placket piece!!
*need
Yes, it does :((
I am sorry.
I am a newbie and I’m quite confused in this one… in step 2 it really looks like the waistband has been pressed RST not WST (and then unfolded, so that you can still see the crease). Is that correct? The pattern and the instructions say to press wrong sides together but it just doesn’t line up with the photo (as far as I can tell!).
Hi Sarah,
I think the shadows are playing tricks 🙂 Yes, the waistband is folded WST, because you’re setting the top crease of the waistband with this press. It’s much easier to get this neat when you’re at this stage of the waistband.
Hello, when sewing the undressed edge of the placket to the skirt edge, should a 5/8" seam allowance be used? It doesn’t specify. Thanks!
Help! Can I do pleats instead of gathering? My linen doesn’t want to gather nicely. I know this will give the skirt a different look – not too worried about that. Just want to know if anyone’s tried it and if it turned out well.