Lichen Duster Sew-Along Day 4: Pockets and Front
Day 4: Pockets and Front
Welcome back! Now that you have the Back of your Lichen Duster assembled, we’re going to move on to the front. Today we’ll assemble the pockets and complete the princess seams on the front, and we’ll move on to the collar assembly in Day 5.
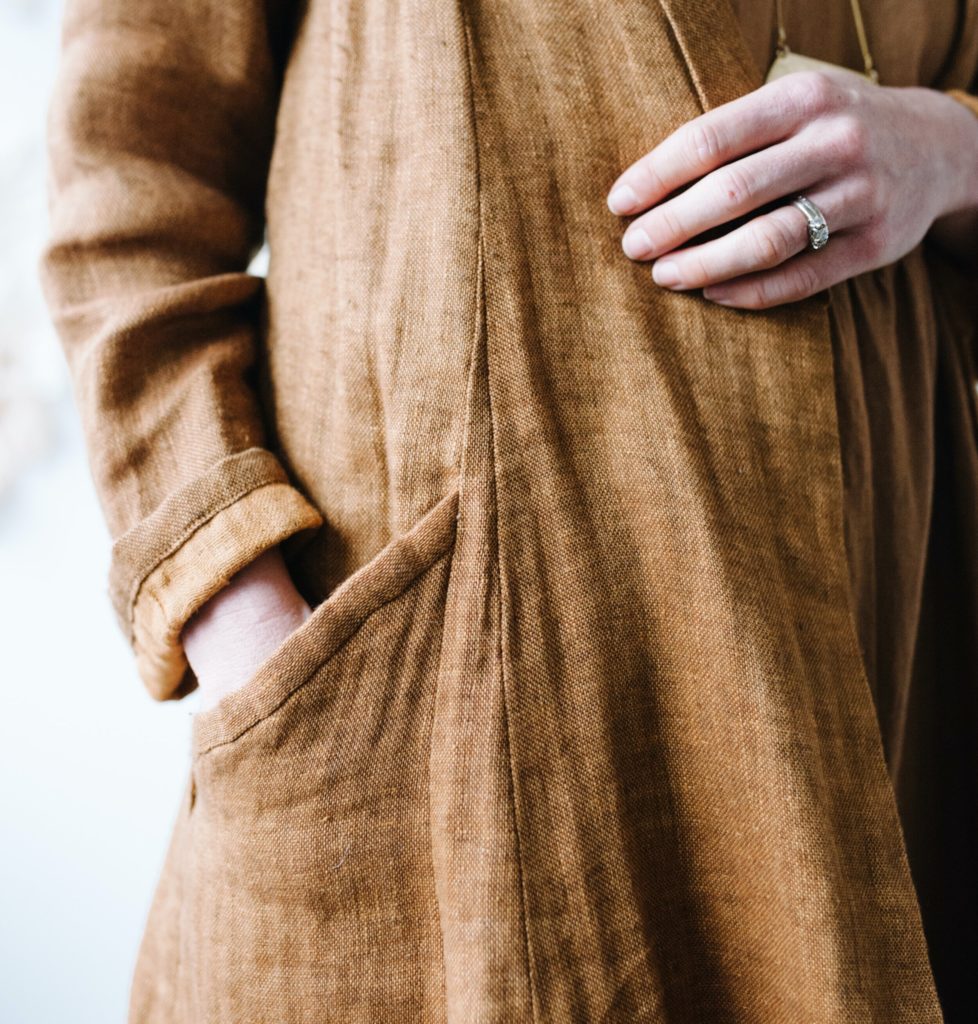
The pocket bag is formed when the Side Front is folded up on the fold line, and the top edge of the pocket is bound together with the Lower side front to complete the pocket. Let’s get started!
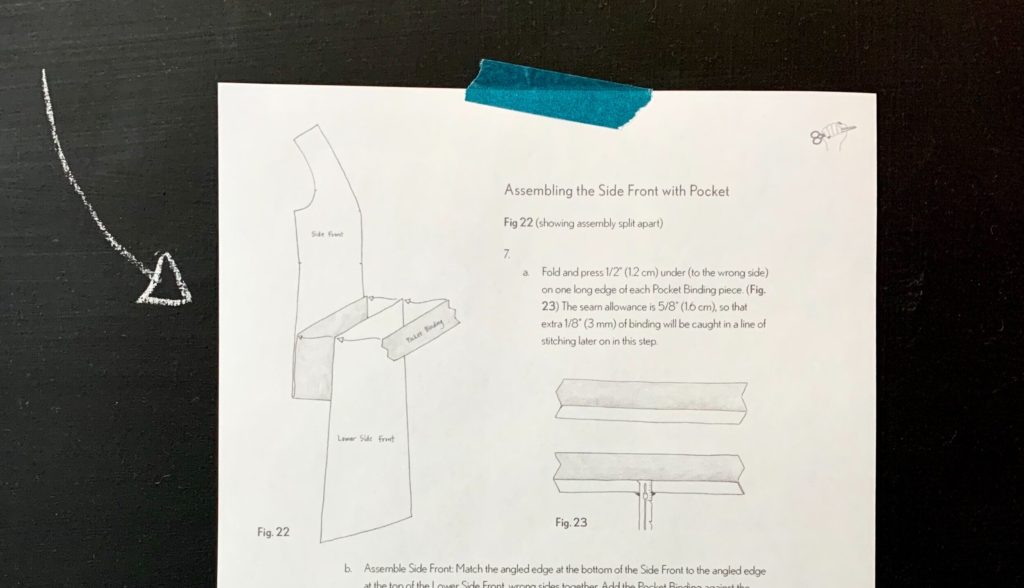
We are working on page 16 of the instructions. Take a look at Figure 22 – it shows how the Side Front, Lower Side Front, and Pocket Binding will work together for this assembly.
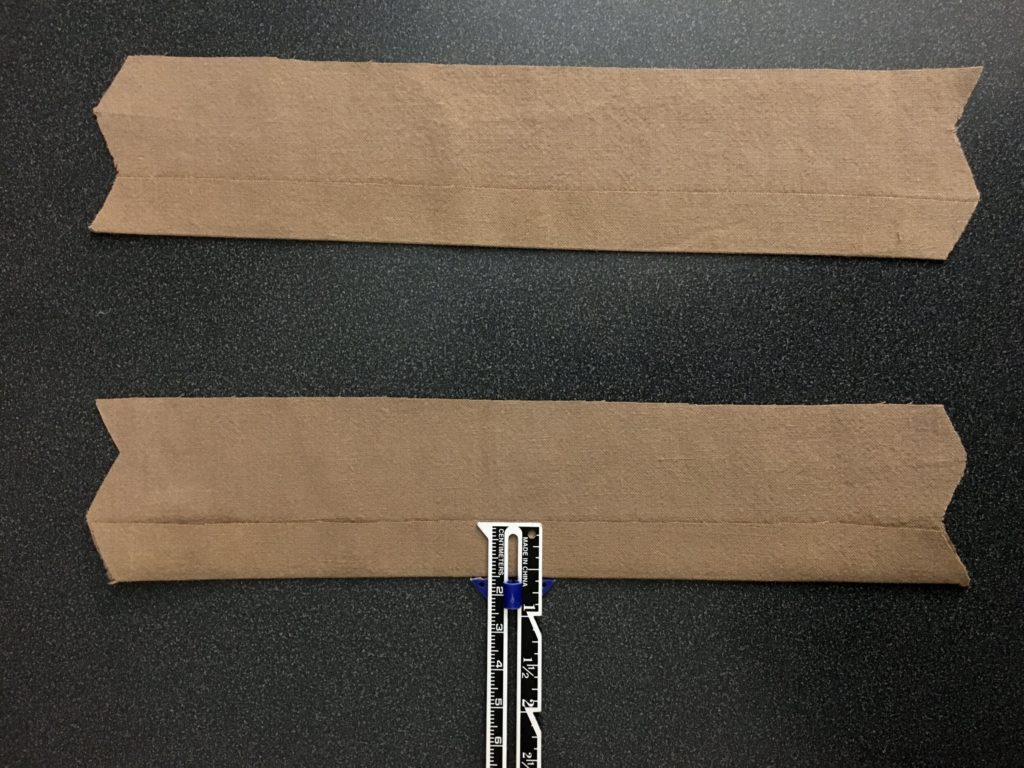
Fold and press ½” (1.2cm) under (to the wrong side) on one long edge of each Pocket Binding piece. The seam allowance is ⅝” (1.6 cm), so that extra ⅛” (3 mm) of binding will be caught in a line of stitching inside the pocket later on in this step.
*note that the photo is showing nearer to ⅝” on the gauge – it was hard to catch the fold, so ½” will be a lot easier to work with.
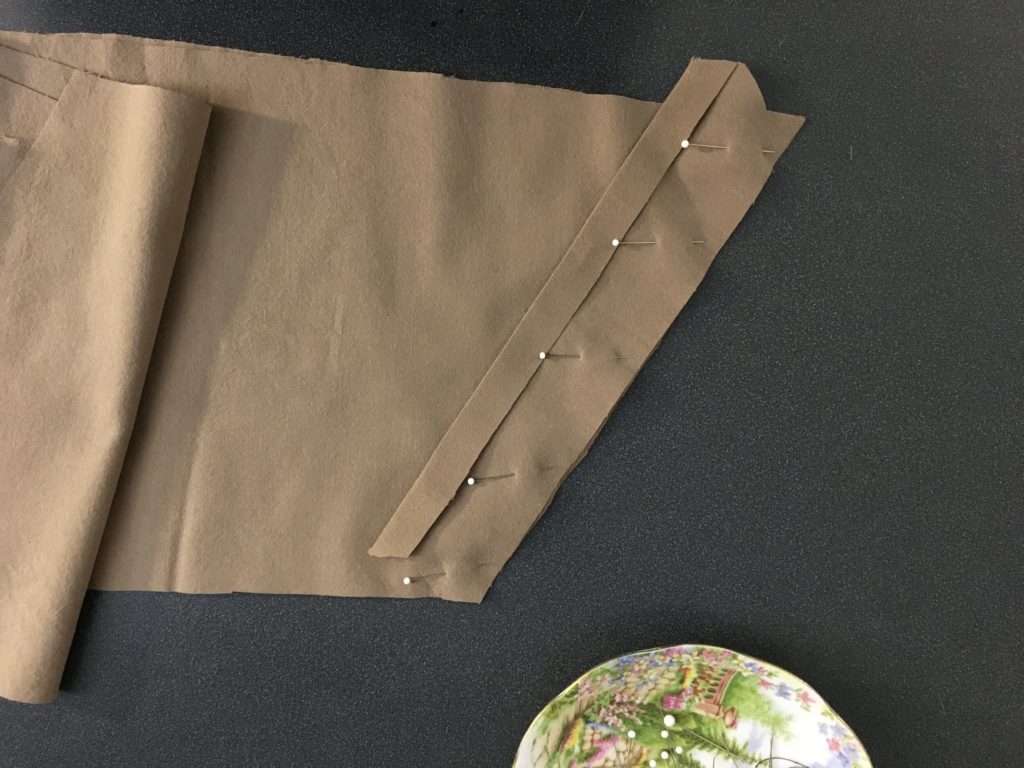
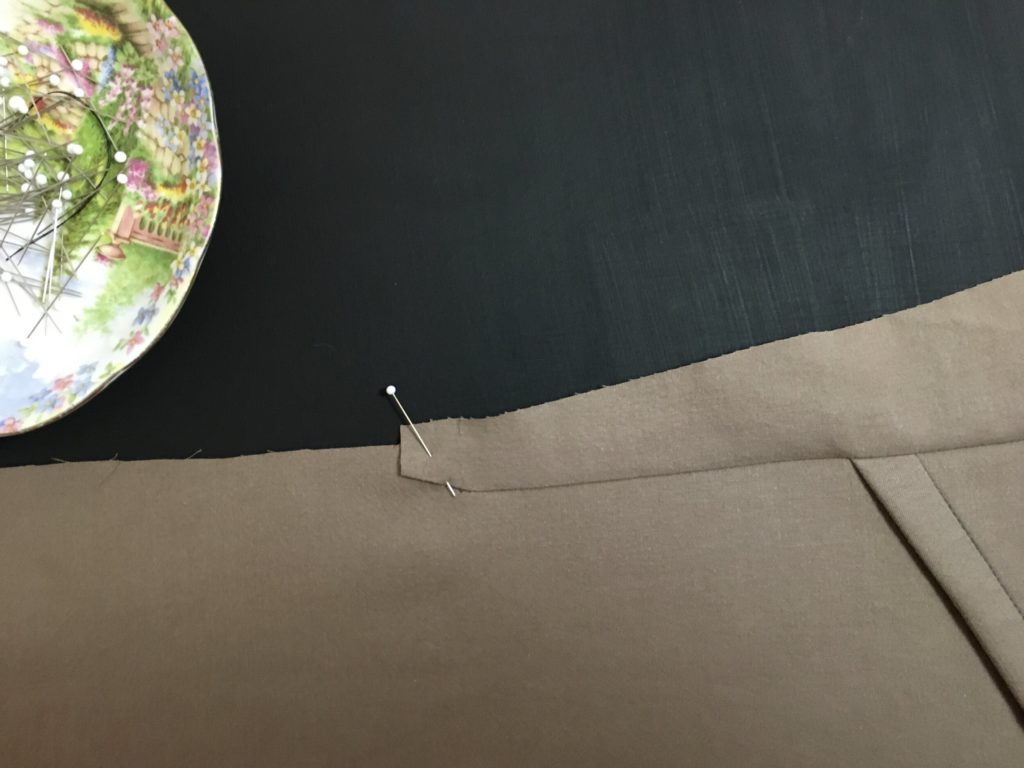
To assemble the side front, match the angled edge at the bottom of the Side Front to the angled edge at the top of the Lower Side Front, wrong sides together. Add the Pocket Binding against the Lower Side Front, the right side of the Pocket Binding facing the right side of the Lower Side Front, with the unpressed edge of the Pocket Binding lined up with the edges of the Lower Side Front and Side Front (Fig 3). Figure 24 in the instructions shows the full pieces.
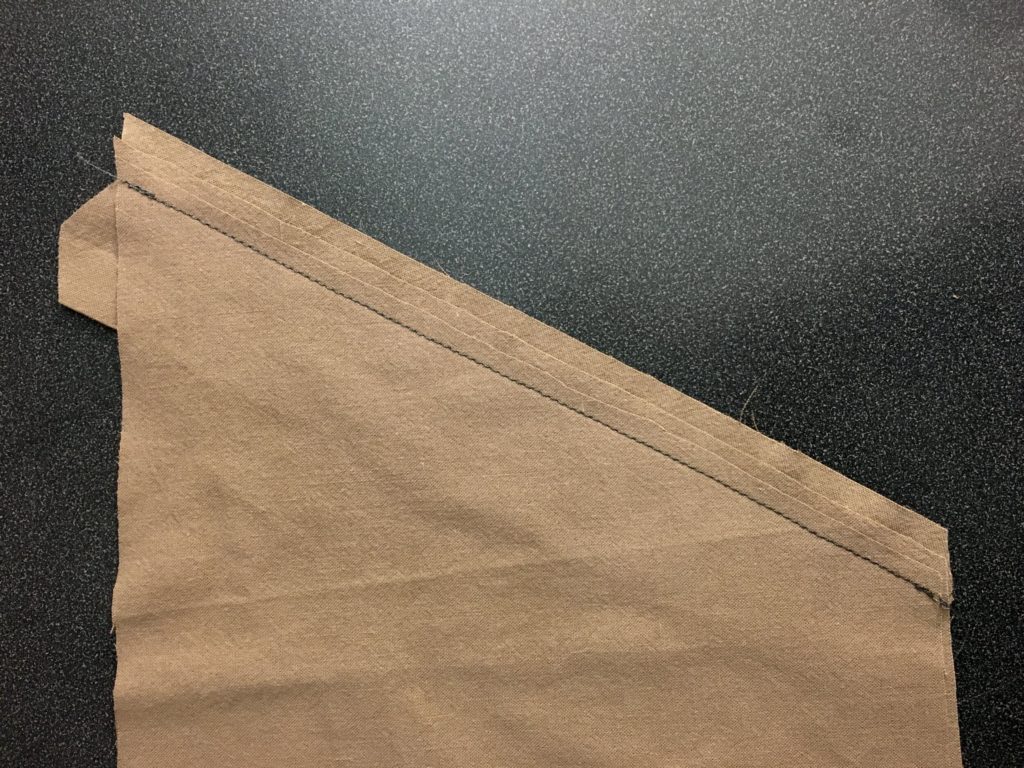
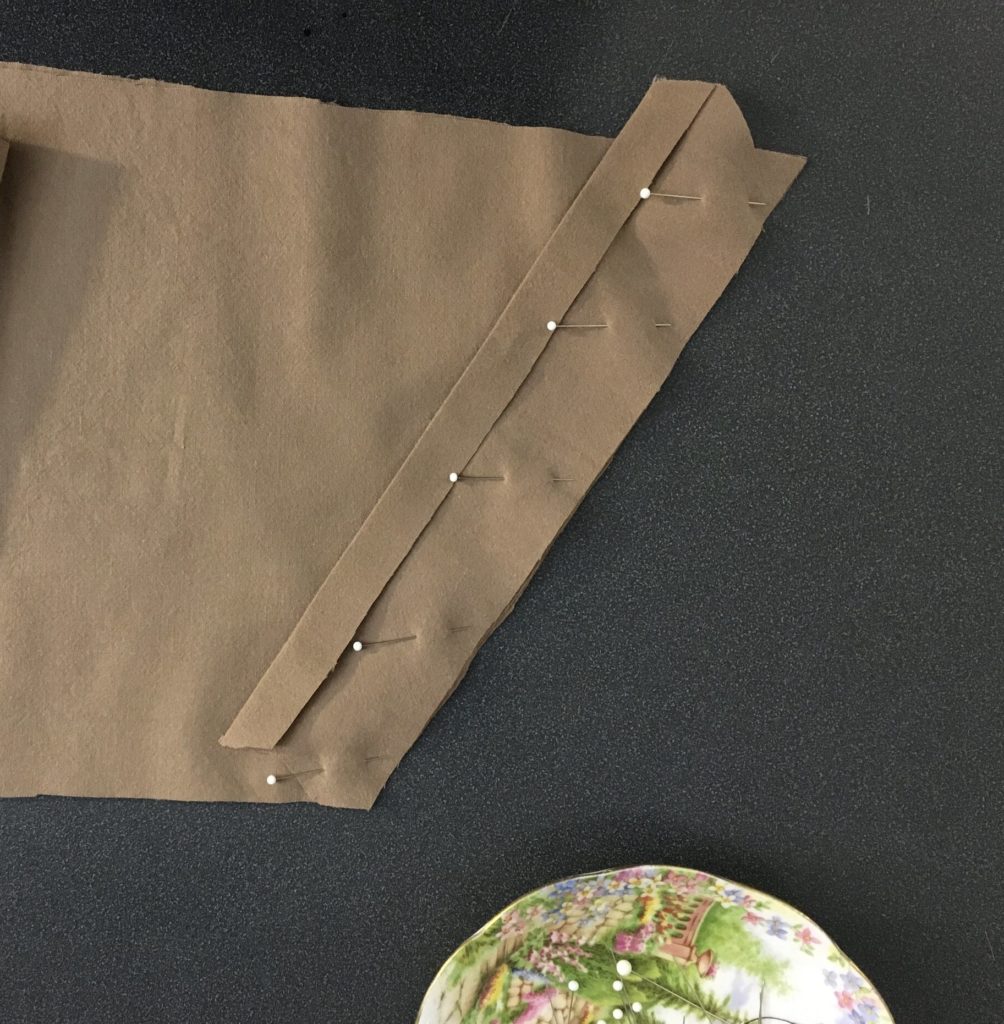
Pin and sew the angled edge through all three layers. Fig 4.
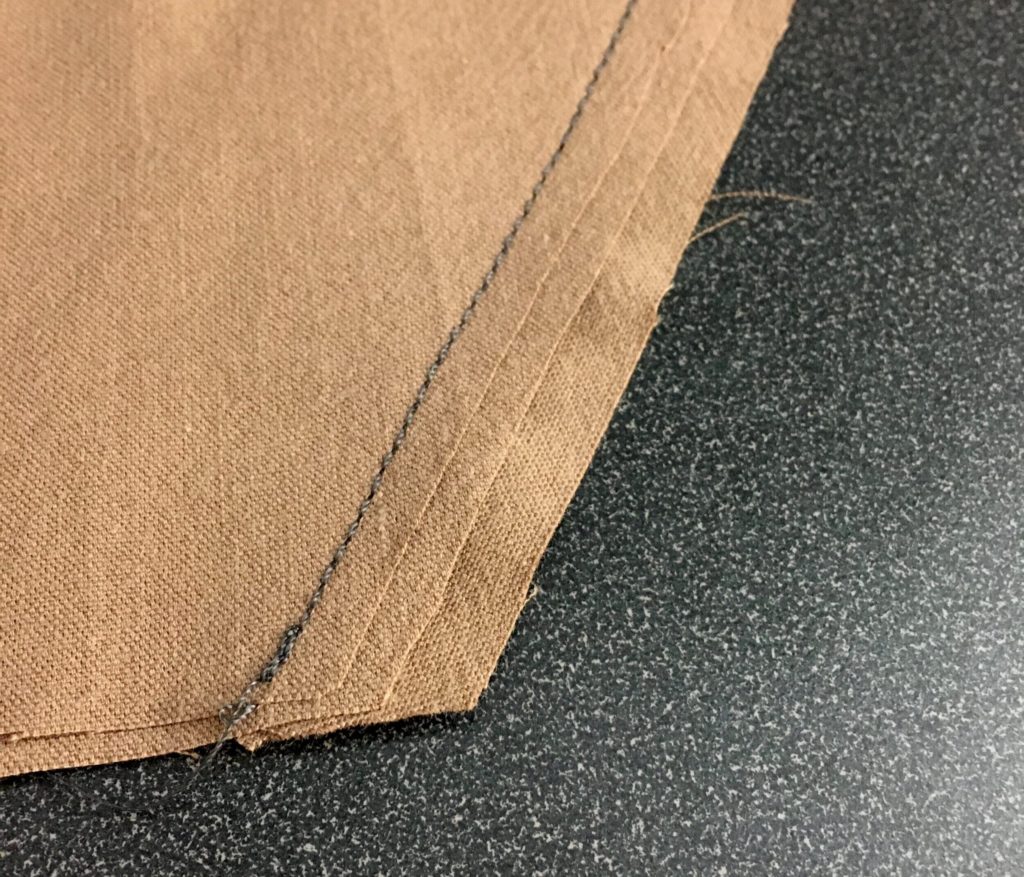
Grade seam allowances to remove bulk, leaving Pocket Binding at ⅝” (1.6 cm), Lower Side Front at ½” (1.2cm), and Side Front at ⅜” (.9 cm). Fig 5.
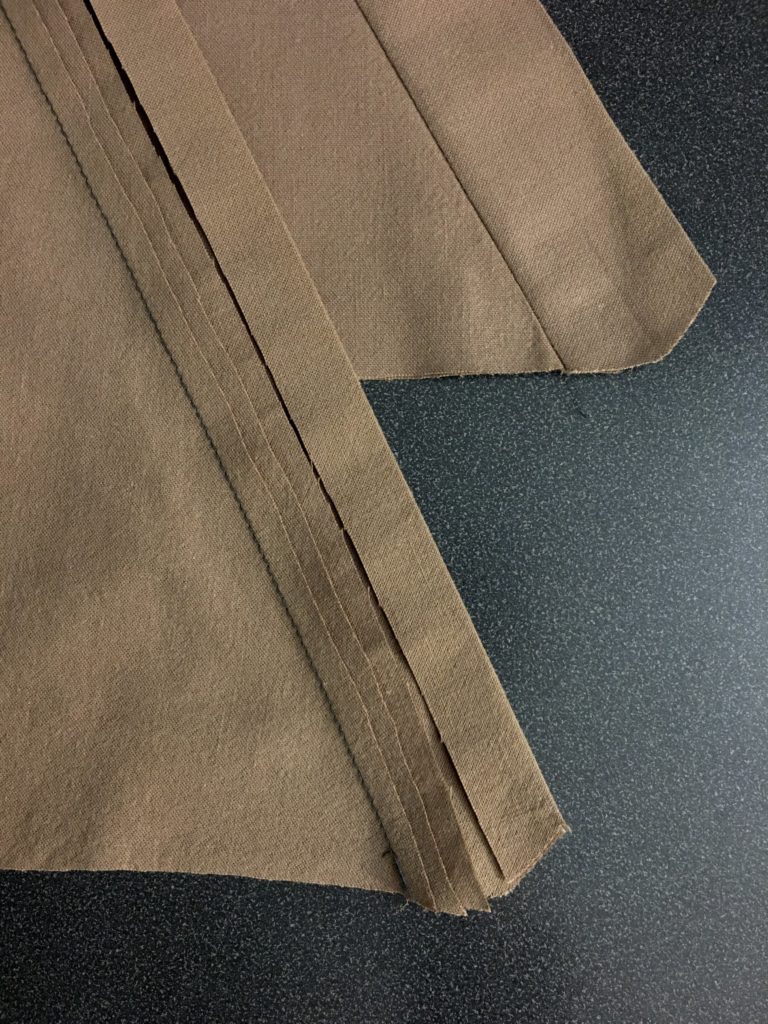
Press the Pocket Binding up, using steam to get a nice edge. Fig 6. There will be a small gap of around ⅛” (.3 cm) (.3 cm) between the edges of the seam allowances.
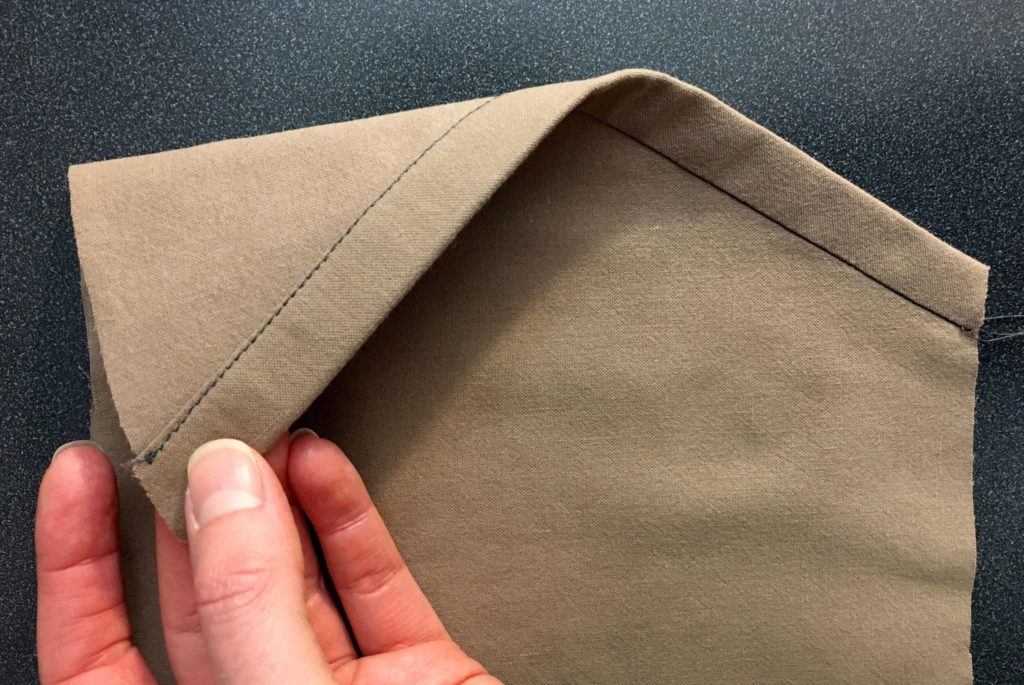
Fold the Pocket Binding around to the Side Front side of the assembly (the inside of the pocket, after it’s folded up into place), allowing the Pocket Binding to extend just slightly past the line of stitching. Press and pin in place. From the right side, stitch in the ditch to enclose the seam allowances, catching the folded edge of the Pocket Binding on the inside of the pocket. Fig 7.
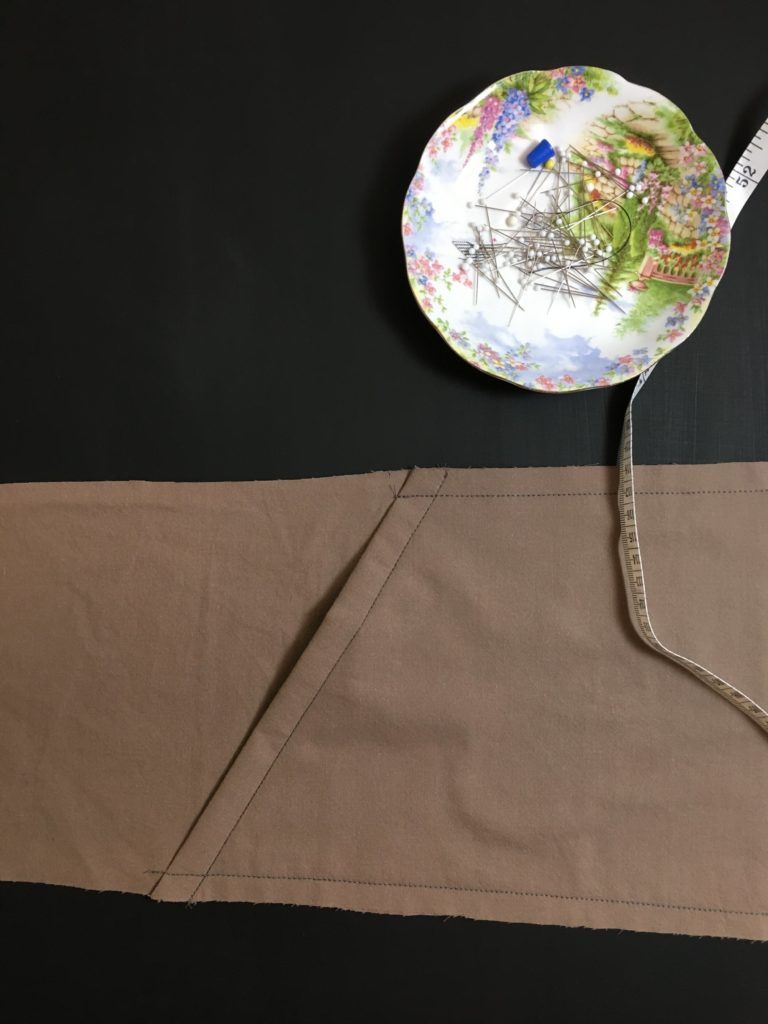
Now that the edge of the pocket is bound, we’ll form the pocket bag. Fold the Side Front up at the pocket fold line notches, bringing the bound pocket edge to the notches on the Side Front. Using these pocket fold line notches accurately is really important! This sets the length of the side front, and will determine how well the lengths of the seams match up to the Back and to the Front Gore and Front.
The Side Front panel has now formed the pocket bag, and the Lower Side Front is hanging straight down from the bound edge, in front of the pocket bag. Baste in place in the seam allowances with a ½” (1.2cm) seam allowance – the assembly is now referred to as the Side Front (Fig 8). See Figure 28 in the instructions for an image of the full Side Front.
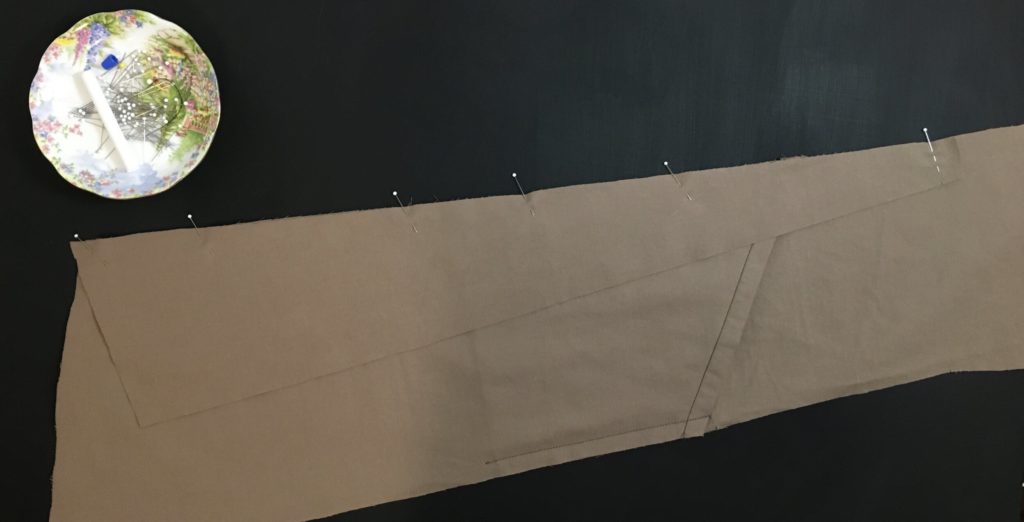
Go ahead and complete this pocket process for the other Side Front assembly, so that you can work on both sets of princess seams in the next steps.
Matching notches at the waist and bottom of the pocket, pin the Front Gore to the Side Front, right sides together. Sew from the notch to the hem. Fig 9.
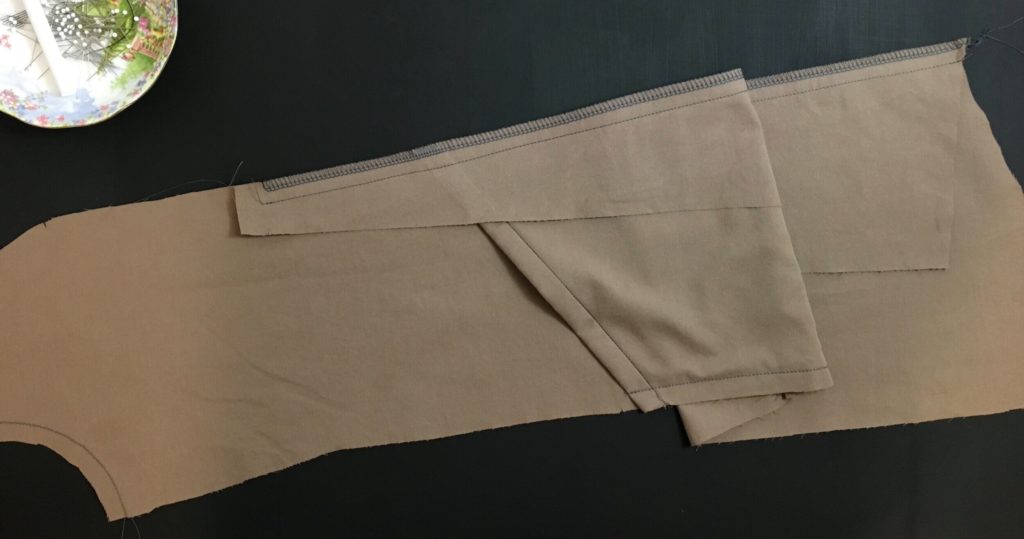
Finish only the sewn seam allowance from the notch to the hem. (Fig 10) Serging and binding are good options for this seam finish. Keep in mind that the pocket binding is bulky, and you won’t be able to turn it under for a flat-felled seam. The seam allowances need to be finished together, and pressed to the front because of the pocket binding. If you have used flat-felled or welt seams on the Back Gores, you could topstitch this seam allowance in place after finishing, for visual consistency.
Press the seam allowances towards the front. The unsewn edge of the Front Gore is now the edge of the Side Front.
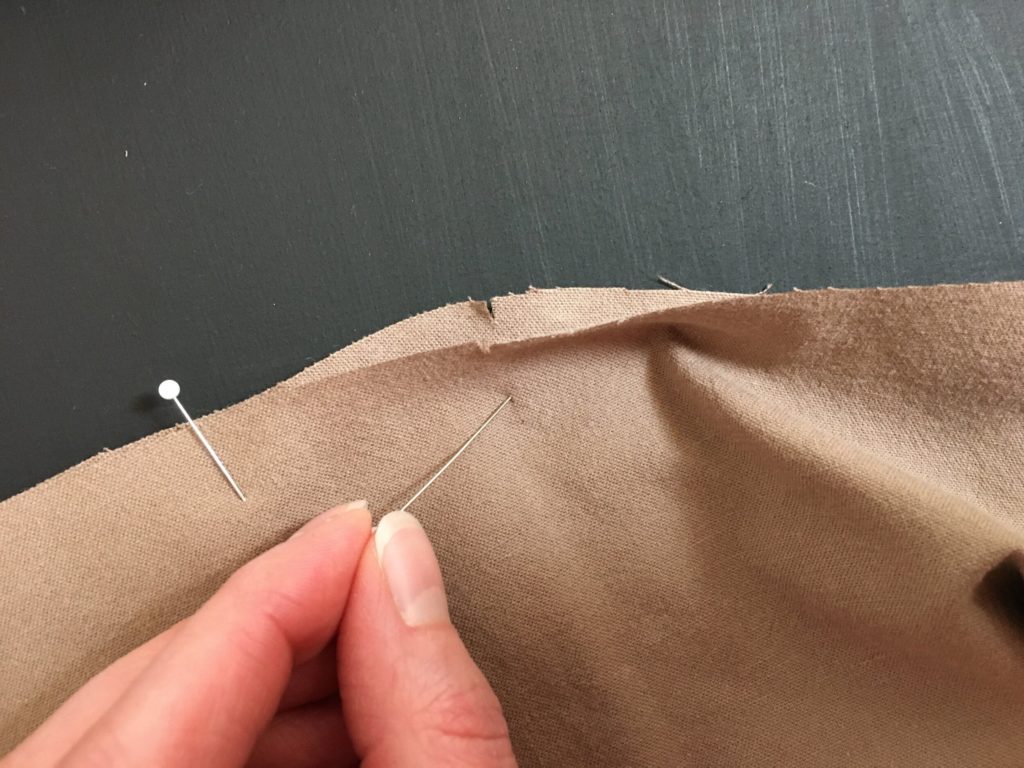
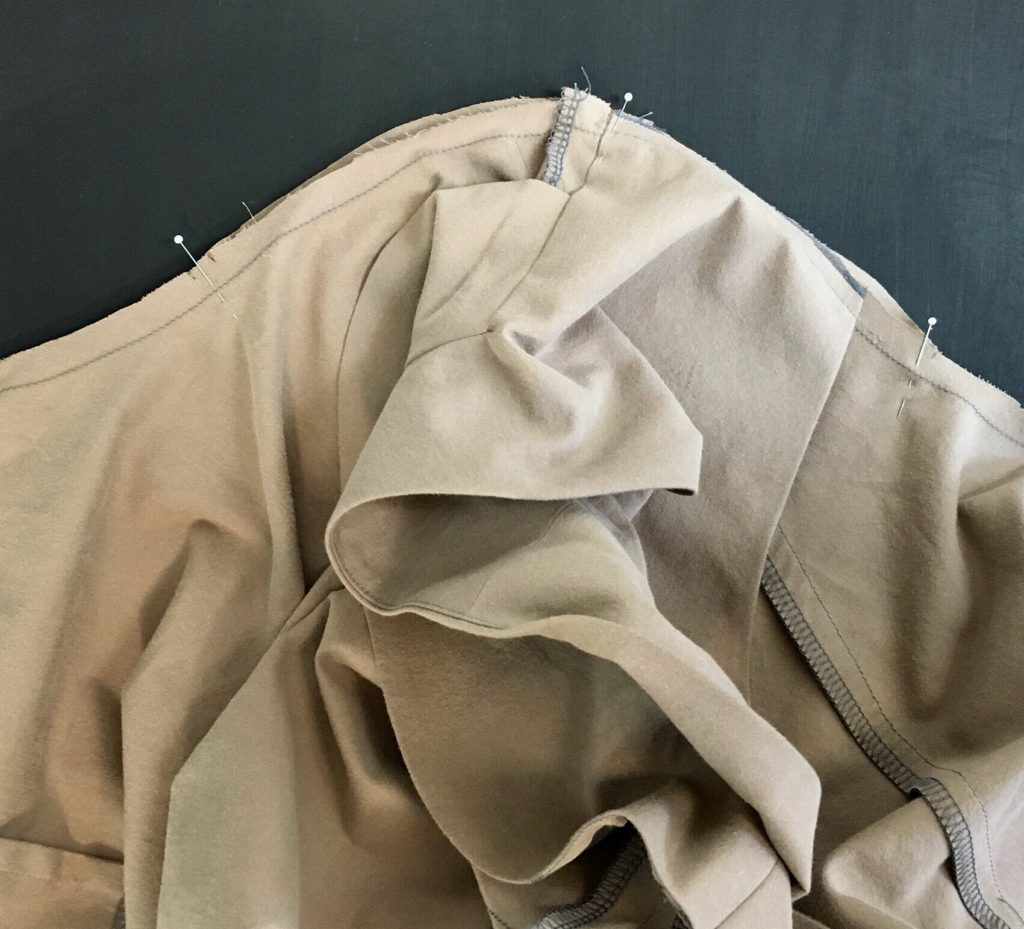
Pin the Front to the Side Front, right sides together, from shoulder to hem, matching notches at the bust point and waist, and treating the join of the gore at the waist as a smooth seam allowance. Secure the seam allowance of the top of the gore inside the seam allowance, so the top edge doesn’t peek out into the seam as you go along. It’s okay to pull it into the seam allowance a little, as shown above in Fig 11, and below in Fig 12. That’s why you didn’t sew above the notch in the previous step.
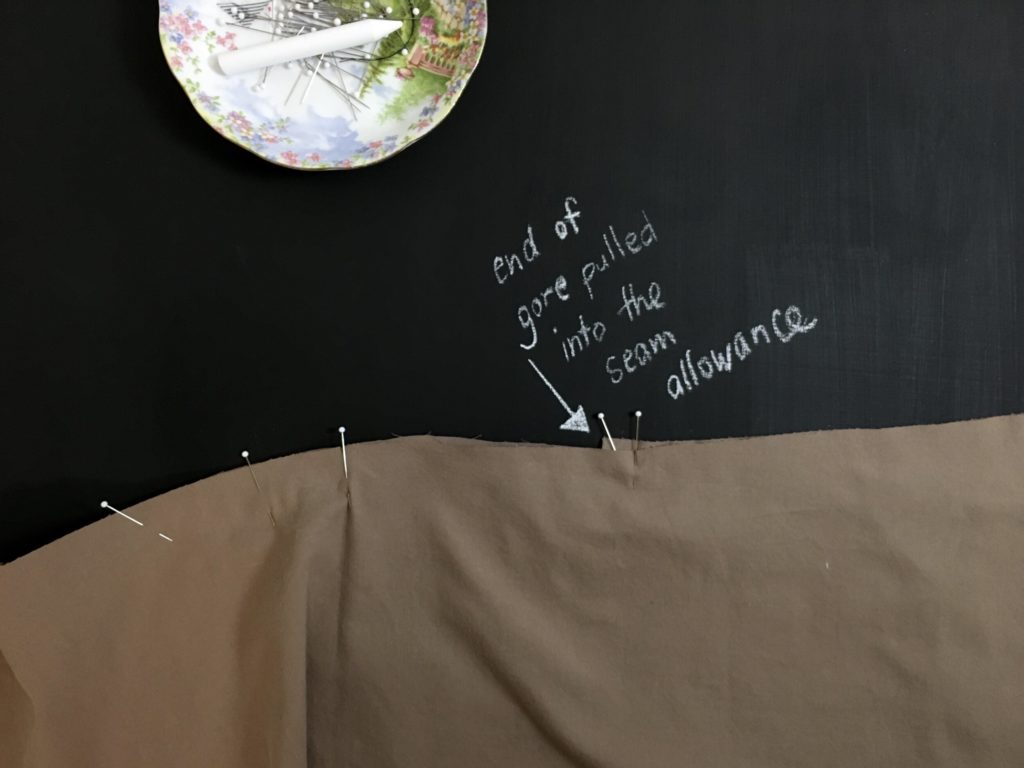
At the bust point, you may find it tricky to line up the notches. The key to a notch on a curve is to understand that it’s pointing to the point on the stitching line that matches on each piece. Take a look at the pin in the photo (Fig 13). You can see the seam allowance curving around it a bit, but the notch points on the seam line match perfectly. If you are struggling with this area, you can always chalk in the stitching lines and mark the notch points exactly.
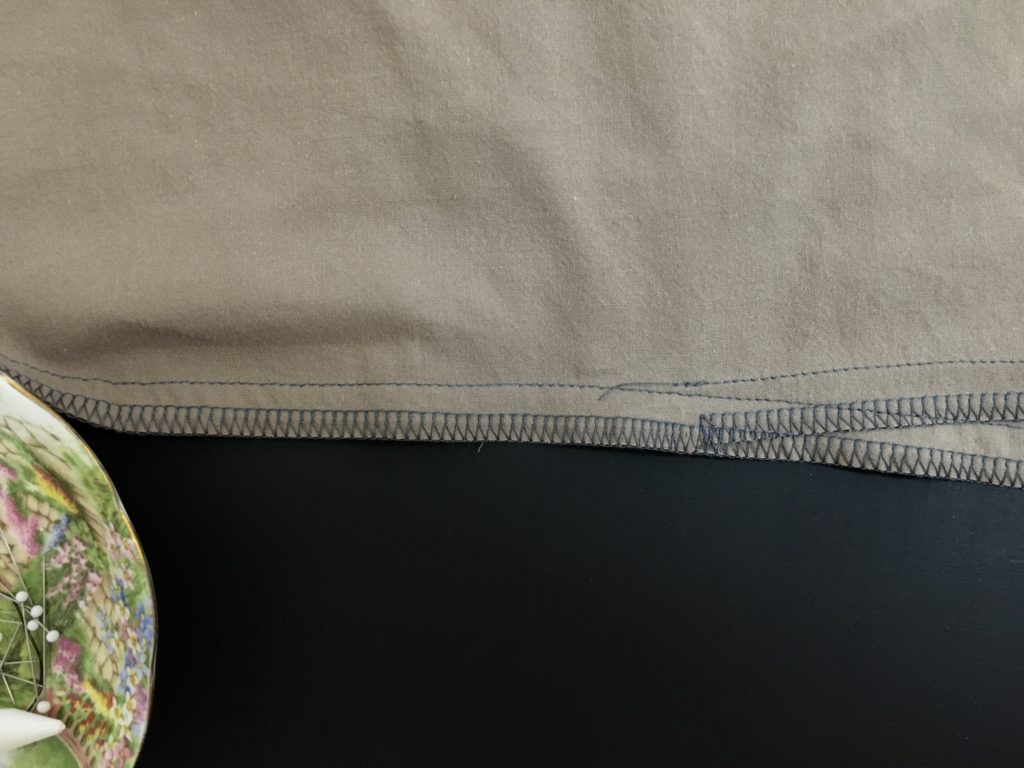
Sew the seam carefully, and finish the edges together with the same finish as you used in step 8. Fig 14.
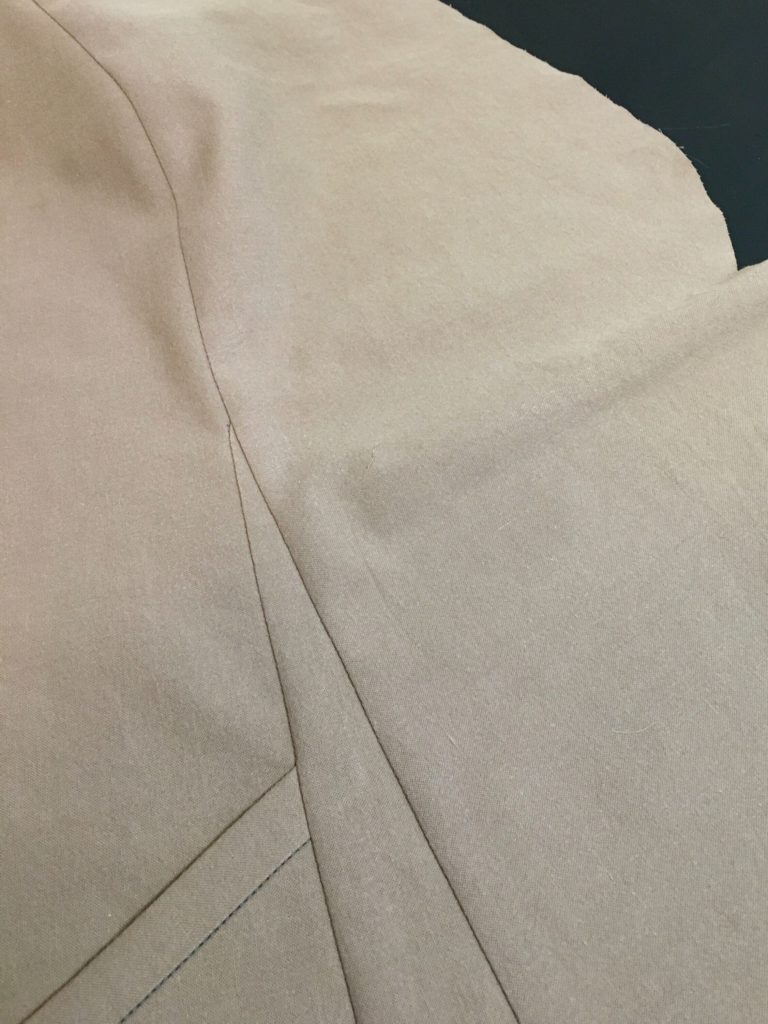
Press the seam towards the center front, carefully avoiding pressing pleats into the fabric as you go over the bust point – a pressing ham would be a useful tool for this step.
Your Front pieces are ready for Collar time, on Day 5!


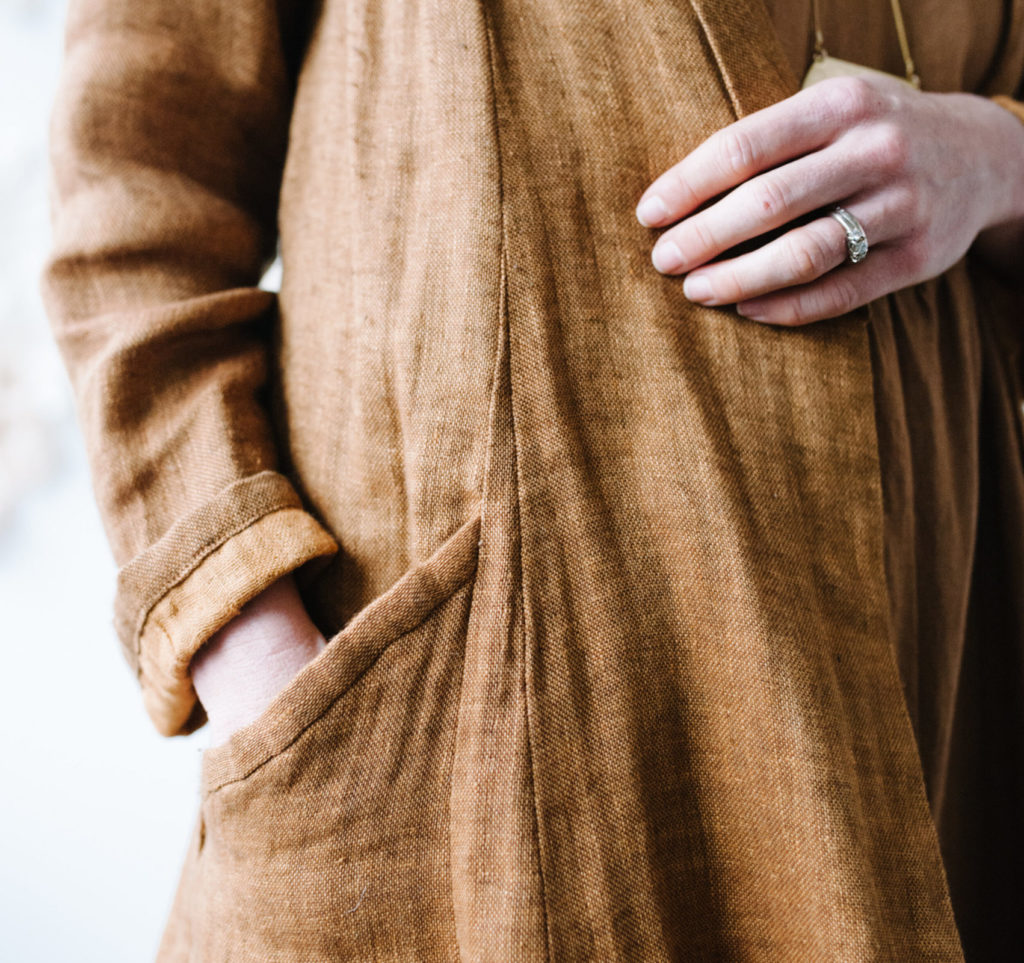
When is the best time to overstitch the gore seams so they match the flat felt seams on the back?
And is it just the gore seam or the whole front side seam?
If you want top stitching on all of the vertical seams, I’d do the gore seam when it looks like fig 11, and the princess seam when it looks like fig 15.