Estuary Skirt Sew-Along Day 2
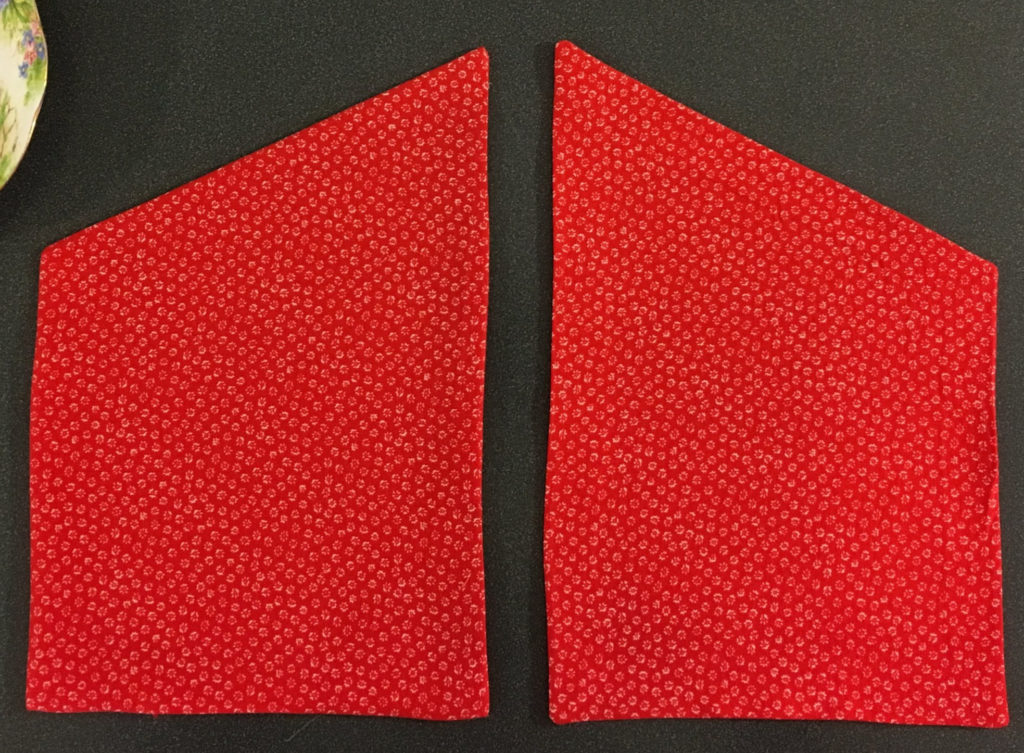

Making and Applying the Patch Pockets:
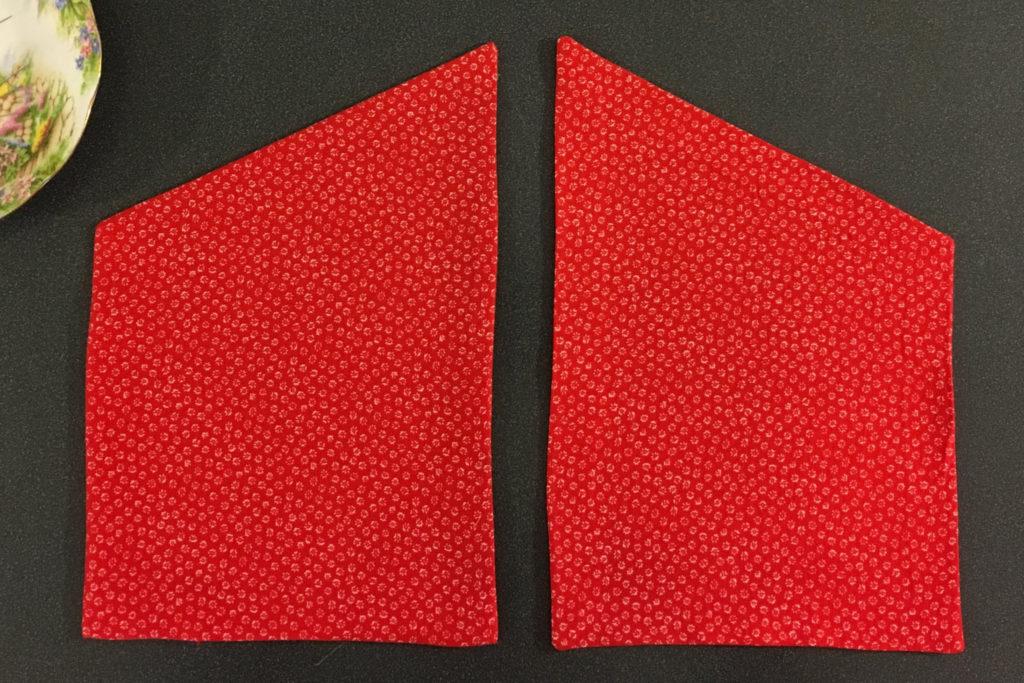
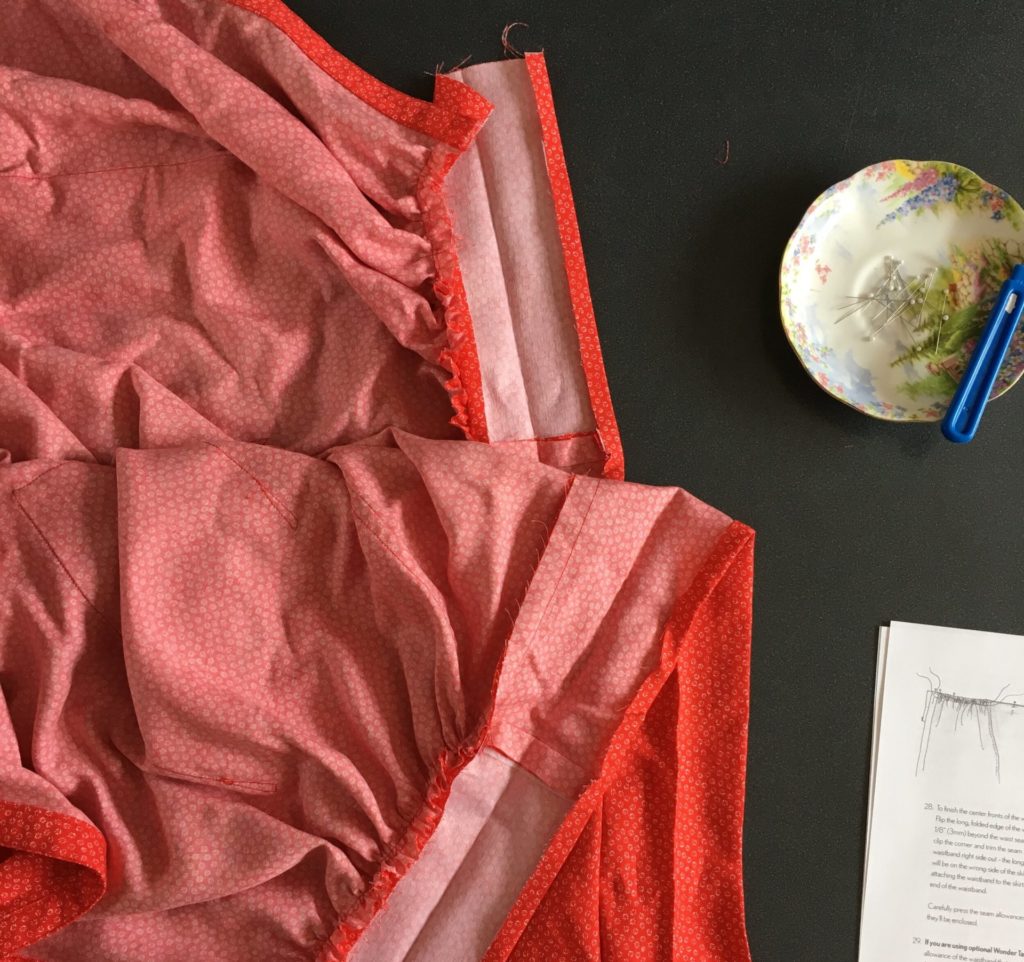
Take one set of pocket pieces, making sure that you have two mirrored pieces for this step. These are the pocket linings. Apply the ½” by 8 ½” strips of fusible interfacing to the pocket lining pieces, ½” away from the angled edge. This is a stabilizer for the pocket edge, to prevent it from stretching out with wear. (Below image.)
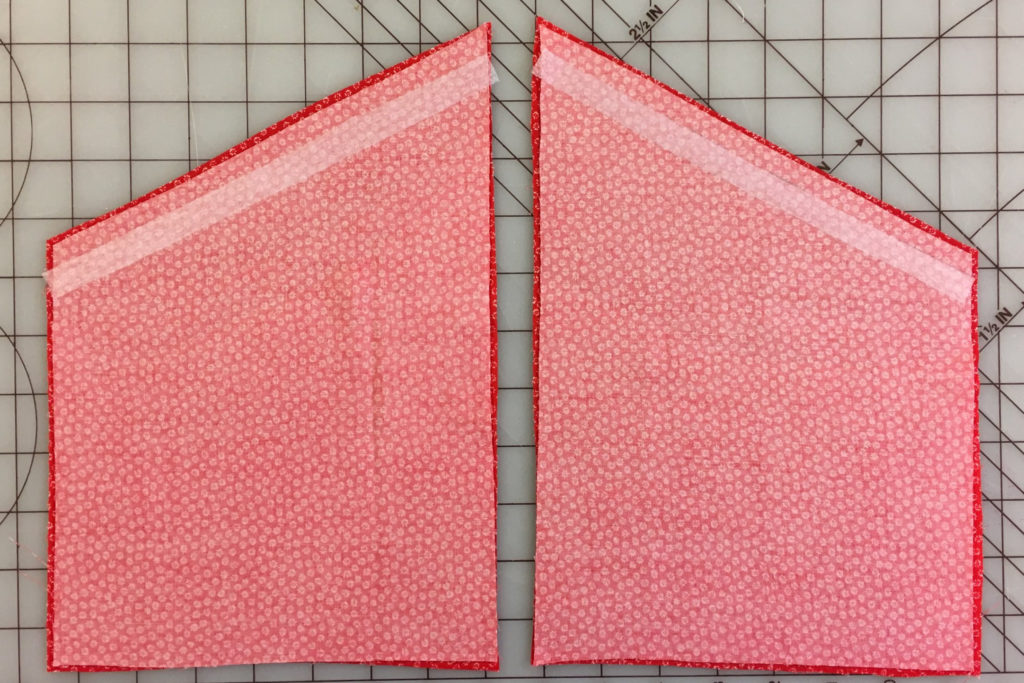
On the long side edge and the bottom edge, trim a generous ⅛” ( 3mm) off. Yes, you’re cutting a bit of the lining piece away before you even sew it! You can see the difference in the above photo. This nifty trick will help the lining be slightly smaller than the outside pocket pieces, so the seam pulls to the inside of the pocket once it’s turned right side out. (You can see this trick in some collar patterns as well, where the under collar is cut a bit smaller than the top collar, for the same reason! Fun, huh?)
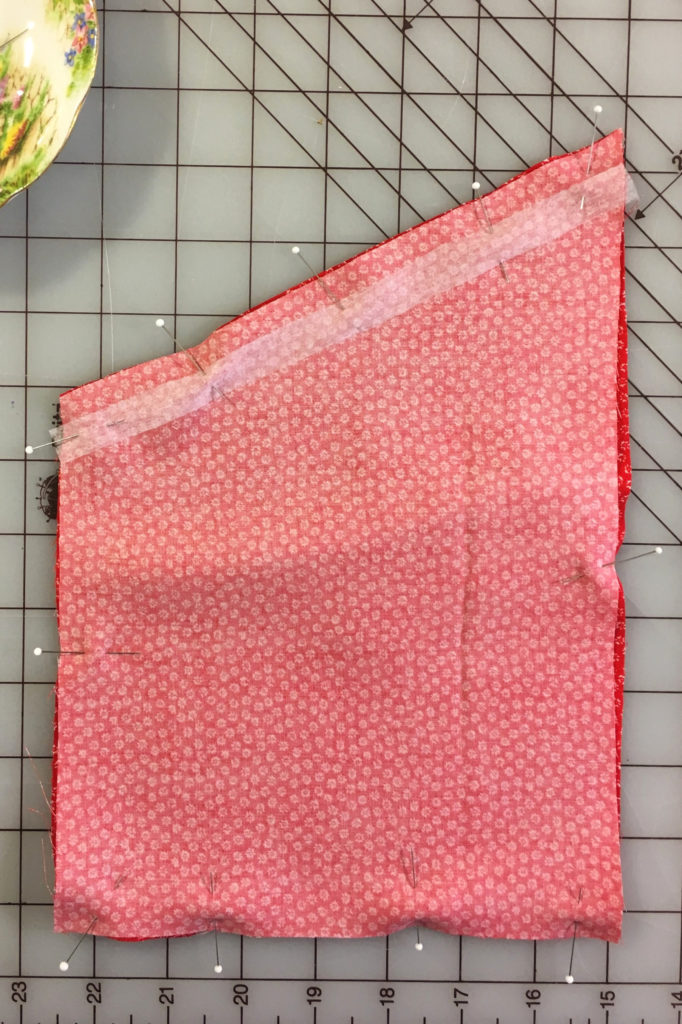
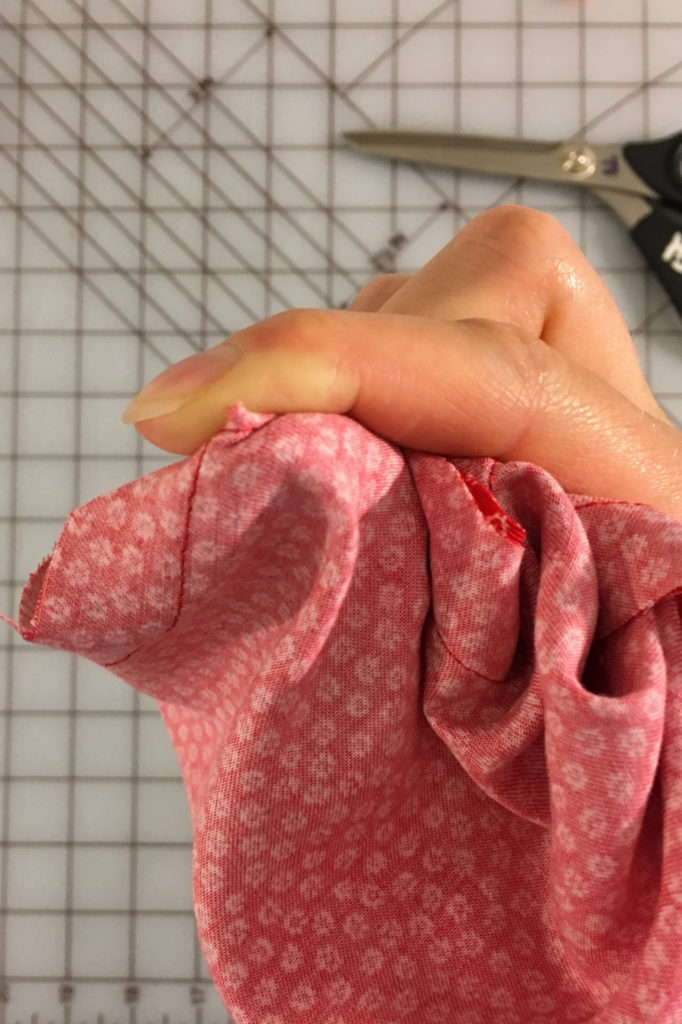
Now grab those other pocket pieces and, with RST, one pocket and one pocket lining facing each other, pin in place, especially at the corners. It’s going to look lumpy, because of the size difference, but trust me, it will be okay. (See the above photo.) With the lining piece up, and the outer pocket against the feed dogs of your sewing machine, sew the pockets right sides together, leaving a 2” (5 cm) opening at the bottom to turn them right side out. The edges of the pocket and pocket lining should be flush. You will need to ease the outer pockets onto the lining slightly, so hold the corners firmly and allow the feed dogs to do the easing as you sew.
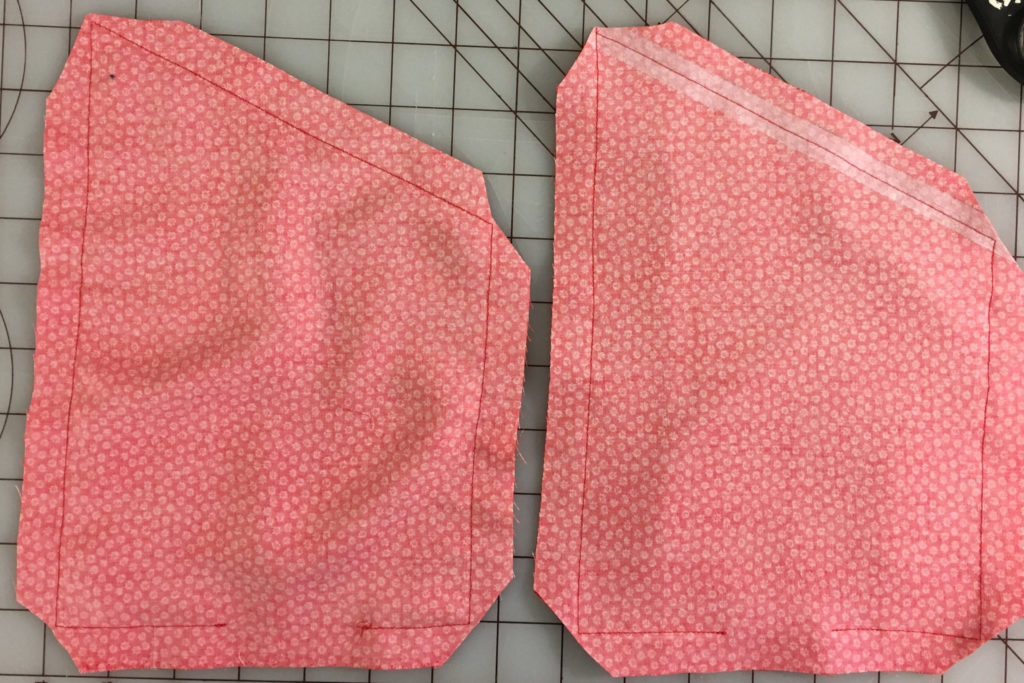
Double check that there are no teensy gathers, clip the corners (above), grade (trim) the seam allowances to ¼” (6mm),
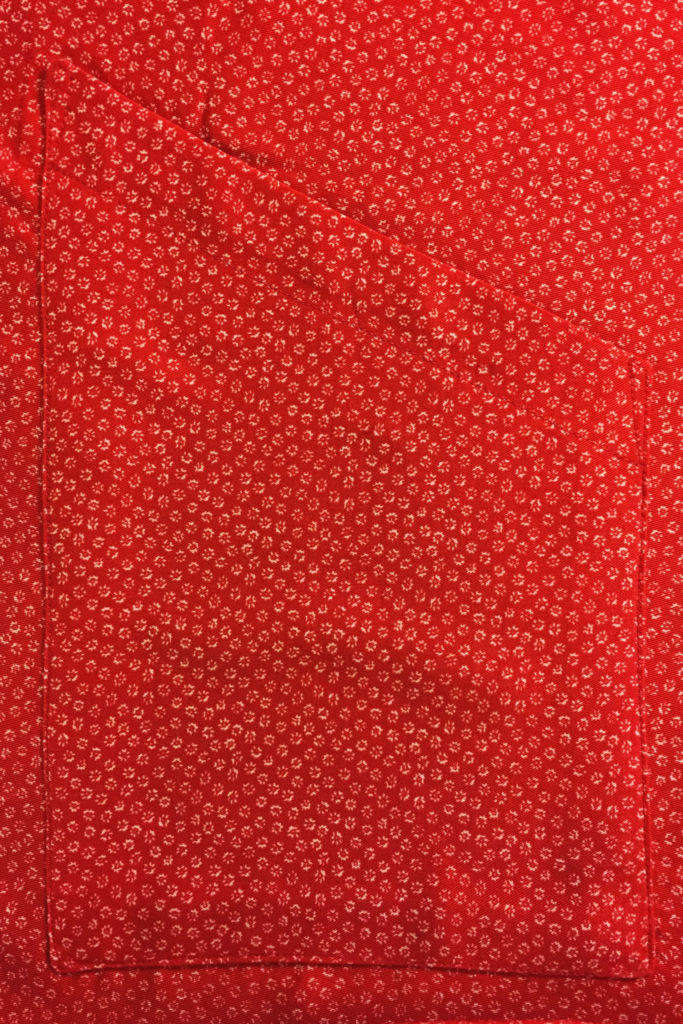
turn right side out, and press. Sew a line parallel to the top (angled) edge, 1” from the edge.
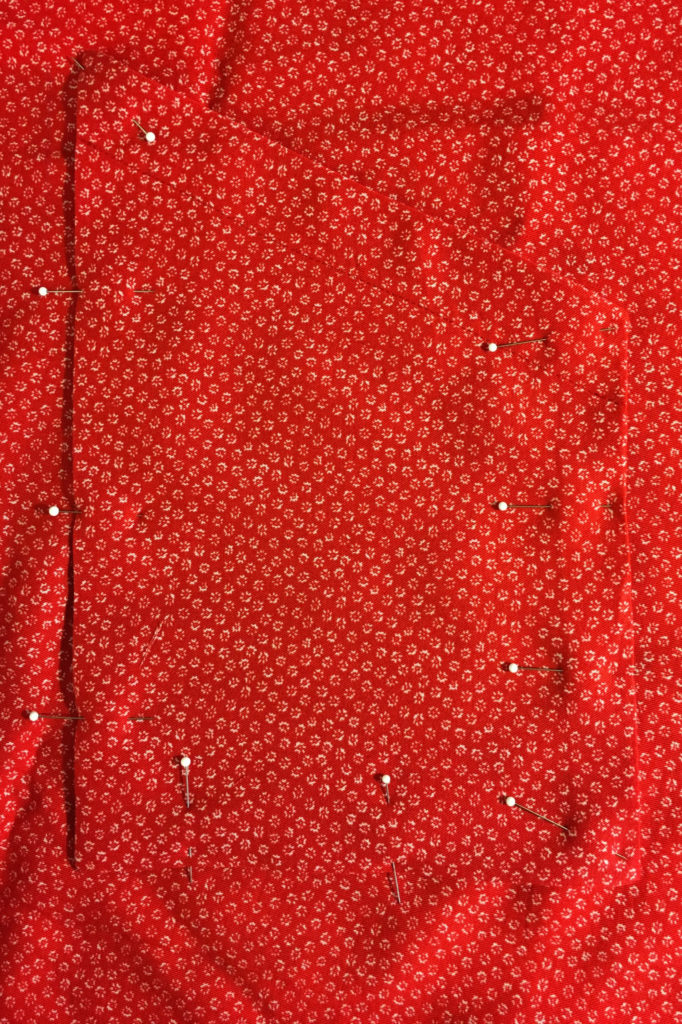
Place the patch pockets onto the skirt fronts, following the markings, and pin into place.
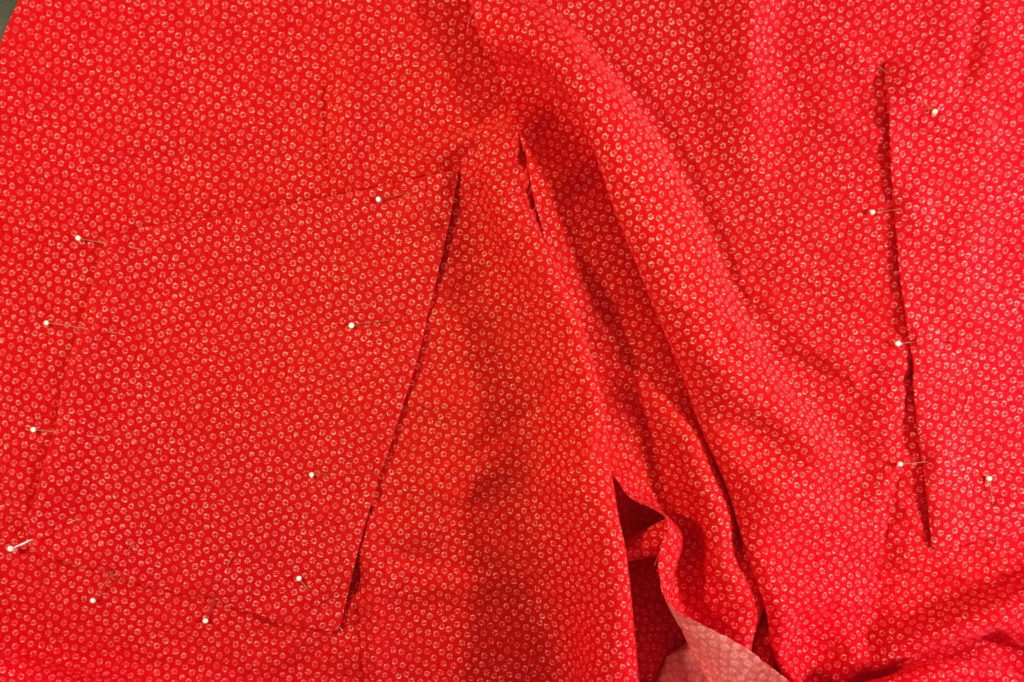
Double check that your pockets are consistently positioned on each Skirt Front by measuring from the raw edge of the front waist to the top of the pocket, and from the side seam to the side of the pocket, on each Skirt Front.
If you’d like to use Wonder Tape instead of pinning, use the Wonder Tape along the edges of the pocket lining instead of pins. Remove the paper and position the pockets. Press to adhere the tape before edgestitching.
Next we’ll be focusing on the Estuary’s waistband. Click here for Day 3 of the sew-along.



Hi, can you explain why you chose to make the pocket 2m layers thick? i’m a new sewing and wanting to learn the rational behind choices so I can carry them into other projects. thanks!
Hi Zoe,
The pockets are 2 layers to enclose the raw edges. All of the seam allowances in this skirt are neatly finished, so having a raw edge on the inside of a pocket that will likely be used a LOT is a recipe for frayed seam allowances. This way they are neater and more durable!
Hi! I’m about to sew the pocket and linings together….but I’m confused and nervous as to how to accomplish this without any kind of gathering because of the difference in size!
Hi Sara,
If you pin the corners so they’re lined up, and hold them firmly as you sew with the lining up and the outer layer against the feed dogs, the feed dogs will help the larger piece ease onto the smaller piece. If you’re worried, you can try the technique with two layers of scrap cut to the same lengths as one of the sides – it can help you get the hang of holding the corners firmly as you sew and letting the feed dogs do the heavy work.
I’ll try! I tried with some muslin and after ironing the seams were still on the side of the pockets, and not "behind"…I’ll give it another shot.