Say Hello to Penny
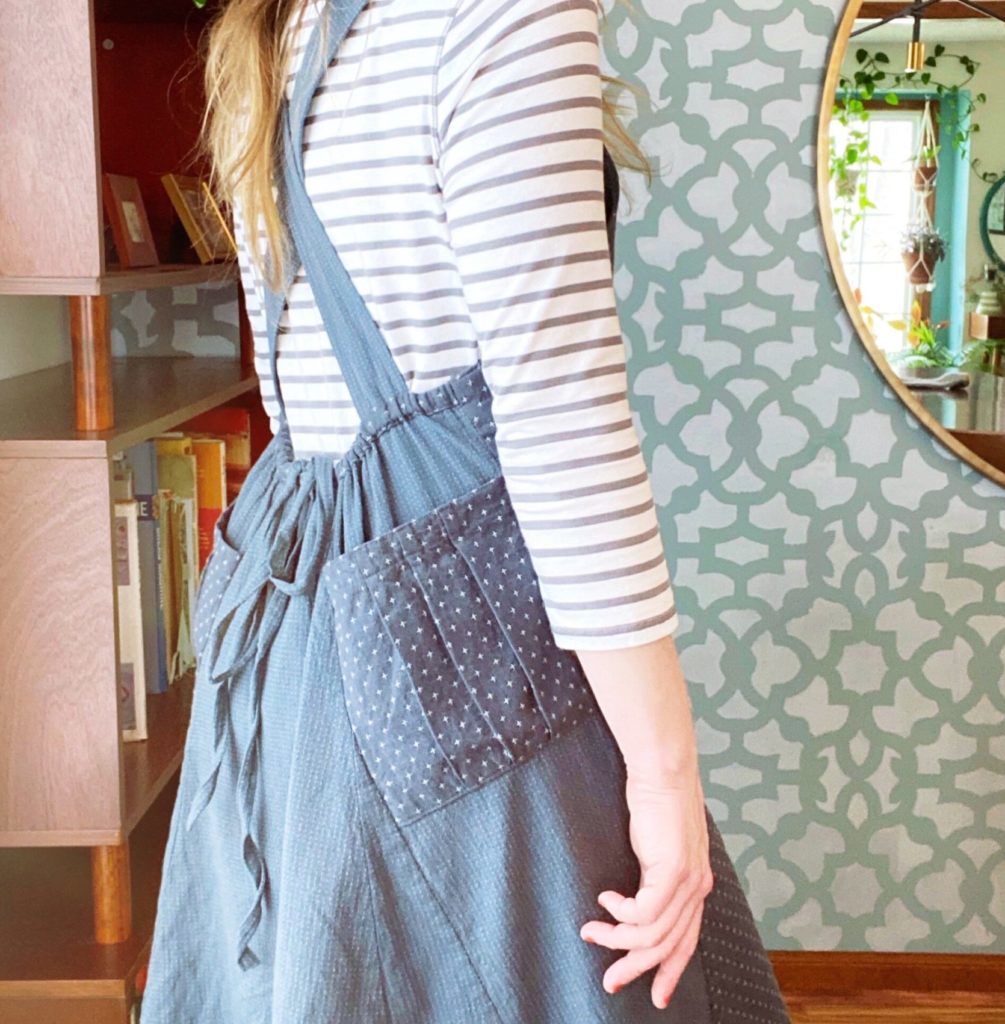

I don’t know about you, but I am a dress girl, through and through, so I was beyond excited when we started work on the Penny Pinafore. An apron, that is really a dress, that has a high low hem? Count me in! I felt like this pattern was made for my cottage core, fairy-tale loving inner child, all while being updated to suit a modern wardrobe.
Fabric
I used a 100% linen for my Penny, but any woven fabric with a combination of drape and stability will work. Try linen, chambray, double gauze, silk noil, lightweight cottons, or linen-rayon blends. Our testers used everything from textured cotton to linen to lightweight canvas to wax print to blends. Keep in mind that the back has a drawstring, so anything too bulky will be tricky to draw tight or to finish with a French seam.
Meg’s Penny is made with a Nani Iro printed linen. Ashley’s is made with a solid linen from The Fabric Store.
Fitting
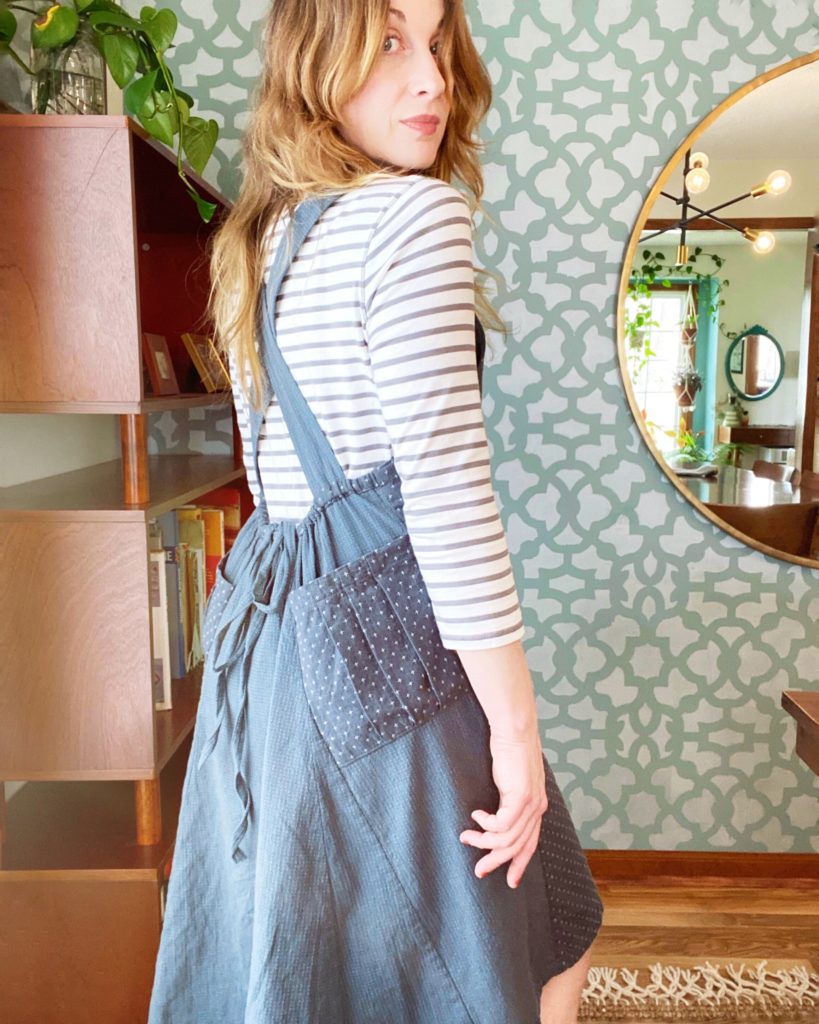
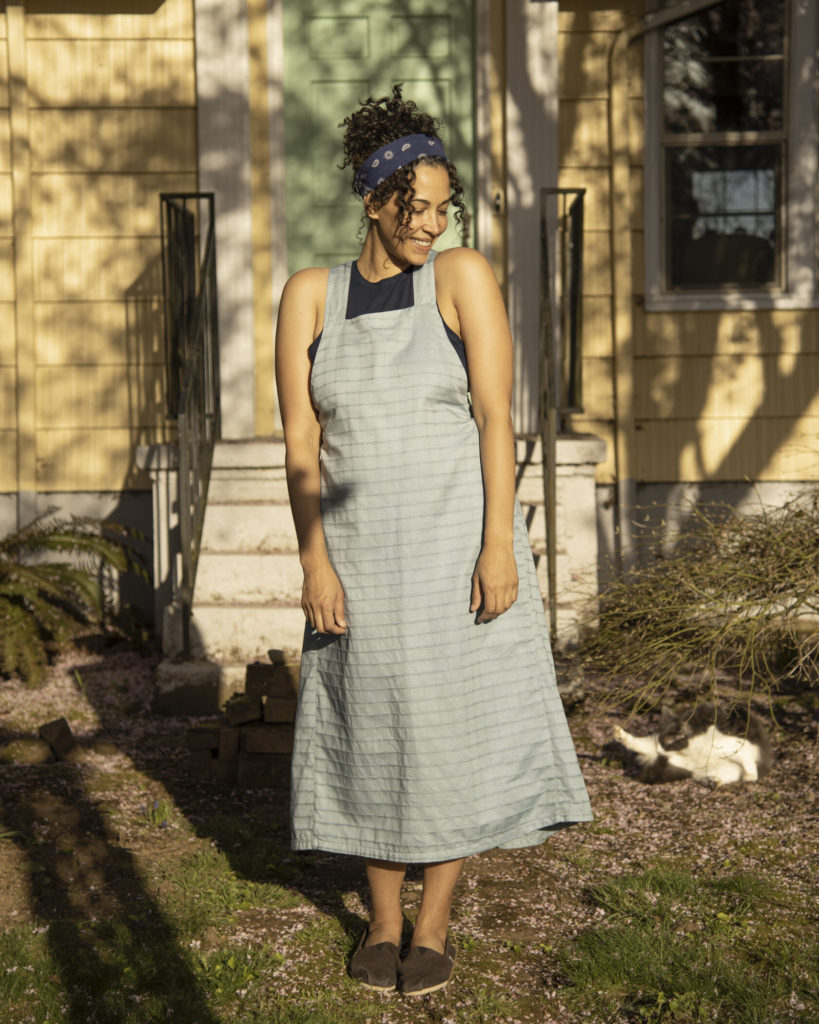
The Penny Pinafore has two views, a midi length and an apron length.
If you’re unsure about what length you’d like, making a muslin is the best way to decide. I’d recommend cutting your muslin for the full length, so you can easily shorten it to see what might work best for what you are envisioning. This will also give you the opportunity to make sure the front bib, straps, and hips fit how you prefer.
For View A, the back waist edge sits at the natural waist, and the hem falls to mid-calf. The apron length hem of View B falls above the knee. But you might want something in between these views. Or something a bit longer than both.
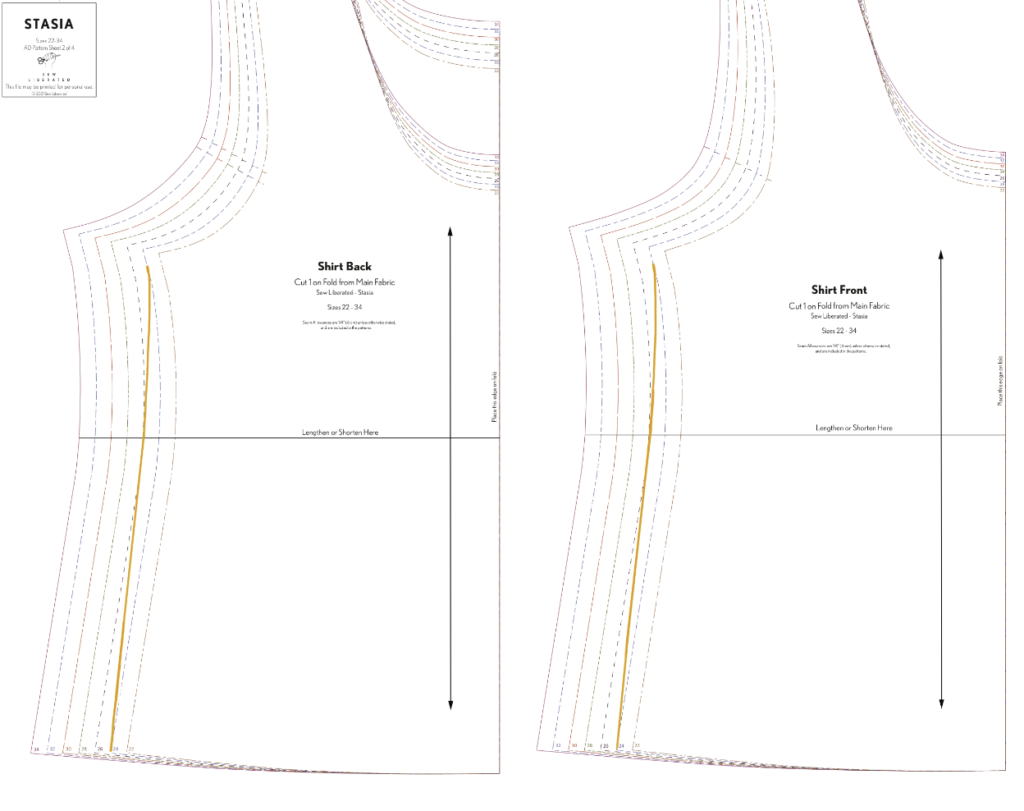
To lengthen or shorten Penny without disturbing the proportion of the godet, add or remove length at the hemline marking for the size that you’re making. Simply extend or trim each pattern piece (the front, back, sides, and godets) by the number of inches desired, taking care to follow the established curve. (If you use a hem length from another size as your guide, you’ll end up with seams that don’t line up, so measure out from the size that you’re making to maintain the proportion of that size.)
You can adjust the bib width by blending sizes along the curved side front line.
Since the waistband is shaped with a drawstring, you can use your hip measurement as the deciding factor if your waist and hip fall into different sizes.
Checking the finished measurements really helps in making a balanced sizing choice, and making a muslin (toile or sample garment) is a great way to check your fit and practice any sewing techniques, such as inserting the godets with french seams, that are new to you.
The finished measurements chart shows the waist measurement with the waist tie untied – you will be able to adjust the finished waist measurement when you tie up the waist tie.
If you’d like to add buttons to the straps, simply use the same technique from the Otis Overalls, adding a vertical buttonhole to either side of the bib, and sewing your buttons onto the straps.
Penny is delightfully simple to fit, with a lot of room for personal preferences and adjustments. The styling options are wide open as well. Penny is a fun and versatile garment that will help you level up your sewing skills and grow your confidence.
Sew Along
Our video sew-along for Penny can be found here.



Responses