Fitting the Cosecha Pants
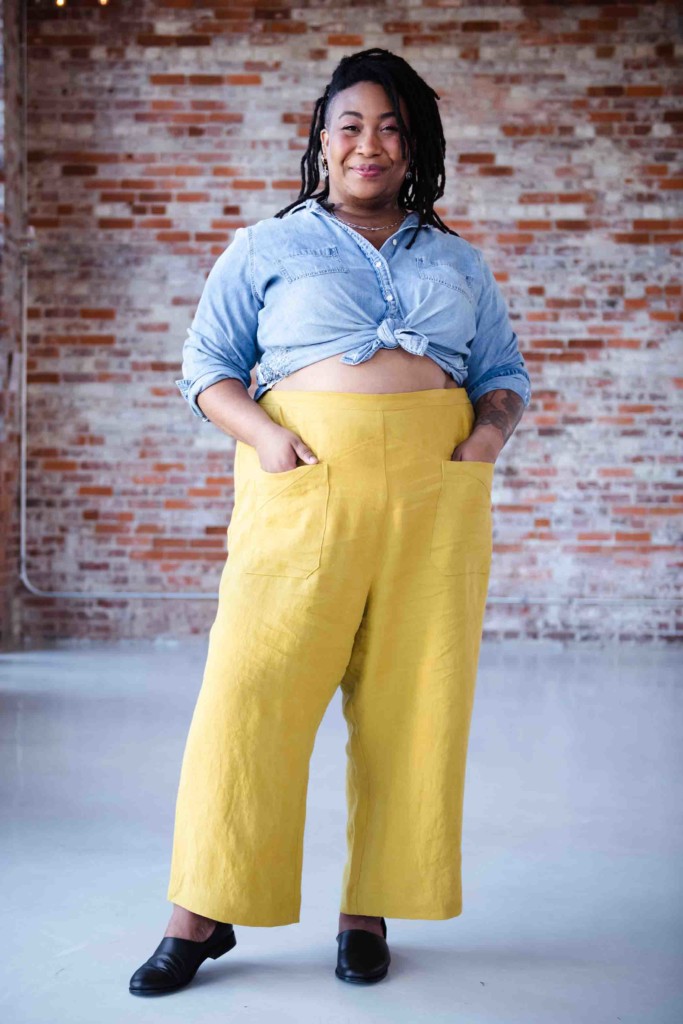
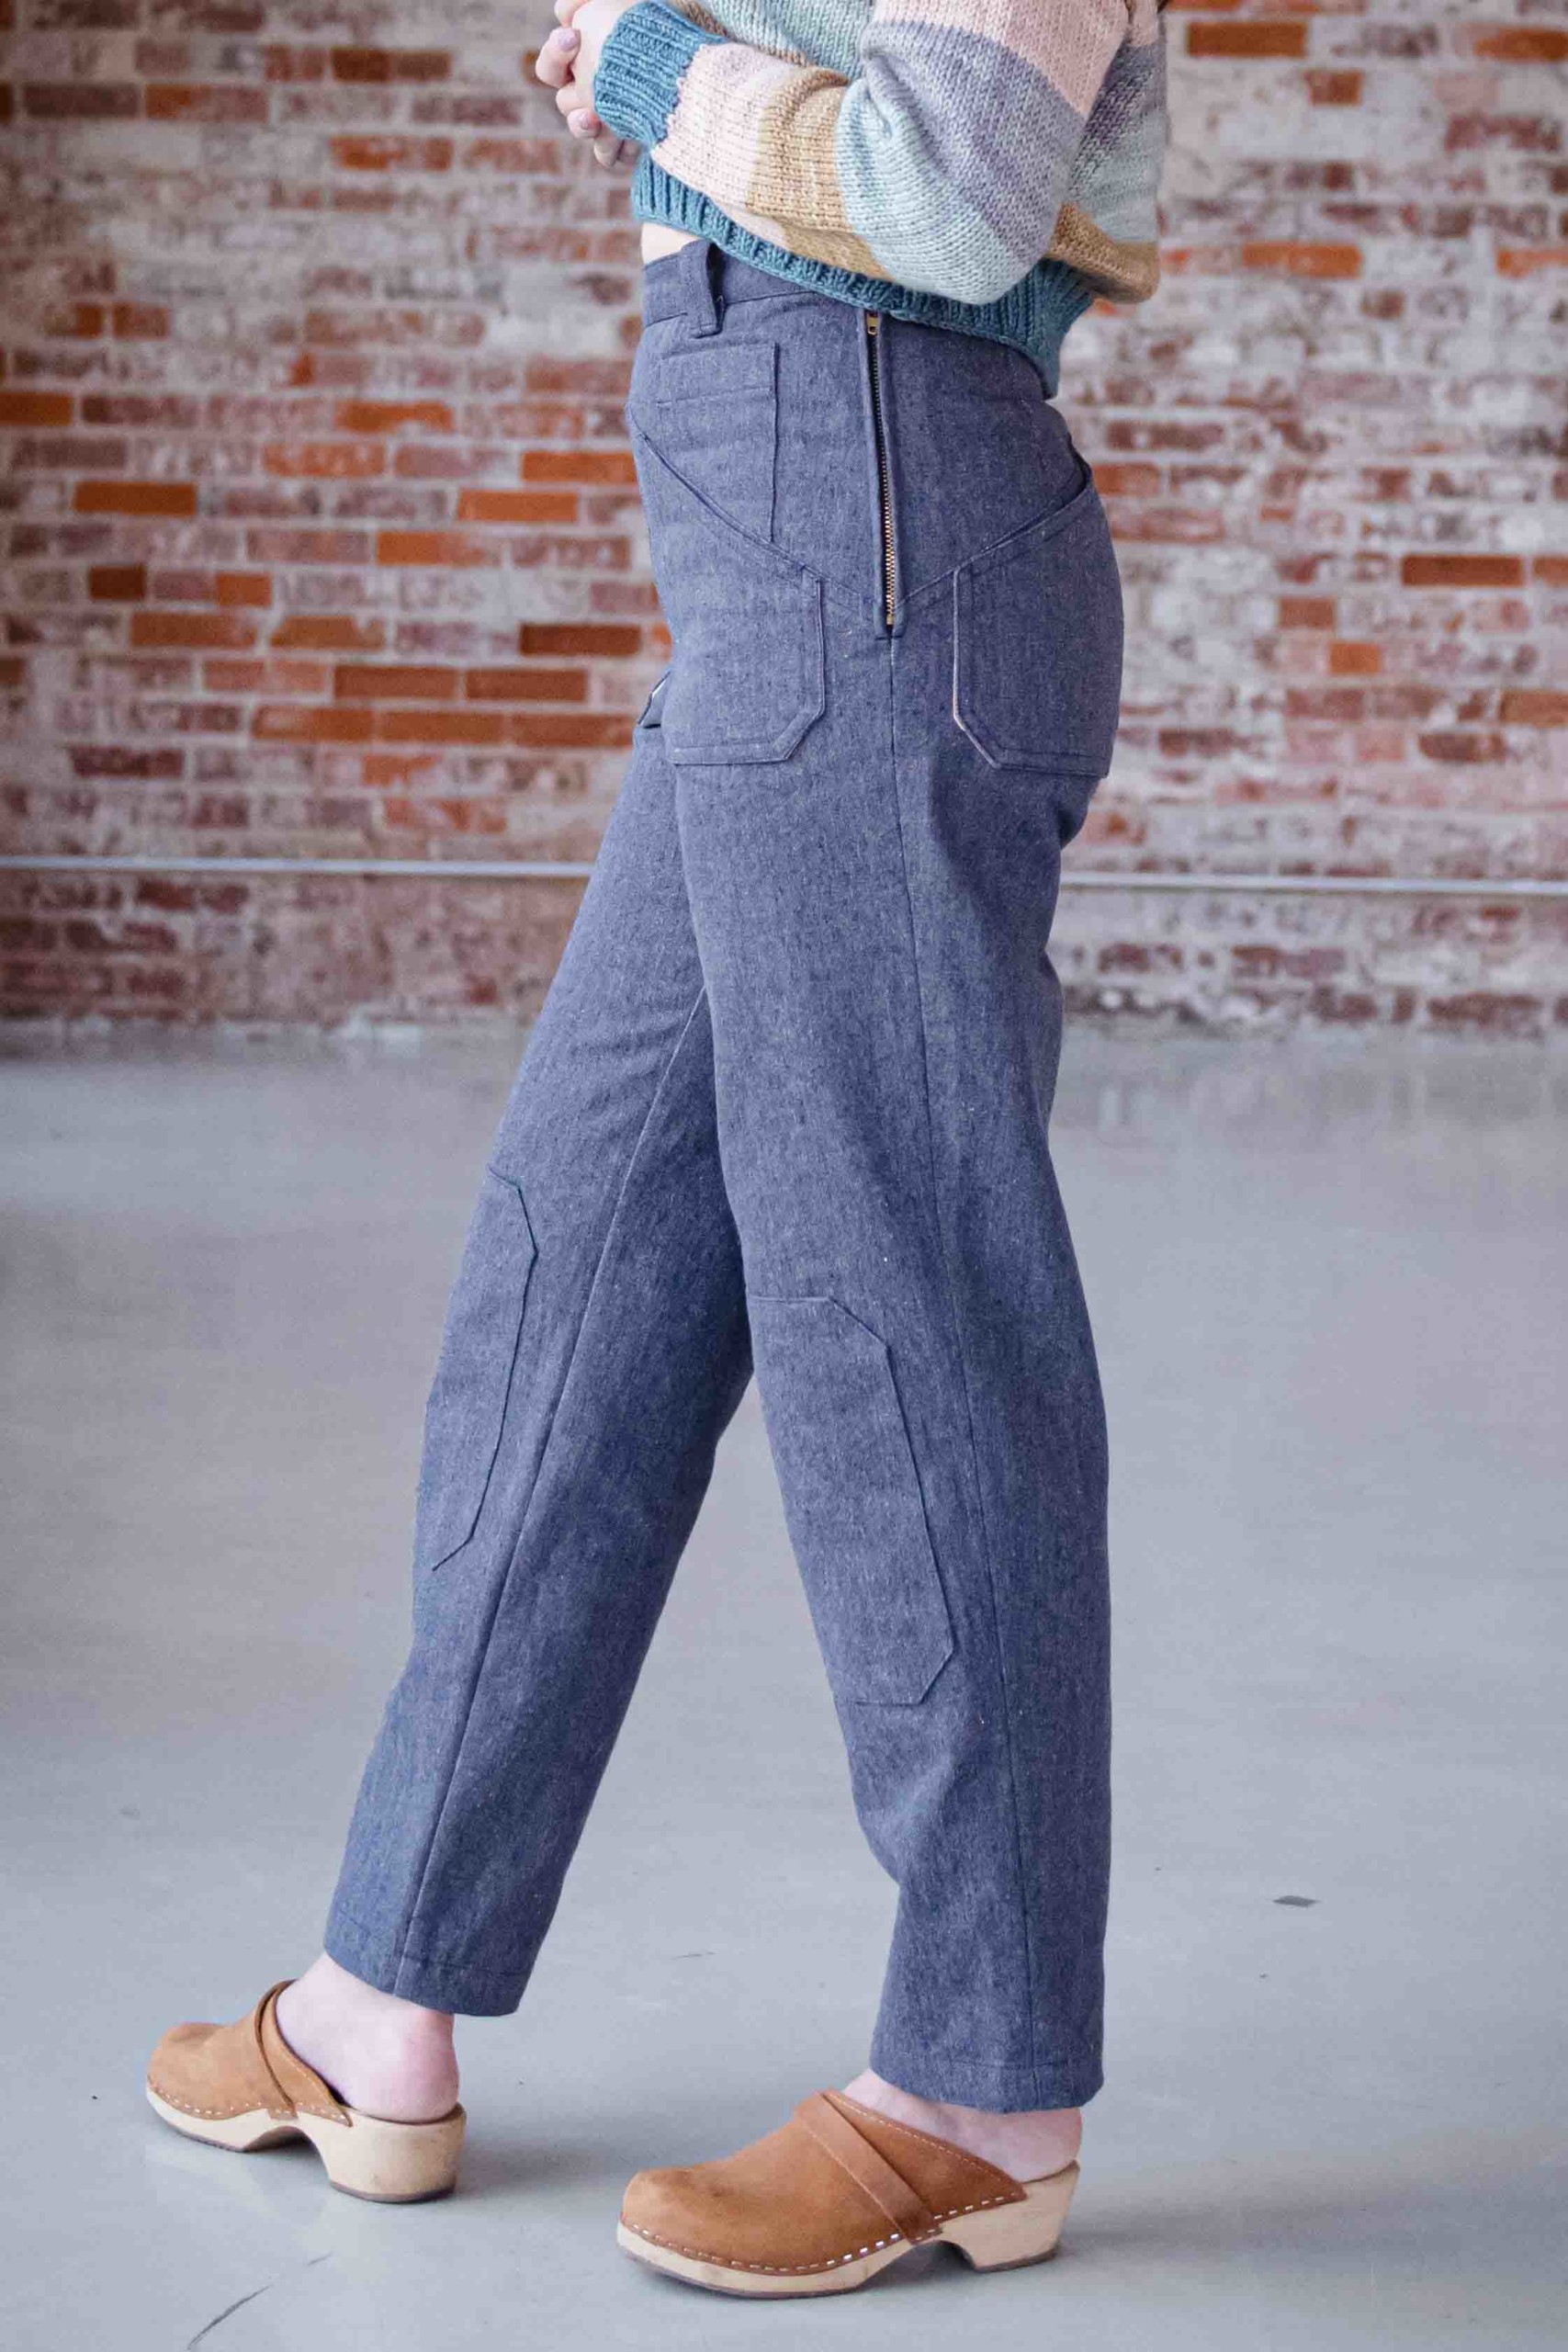
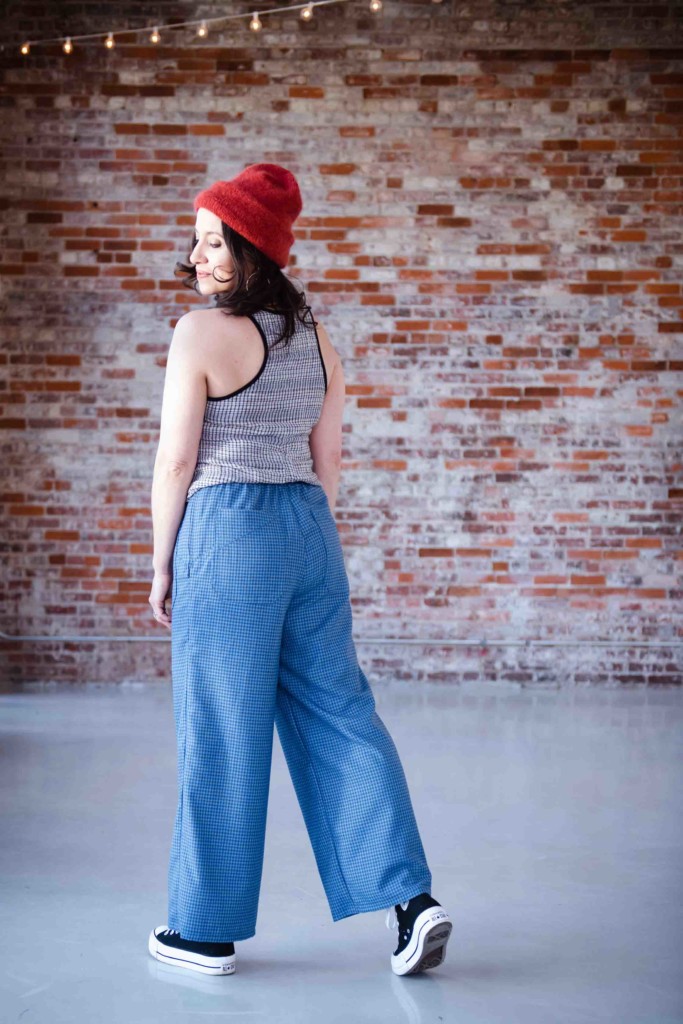

We’re so excited about the Cosecha Pants and want to help you get the perfect fit!
Pants fitting has become quite the hot topic in the sewing world, lately, hasn’t it? And for good reason – well fitting pants make a world of difference for a comfortable outfit, so it’s well worth the effort to do the work to fit your pants pattern for your unique and amazing body. For a guide to blending between sizes, from the waist to hip, or in the front and back rise, check out this post.
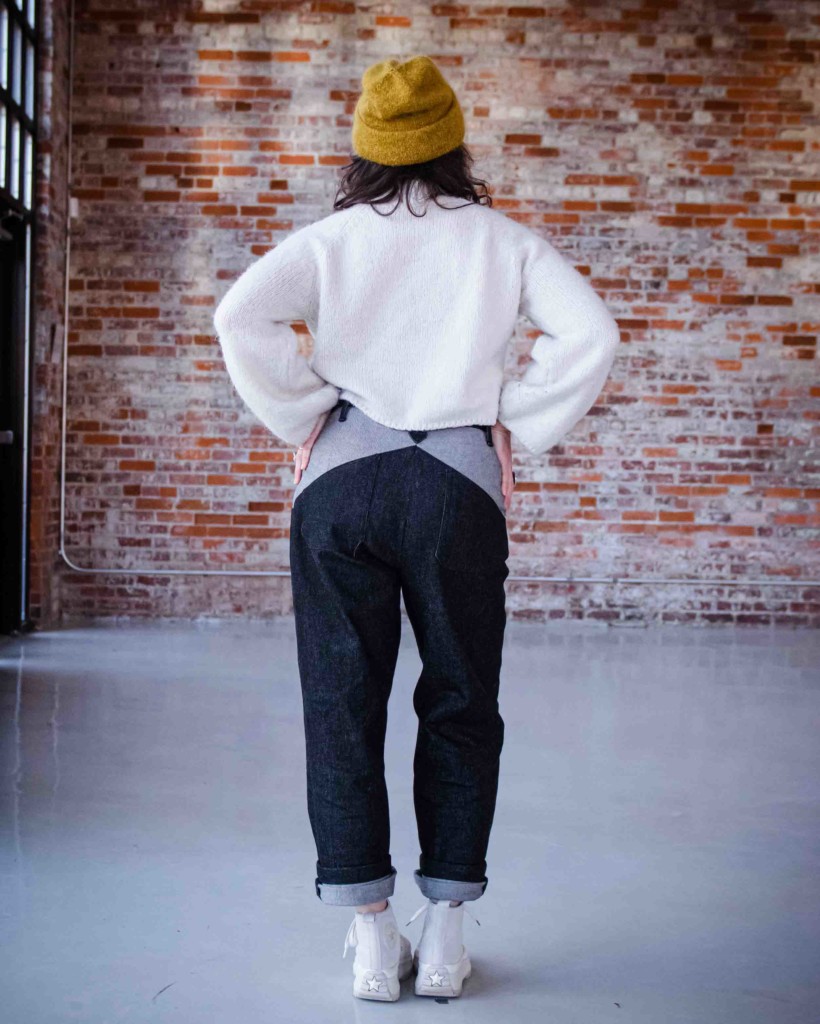
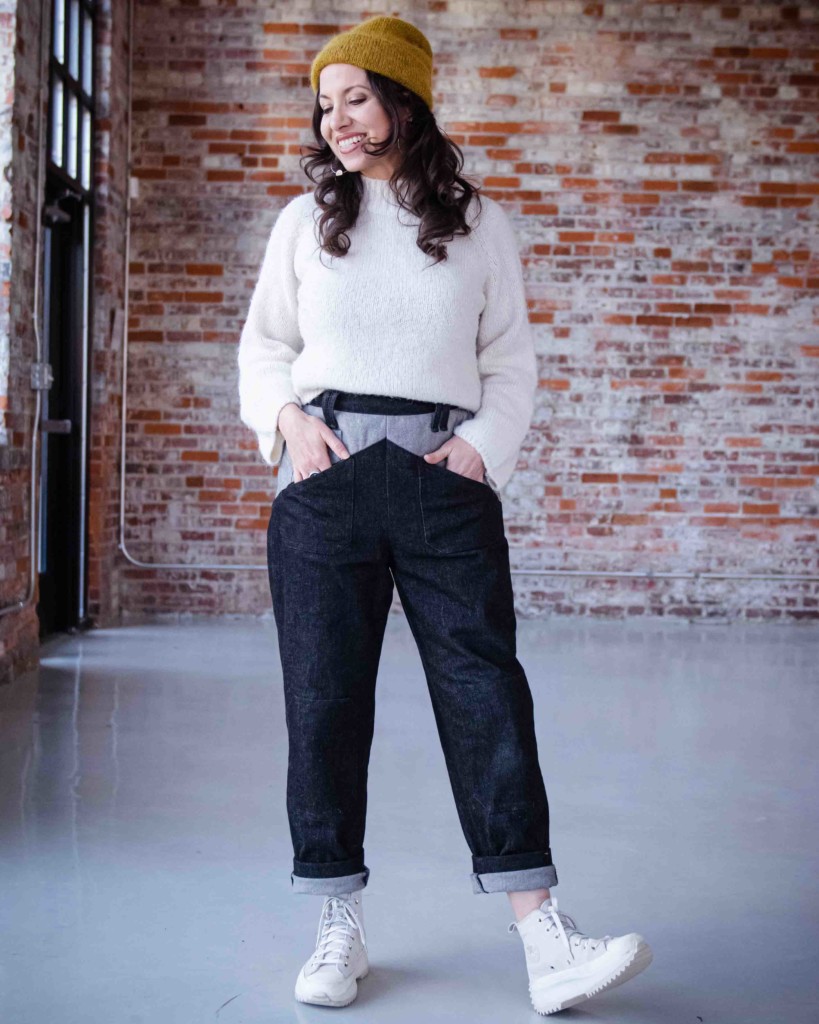
This pants pattern is designed to have a trim waist fit with the fitted waistband and yoke, while the ease in the hip and legs provides all-day comfort and ease of movement. The front yoke is eased onto the waistband for a comfortable fit over the tummy. View A has a fitted waist all the way around, and View B has an elastic back waistband. The elastic does not provide enough ease to eliminate the zipper closure for all sizes (though it does for some people!), so you will need a zipper for both views.
You may use the View B Back Yoke and Waistband on the View A leg silhouette, and the View A Back Yoke and Waistband on the View B leg silhouette, but you must use the Back Waistband that matches your Back Yoke! You may also interchange the pockets as you choose.
Make a Muslin of your Cosecha Pants
Making a muslin is strongly recommended! Both to check fit and work through any construction methods that may be new to you. When choosing a size, take your measurements first. Even when you think you know your size, take your measurements at the beginning of every project, and work from the charts. Let your hip circumference determine the size for this pants pattern, and make your personal fit adjustments to the waist from there. The exception to this guideline is if your waist circumference is greater (in measurement, not size number) than your hip circumference. Then you would use your waist circumference to determine your size, and make your personal fit adjustments from there.
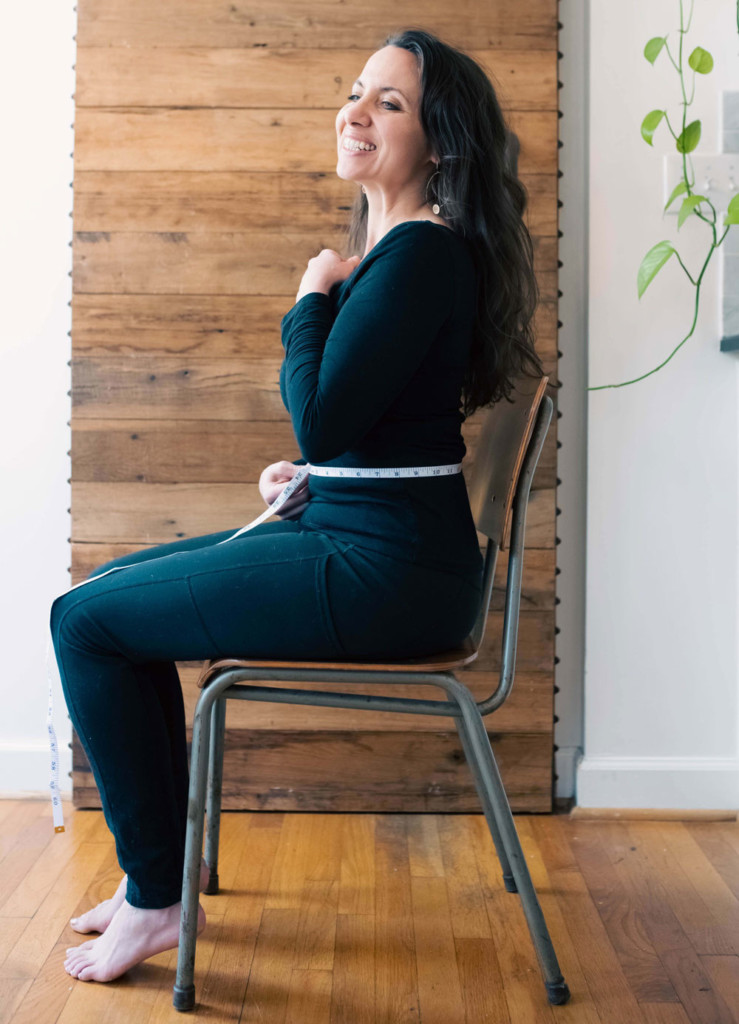
One extra thing to consider is your seated hip measurement. It will be larger than your standing hip circumference, since flesh shifts as you sit, and should be compared to the Finished Hip to make sure your pants will still be comfortable when seated. Your seated hip circumference should not be larger than the Finished Hip measurement for these pants. When you make these non-stretch pants, they must be looser than your standing hip, so that they aren’t standing-room-only!
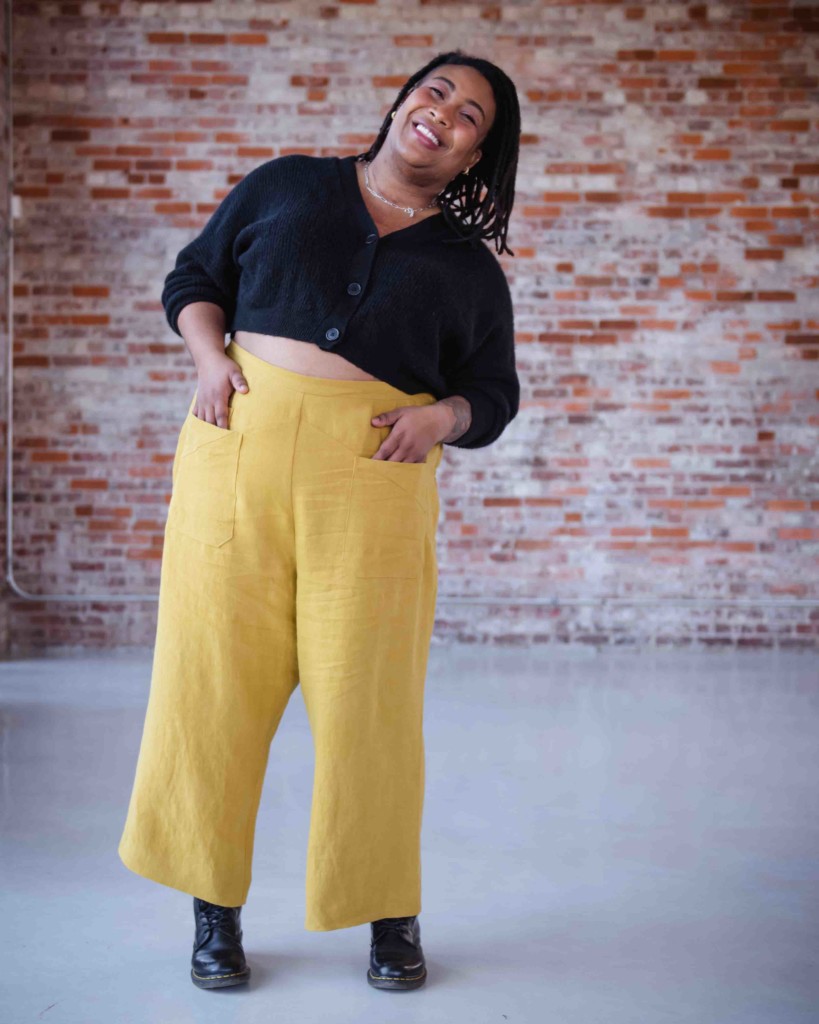
Fitting Methods for the Cosecha Pants
Now that you have the details, let’s talk fitting methods. Some people delight in math and will compare their measurements to the pattern in all directions and make adjustments on paper before beginning. If that’s you, go for it! You probably already have a Pinterst board of fitting advice, and bullet journal of fitting notes. Go, you! If you’re breaking out in hives just reading that, starting with a muslin that corresponds to your hip size is probably a better idea. Here’s how I suggest going about that:
- In your muslin fabric, cut the Front, Back, Front Yoke, Back Yoke, and waistband pieces, and all of the corresponding notches and markings. Skip the pockets for now.
- Mark the grainline on the pieces of one leg, or both legs. (If you use a Sharpie, you’ll be able to see the grainline in your fitting photos, which is very helpful!)
- Stay stitch the waist seam line on the yoke pieces. You’ll be trying the pants on, so this makes sure they don’t stretch during the process.
- Using a basting stitch, sew (in this order) the back darts if you’re using the View A Back Yoke, the yoke seams, the side seams excluding the left side seam from waist to yoke seam, inseams, and crotch seam. Take note that the side seams have a mixed seam allowance! The seam allowance is 1” (2.5 cm) from the waist to just below the yoke seam, and the standard ⅝” (1.6 cm) below that. You’ll see a notch in the waist to indicate the side seam location, and jog in the seam allowance below the yoke seam where the seam allowance changes. This extra width in the seam allowance both enables easy fitting changes and supports the zipper insertion later on.
- Baste the waistband together. Don’t worry about making it perfectly finished, just make sure you have all of the notches so you can align it properly to the pants.
- Try on the pants, pinning the left side seam closed where the zipper would go.
Assessing the fit of your Cosecha Pants
To fit the waist, you can either use an elastic around your waist to be a placeholder for the waistband OR you could baste the waistband into place right away. It’s up to you.
Start Fitting at the Waist
Check the grainline to make sure it’s hanging straight. If it’s pitching in at the ankle, try lifting the waist at the side seam. If it’s swinging outwards, try letting the waist shift downwards at the side seam. From the side, take a look at the side seam. It should hang vertically, so if it’s swinging forwards, either lower the back or pull up the front. You’ll make these changes on your pattern later, but start by shifting the pants until they hang straight both at the side seam and the grainline.
Once the waistline is settled, you can refine the circumferences. If the waist and hip need to be let in or out, do that now. Remember that there’s ease in the front waist for sitting comfort, so if you’re pinching ⅜” (1 cm) of fabric at the front, there’s no need adjust… that needs to stay! At the waist, you can use the back dart as a fitting device, adjusting its size or adding another dart to the back or front yoke. You can also use the side seam to adjust the waist and hip circumferences, and refine the hip curve to suit your body. Be careful not to over-fit! Remember how important sitting comfortably is – these are not skinny jeans!
Fitting the Thigh
Sometimes the inseam can be let in or out if your body depth (the distance from the front of your body to the back) differs from the size that corresponds to your hip circumference. If you’re finding the hip fits perfectly but the leg is loose at the inner thigh, for example, the inseam is the place to refine that. Conversely, if the hip fits great but you have some diagonal lines pointing towards the back crotch, try letting out the inseam, maybe even just on the back piece, to allow for a little more body depth.
Next, if you had the waistband off, attach it now, making sure to use your corrected waistline seam as your guide! Remember that there’s ease in the front waist!
When allllll of that is settled, you can finally check the leg length. Because the previous changes can impact how the legs sit, it’s important to wait until the body of the pant is fitting well before you finalize the leg length!
And lastly, you can check the pocket position if you want to do that now, either by drawing them on your muslin, or making pockets to try them in place.
Make sure you transfer your pattern changes to your pattern once you are ready! If you’re NOT ready, or you made a lot of changes and you want to double-check, feel free to make another muslin! Or two if it helps! Muslins are rough drafts, not failures, so please, please be kind in your self-talk and give yourself room to learn!
This is an overview of pants fitting, not an exhaustive treatise
Be sure to check out our guide to blending sizes for the Cosecha Pants. It covers four different ways and areas, waist to hip, as well as front and back rise, where you might want to blend between two sizes for a better fit. If you’re interested in diving deeper, we have a Cosecha course coming soon, where our beloved Learn To Sew teacher Shaerie will both teach much, much more on pants fitting and teach this entire Cosecha pattern in depth! For more on pants fitting this book is pretty great, as is this one. Happy Sewing!


Re: “Your seated hip circumference should not be larger than the Finished Hip measurement” I used to think this but after doing more extensive research on diverse bodies and different designs of pants and trousers I realized that this assumption does not apply universally. For instance, many office style pants use negative space for fitting ease
That’s true, I love how many ways there are to make pants so much more comfortable than they get credit for sometimes 🙂