How to Sew an Estuary Skirt for Barbie
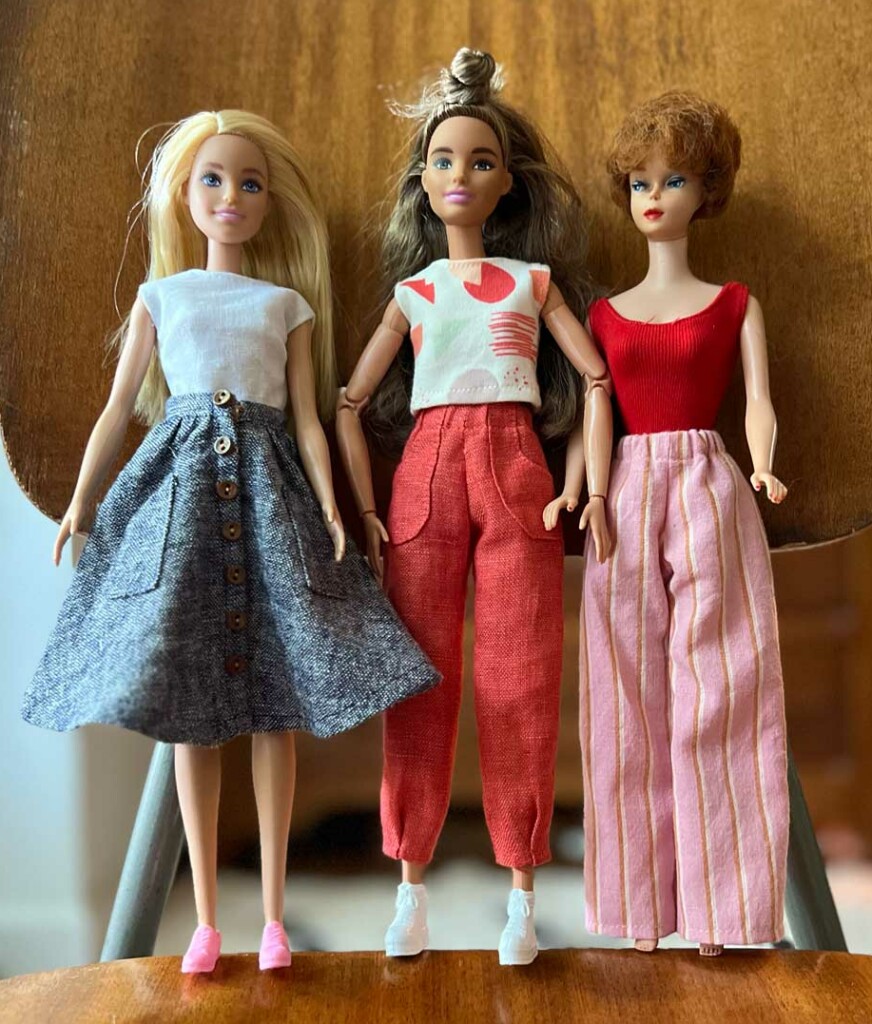
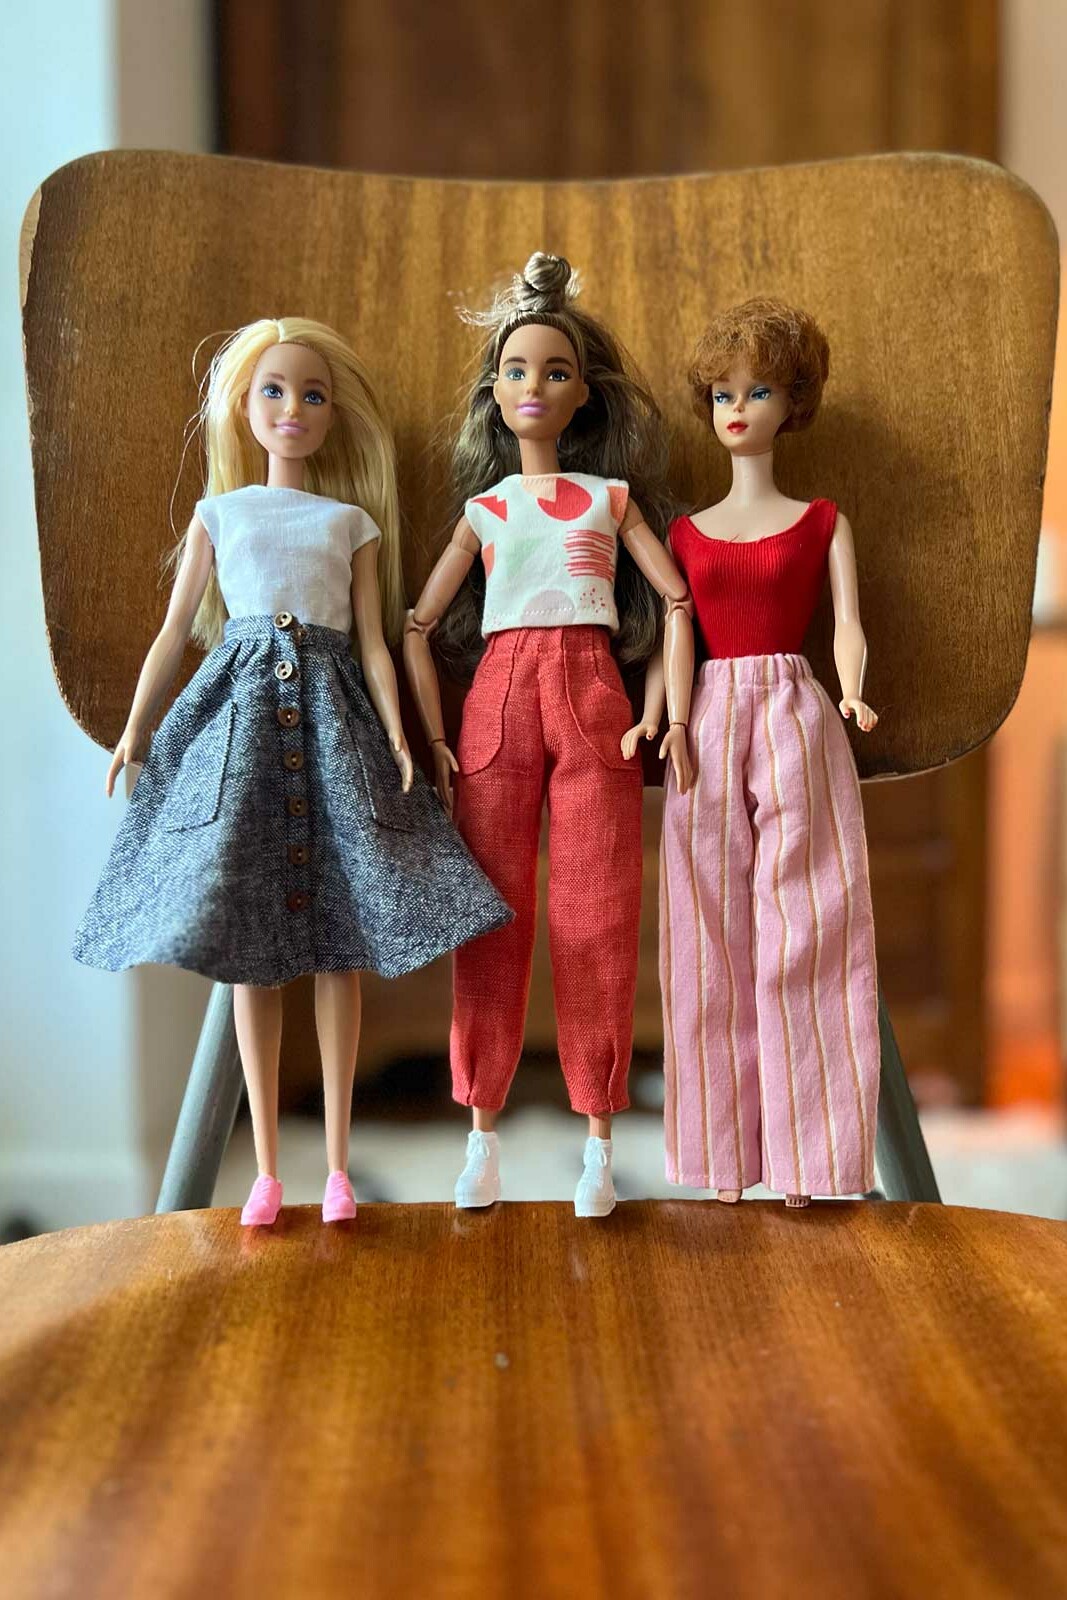
Note from Sew Liberated: A big THANK YOU to Cindy Luby for sharing her miniaturization instructions and pattern pieces so we can all follow along!
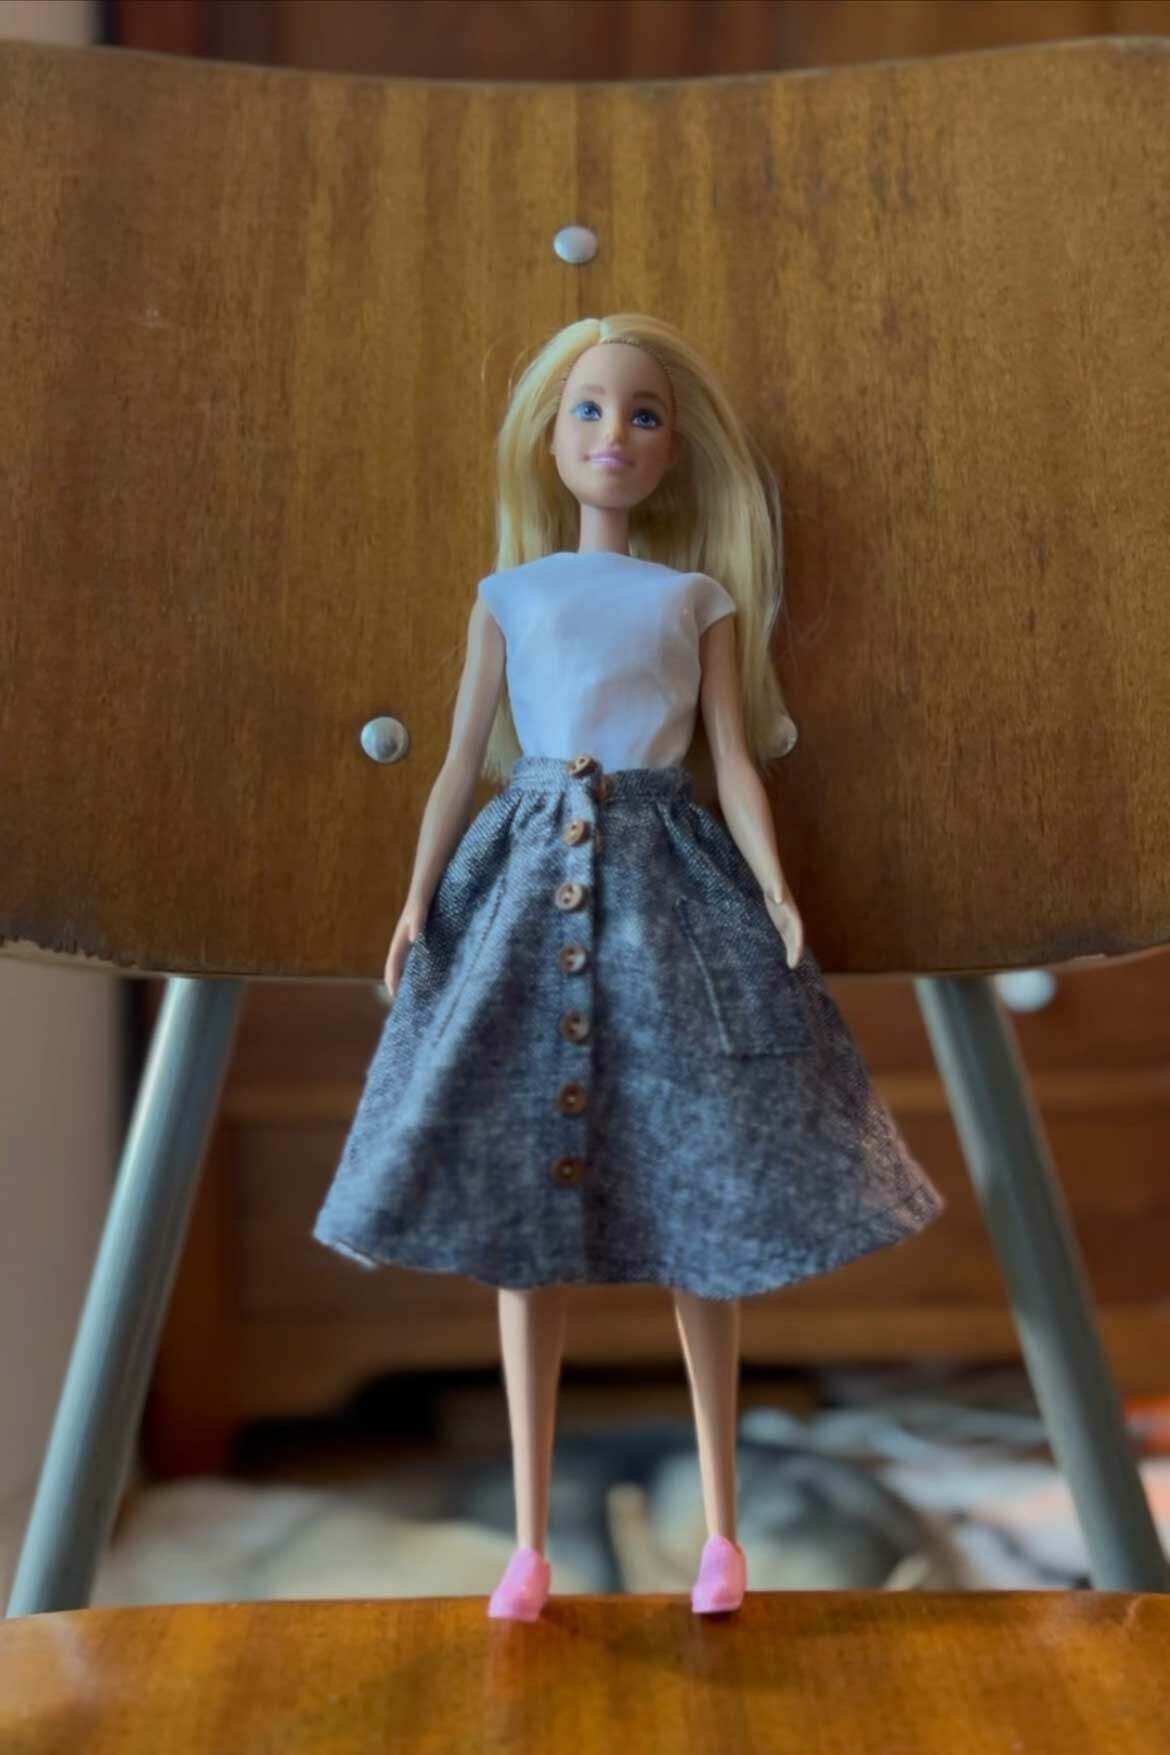
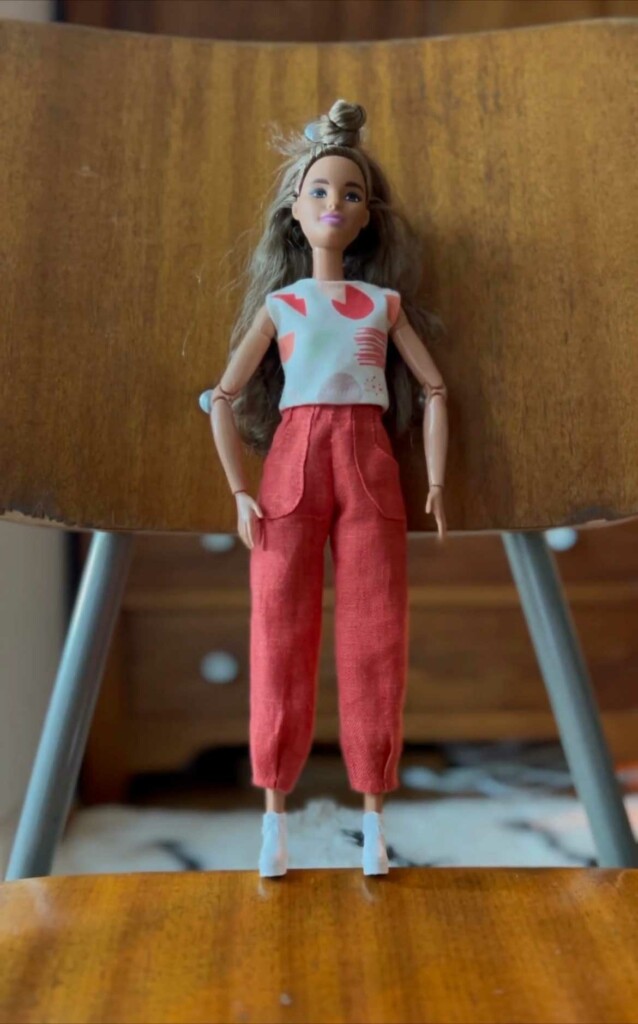
The Estuary Skirt is a Sew Liberated classic. It is a great choice to miniaturize for Barbie because a button front makes it easy to pull over her plastic hips. And once I found these tiny buttons I knew it was meant to be. The tiny pockets give it that signature Estuary look, but just like in the human pattern, you are welcome to skip them if you prefer.
If you’d like to give doll clothes a try (which we think is a wonderful way to inspire creativity), you can follow along with these free instructions. (By the way, we also have a complete guide to making Chanterelle Pants for Barbie.)
You can download the free pattern pieces for all three and follow along with the instructions on this page. The pattern piece download includes both the Estuary Skirt and the Chanterelle Pants pattern pieces.
Sewing tiny doll clothes is not without its difficulties. The seam allowances are very small, and turning things under is a bit tricky. Take your time on those tiny seams, and we recommend a fresh, sharp needle.
Fabric Requirements
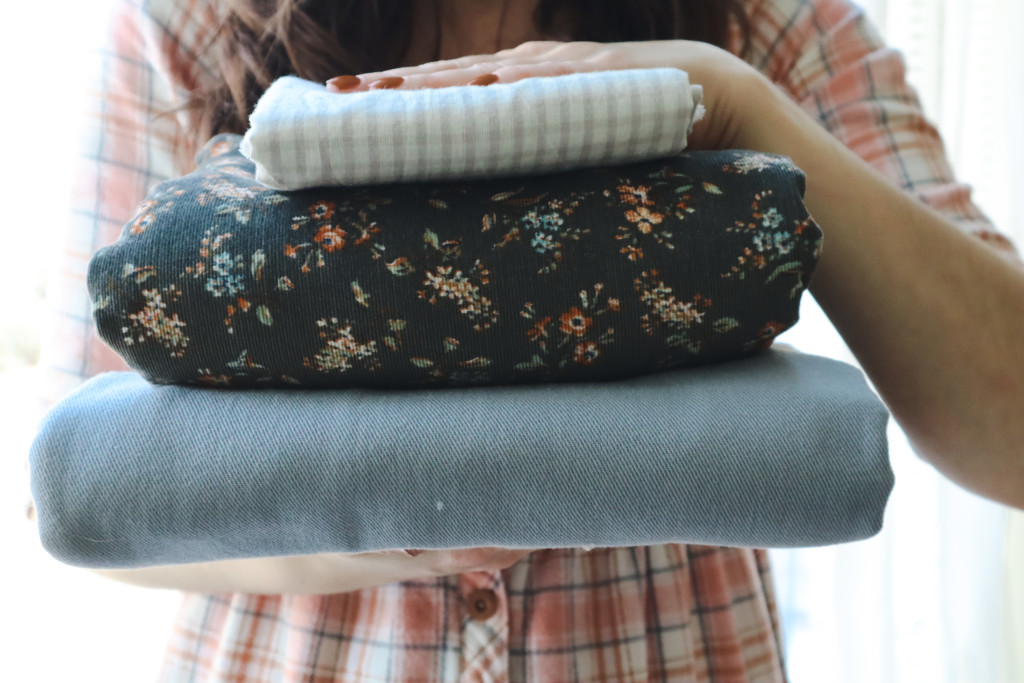
- ¼ yard (45cm x 55cm) or fat quarter of fabric (the pattern pieces can be cut from fabric scraps).
- Seven ¼” (6 mm) buttons
- Three ¼” (6 mm) snaps
Cut the pattern pieces from the fabric. Mark the pocket placement and center back and side markings along the skirt waistline and along one side of the waistband.
All seam allowances are ¼” (6 mm) unless otherwise noted in the sewing directions.
Doll-Size Estuary Skirt Sewing Instructions
- Prepare the pocket pieces by stitching around the pieces at 1/8” (3 mm). The stitches will help the edges to turn in easily. Press the seam allowance to the wrong side using the tip of your iron or finger pressing.
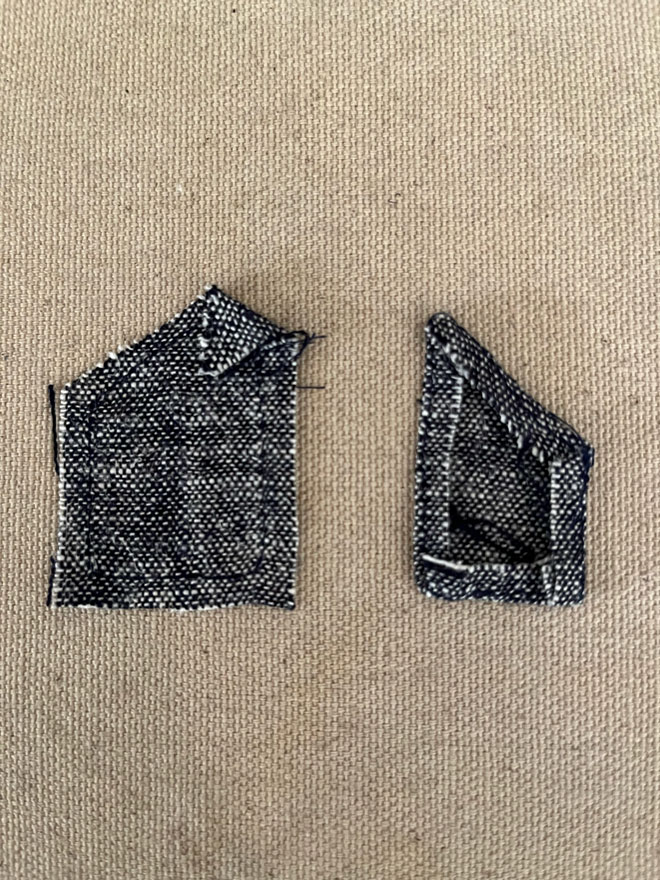
- Edgestitch the pockets in place on the skirt left and right front.
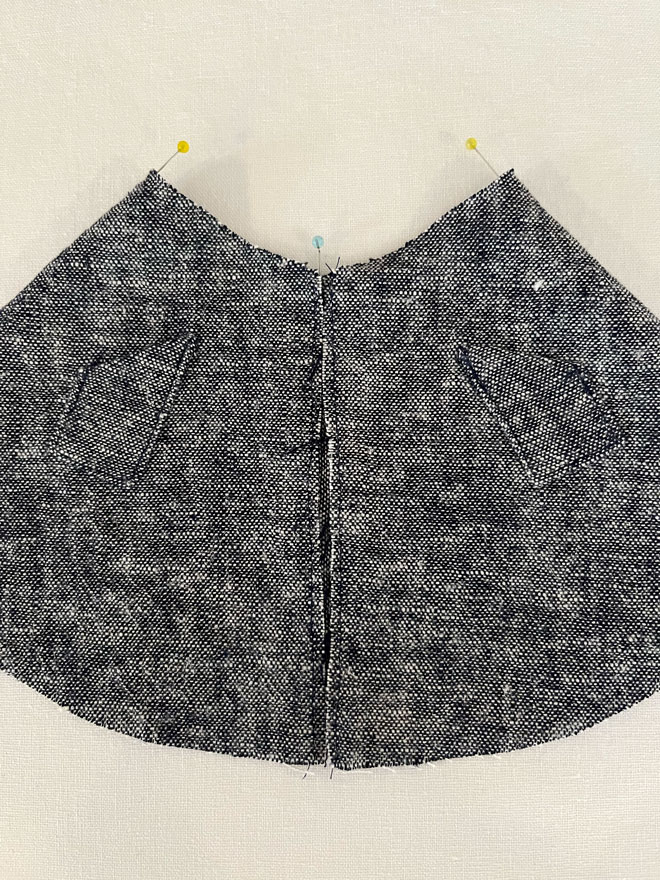
- Turn under ¼” (6 mm) along the unmarked length of the waistband and press.
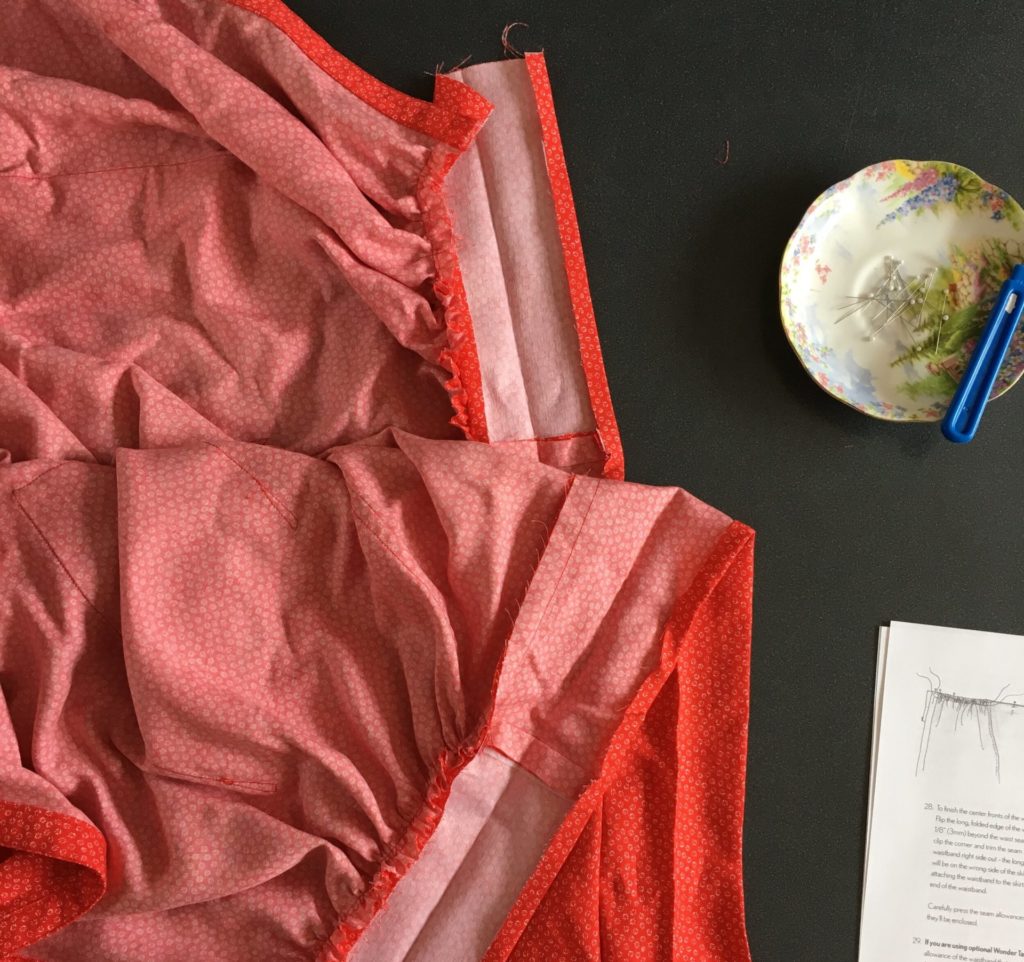
- Sew gathering stitch along the waistline of the skirt at ¼” (6 mm). Attach the waistband matching the center, sides, and center front edges.
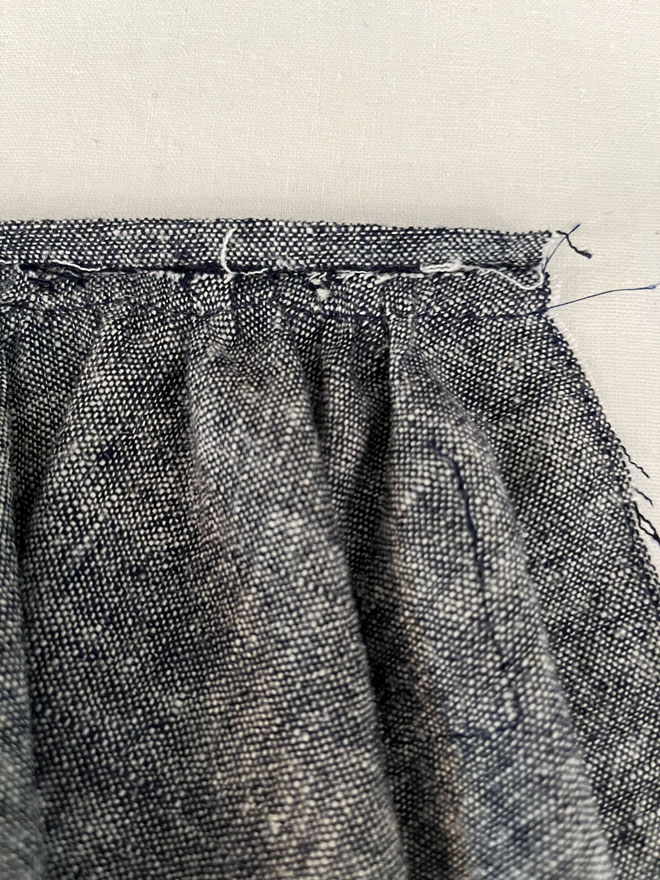
- Turn under the folded edge of the waistband to cover the ¼” (6 mm) waistline seam and edgestitch in place.
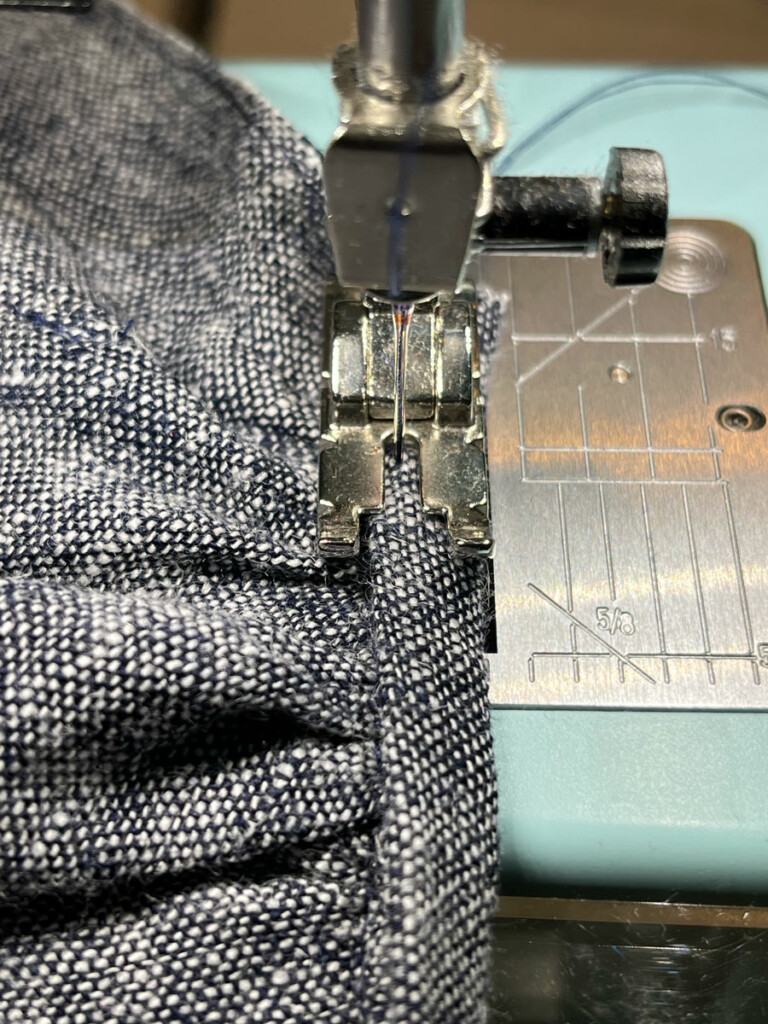
- On the right front center seam turn 3/8” to the wrong side and stitch in place at ¼” (6 mm). Turn the left front seam in 1/8” and edgestitch in place.
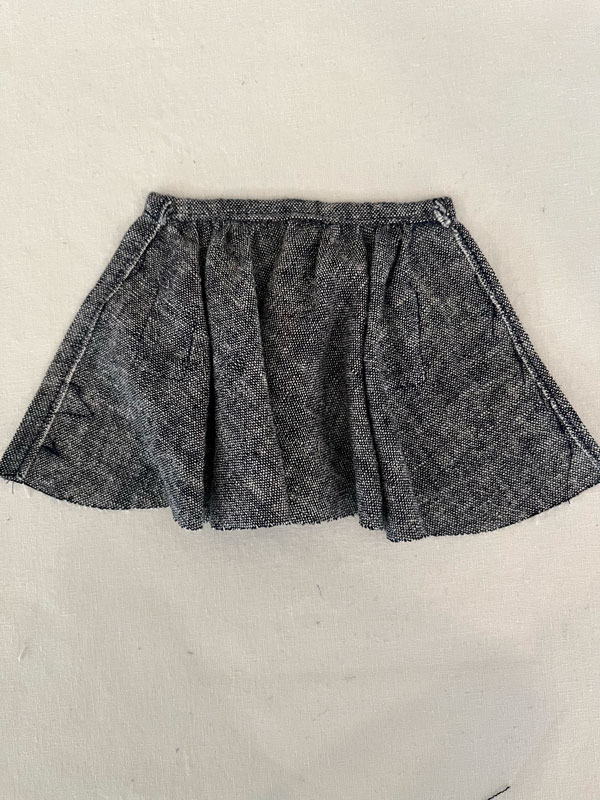
- Turn up ¼” (6 mm) along the bottom edge and hem in place.
- Mark the button placement along the right front edge. The top 3 buttons will be stitched in place with a snap behind them and a snap on the left side. The remaining buttons will be sewn through both right and left front. The overlap of the right and left skirt front is a scant 3/8” (9 mm).

And just like that, you have your very own doll-size Estuary Skirt. We’d *love* to see a photo. Share on social media with hashtags #EstuarySkirt and #EstuaryDoll. And let us know in the comments how it went for you.




Responses