Fabric and Fit for the Chanterelle Pants
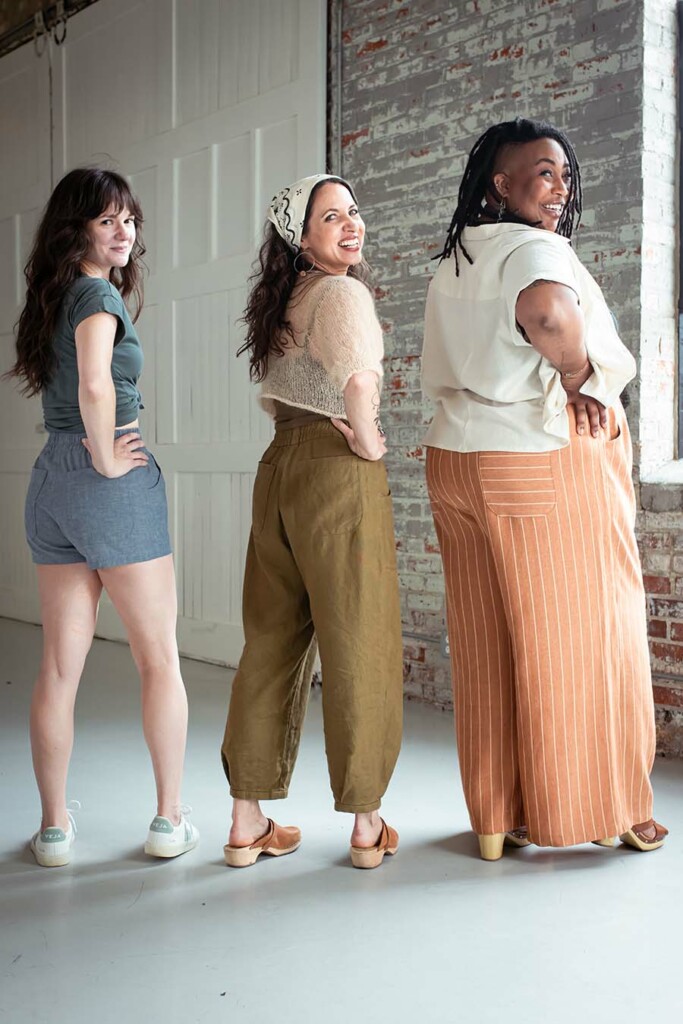
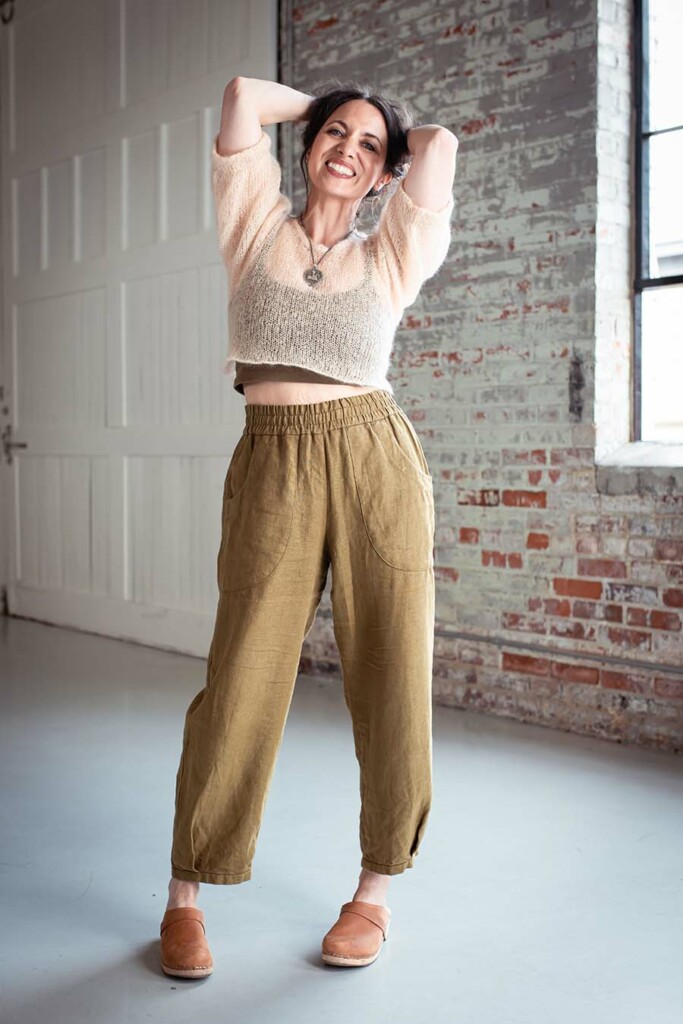
Wahoo, you’re ready to make some Chanterelle Pants or shorts! This is going to be fun. These three views are a great advanced beginner project to help build your sewing skills, and a super versatile and fun wardrobe staple!
Fitting the Chanterelle Pants
Prep time first. If you’ve ever had any fitting advice from me before, you know what I’m going to say… so all together now: making a muslin is recommended to check the fit before you cut into your precious Good Fabric. A muslin (aka a toile, or sample) is also a great opportunity to work through any construction methods that may be new to you. (You can use some not-so-precious fabric for your muslin, like a thrifted sheet, and then wear it for pjs if the fit works out well!)
The pattern is drafted for a height of 5’5” (165cm).
When choosing a size, take your measurements first. Even when you think you know your size, take them at the beginning of every project, and work from the charts.
While you’re looking at the charts, take note in the Finished Measurements, at the waist (fully extended) and at the hip, of the ease differences between views A and B/C. View A has more ease, for a swooshy, dramatic look, while Views B and C have a little less design ease, and B and C have the same fit from waist to hip.
Your waist and hip measurements are important for making your sizing decision. Since these pants pull on, the finished waist, fully extended, needs to be within 1/2″ (1.3 cm) of your body hip (or larger, of course) so that you can put the pants on without hopping and wiggling! (There’s a bit of leeway here, since the tissue that the waistband pulls over is soft, so you don’t need to over-think it, but it’s good to double check this area if you’re blending sizes!) If, when you refer to the size charts with your measurements, you discover that your waist and hip are in two different sizes, let the hip measurement determine your size unless your waist measurement is larger (in actual inches/cm) than your hip measurement. In that case, let the waist measurement determine your size.
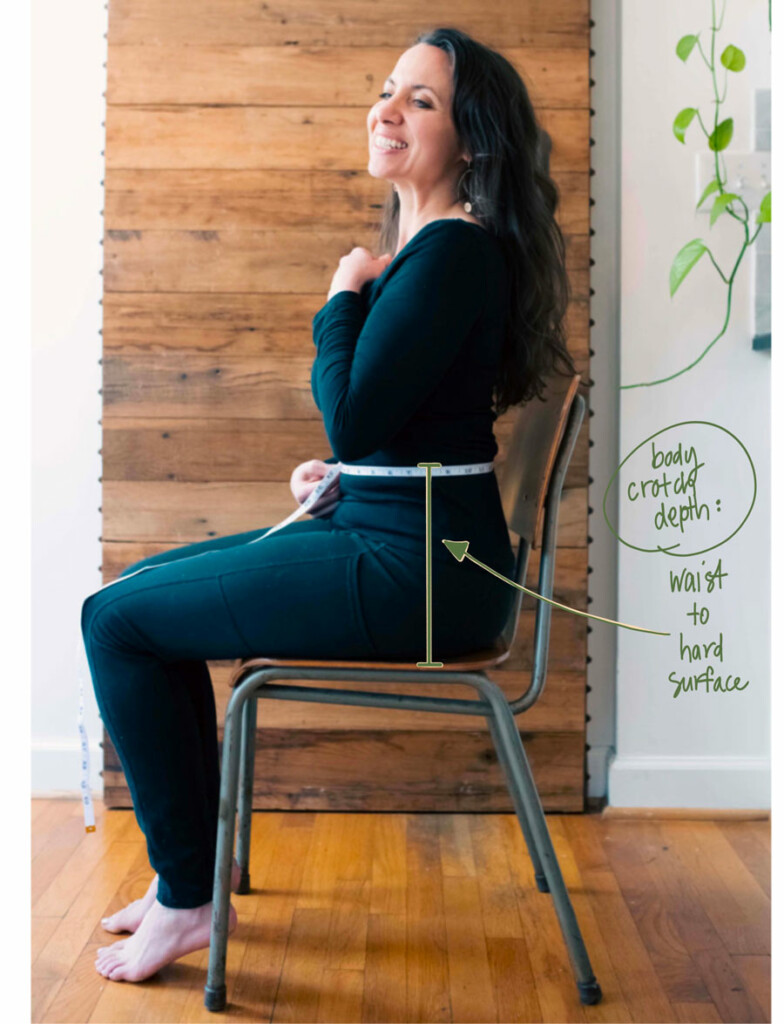
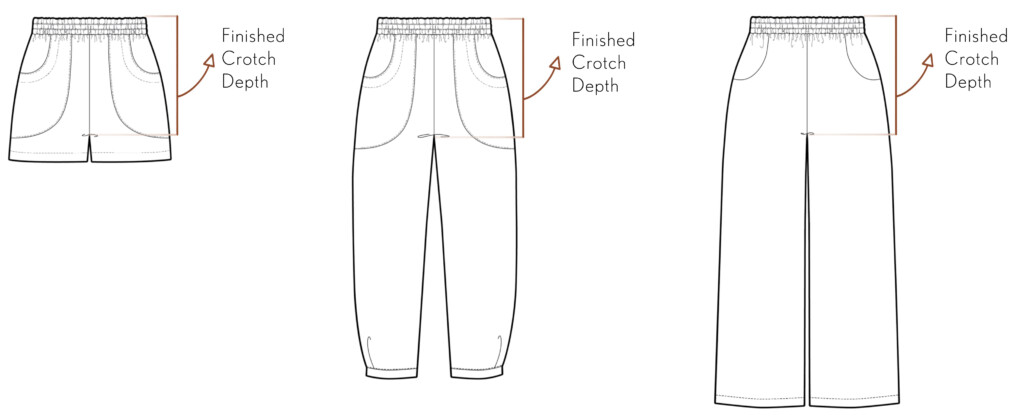
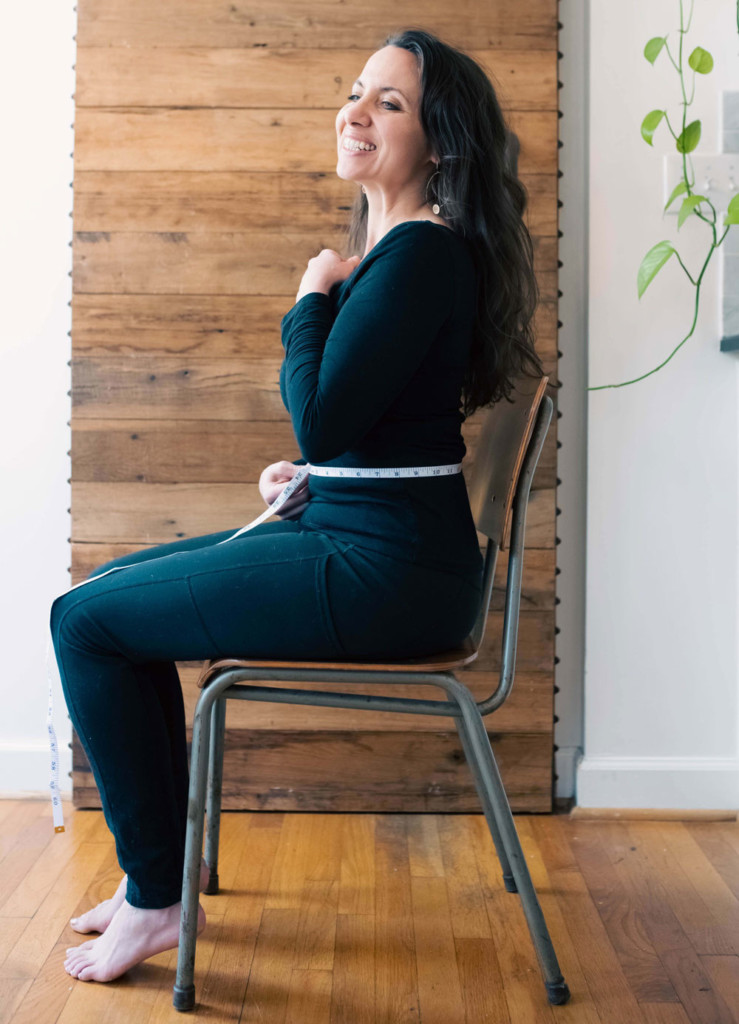
Another factor in a comfortable fit is the crotch depth. The crotch depth is a vertical measurement from waist to crotch level, taken at the side seam. The finished crotch depth is measured vertically from the top of the waistband to the crotch level at the side seam, and should include ½” to ¾” (1.3 to 2 cm) of ease for comfort. The waistband is intended to sit over the navel, with the top of the elastic almost reaching the natural waist. So not “super high”, but fairly high. (Higher than the Arenite pants, but not as high as Cosecha, if that helps!) With this in mind, the finished crotch depth can help you determine if you need to make any adjustments based on your preferred waistband location. The finished crotch should measure approximately approximately ⅜” (1 cm) more than your body crotch depth, to account for the ease and the intended waistband position. You may increase the crotch depth to customize the pattern to your measurements. You may also choose to increase the crotch depth if you want the waistband to sit higher.
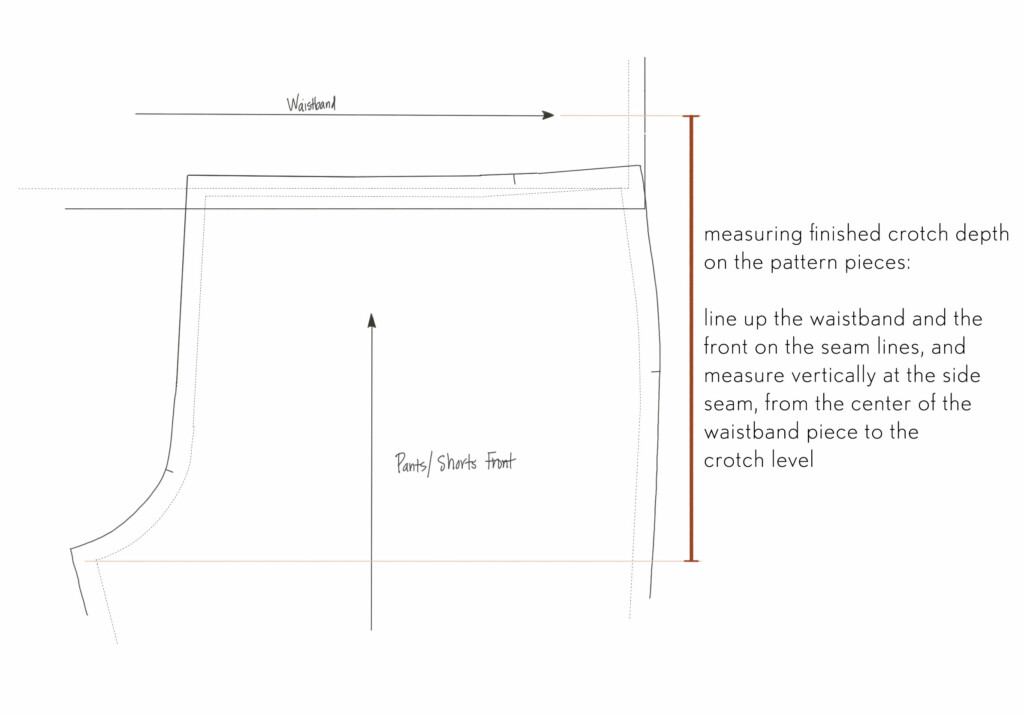
One thing that also impacts the relationship between finished crotch and where the waist actually ends up sitting is seat fullness and height – when we take the crotch depth body measurement, we’re seated and smooshing the softer parts of the seat, so if the body seat shape is a little lower and the pants have a soft waist, they might be pulled down (rather than having tightness or drag lines like we’d see on a hard pant). Personal space preferences (how close against your body do you want the pants to be?) are also a consideration, since that “uses up” more or less of the crotch depth for ease.
(If these paragraphs made absolutely no sense at all, it’s okay! Just use your waist and hip measurements to check your size, double check the inseam to make sure the leg length is good, and make your muslin. You’ll be able to decide then whether you want to change the rise.)
Lastly, refer to the inseam on the finished measurements. If you want to lengthen or shorten Views A and B, use the lengthen/shorten line on the pattern, making sure you keep the grainline straight and aligned, so the balance is not impacted by the adjustment. For View C, if you want to lengthen the shorts, we recommend adding length at the hem, following the angle of the side seam, in order to keep the silhouette consistent.
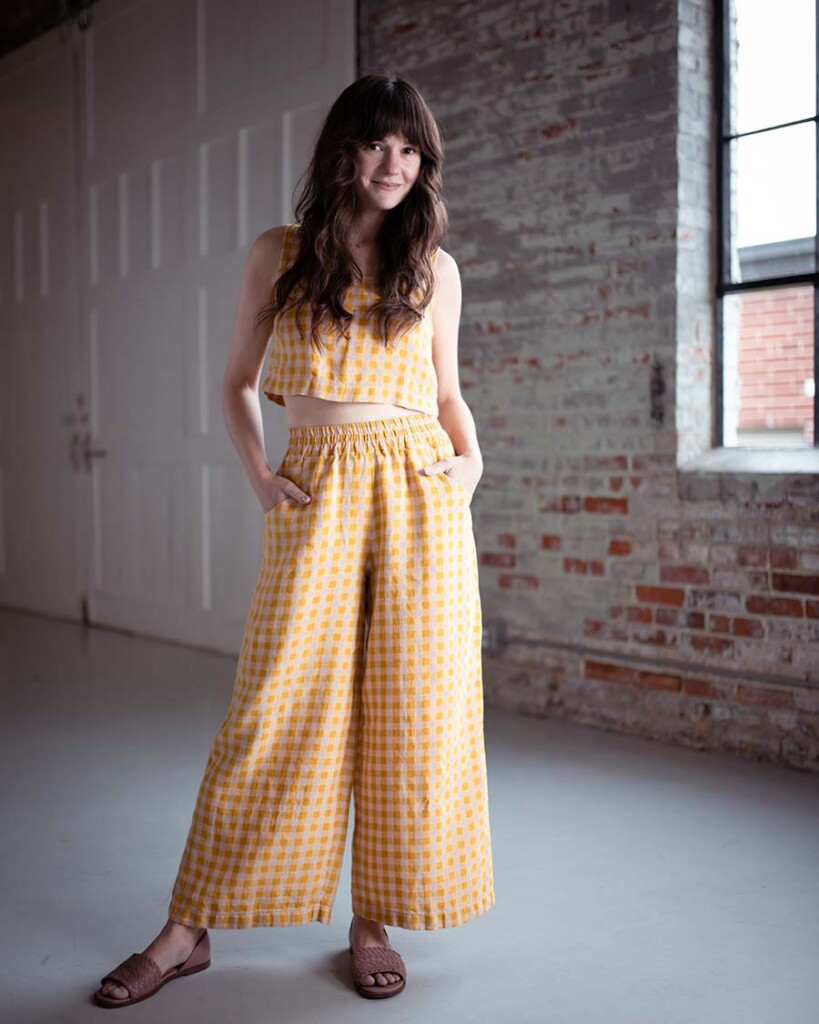
Meredith
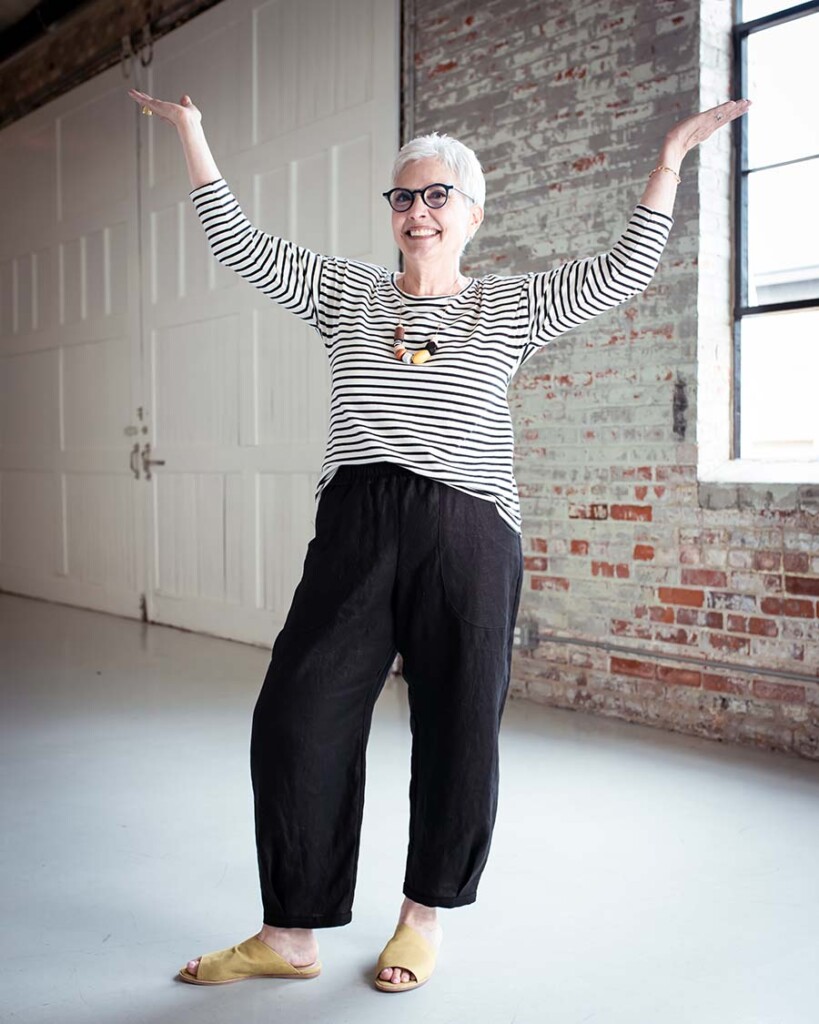
Cindy
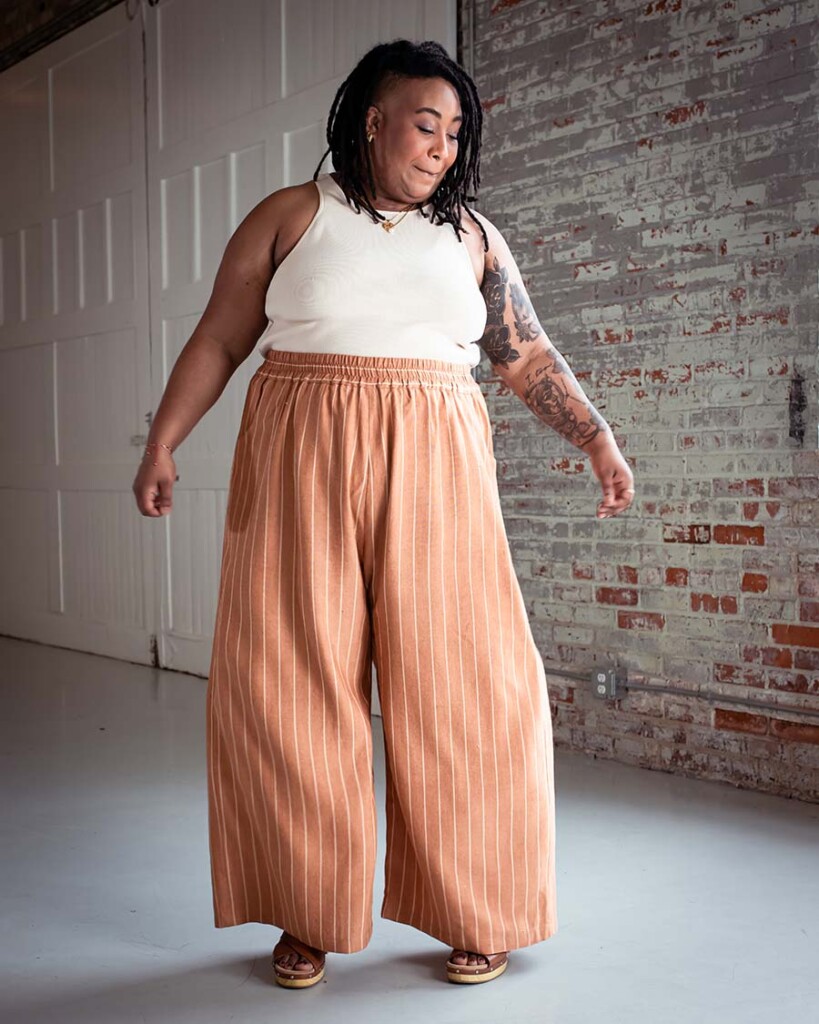
Ashley
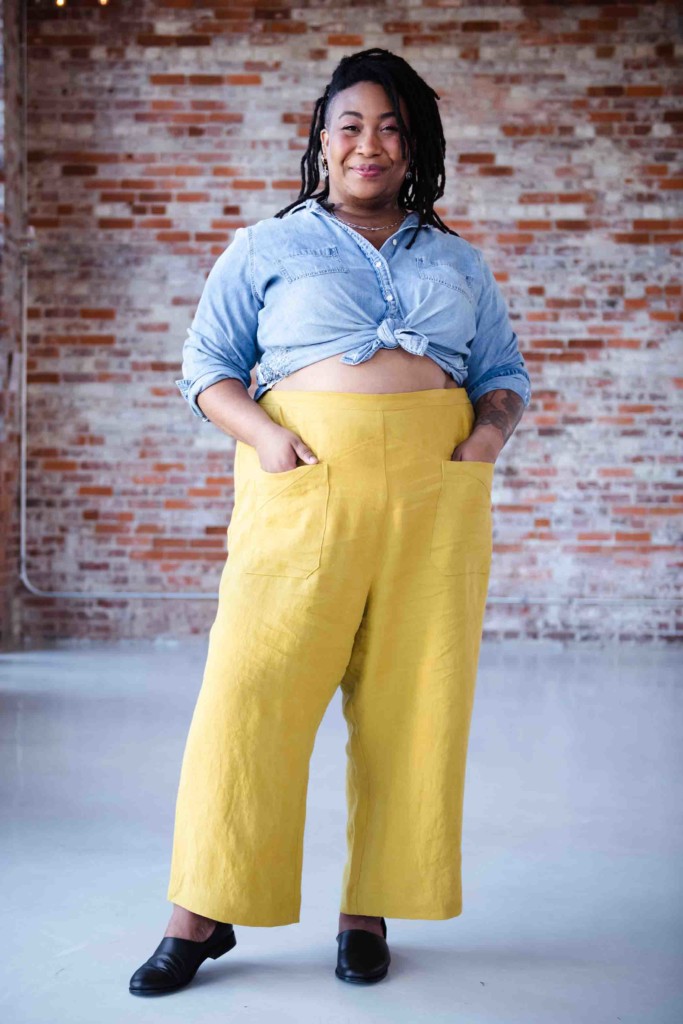
In our photos, Meg (pictured at the top) is 5’4″ with a 28″ waist and 37″ hips. She wears a size 8, graded to a 10 in the hips, and a size 8 in shorts, (one size up from recommended ease.) Ashley is 5’10” with a 45″ waist and 57″ hips. She wears a size 30. Meredith is 5’4.5″ with a 27″ waist and 35″ hips. She wears a size 4, shortened by 2 inches for View A, and 1 inch for View B (a cropped silhouette.) Cindy is 5’2″ with a 33″ waist and 41″ hips. She wears a size 12 shortened by 2 inches.
Fabric Choices for the Chanterelle Pants
We recommend a light- to medium-weight woven fabric that has no stretch. Recommended fabrics are opaque, and range in weight from 4.8 oz to 7.9 oz (155 – 268 GSM).
The drape or hand of the fabric will impact the look of the final garment – softer fabrics will fall more gently, and more stable fabrics will emphasize the leg shaping. Some wonderful choices are chambray, viscose-linen slub, sand washed linen or cotton, ikat, Brussels washer linen, lightweight twill or canvas (like Ventana twill), or Essex cotton-linen blend.
Some fabrics, like Brussels washer linen or some loosely woven blends of natural fibers, have the tendency to “grow” in length as they’re worn. It’s helpful to be aware of your fabric’s characteristics as you’re planning your project!
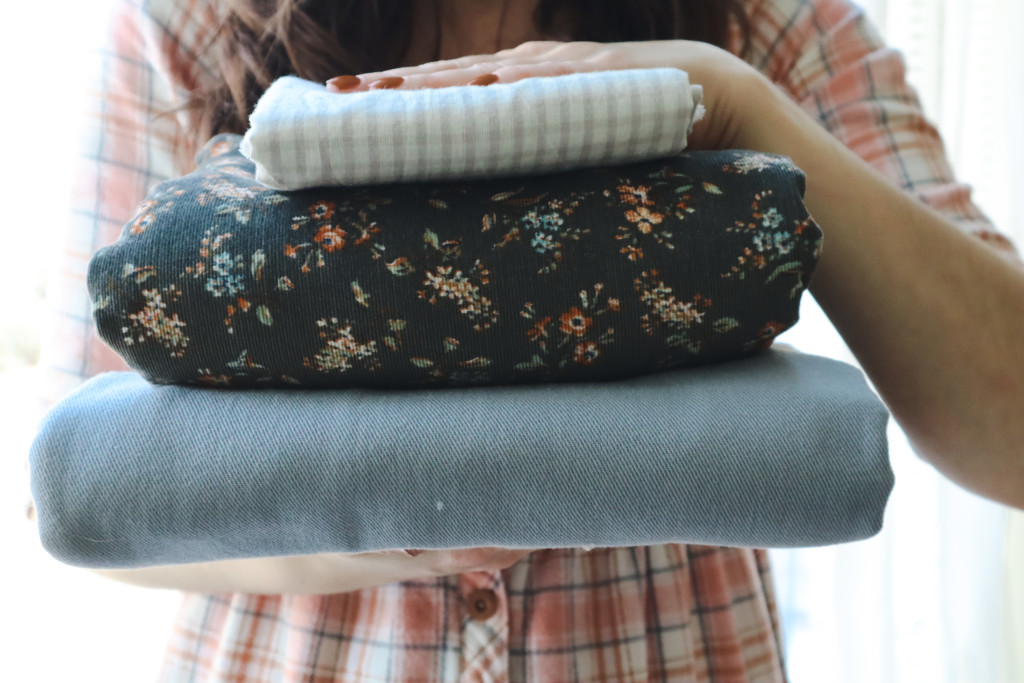
Our friends at Ewe Fibers have made some fabric bundles of some lovely fabric choices. You can find them here.
I hope this helps you get started with your Chanterelle Pants or Shorts! Happy sewing!


What about a rayon?
Hi Christine! A 100% rayon will be a bit too light and drapey for the Chanterelle. But a rayon/linen or rayon/cotton blend could do the trick nicely, provided it has enough weight.
Hello, would Microfibre be OK 150 gsm, advertised as great for pants.
Thank you
Hi Kathy,
When I think of microfiber fabric, I think of something used for a washcloth – not something I would want to wear! But this may be because I’m in the US. It sounds like this would be a synthetic fabric. If the website says it is good for pants, I’m guessing it would be fine, UNLESS it’s a knit fabric or a fabric that has some stretch. That you’d want to avoid, as the Chanterelles are designed for non-stretch, woven fabrics.
Hi Meg,
The Microfibre fabricI have has a feeling of crepe but heavier yes it is synthetic, it is recommended for pants, skirts and workwear.
Maybe the wider leg pant will be the way to go.
Excited to make these! A question: The post mentions that the waist has to be a little bigger than hip size to pull over the hip but the finished measurements on the waist for each size I’m looking at seems to be smaller than the hip? (I.e. hip of 41.5 for size 14 but finished waist fully stretched is only 41 inches.) Any tips for this discrepancy? Thank you!
When picking a size, if you have a larger hip-to-waist ratio, definitely check the stretched waist finished measurements to make sure they are larger than your body’s actual hip measurement. It’s not a discrepancy, just a reference point for your preferred amount of wearing and taking on-and-off ease!
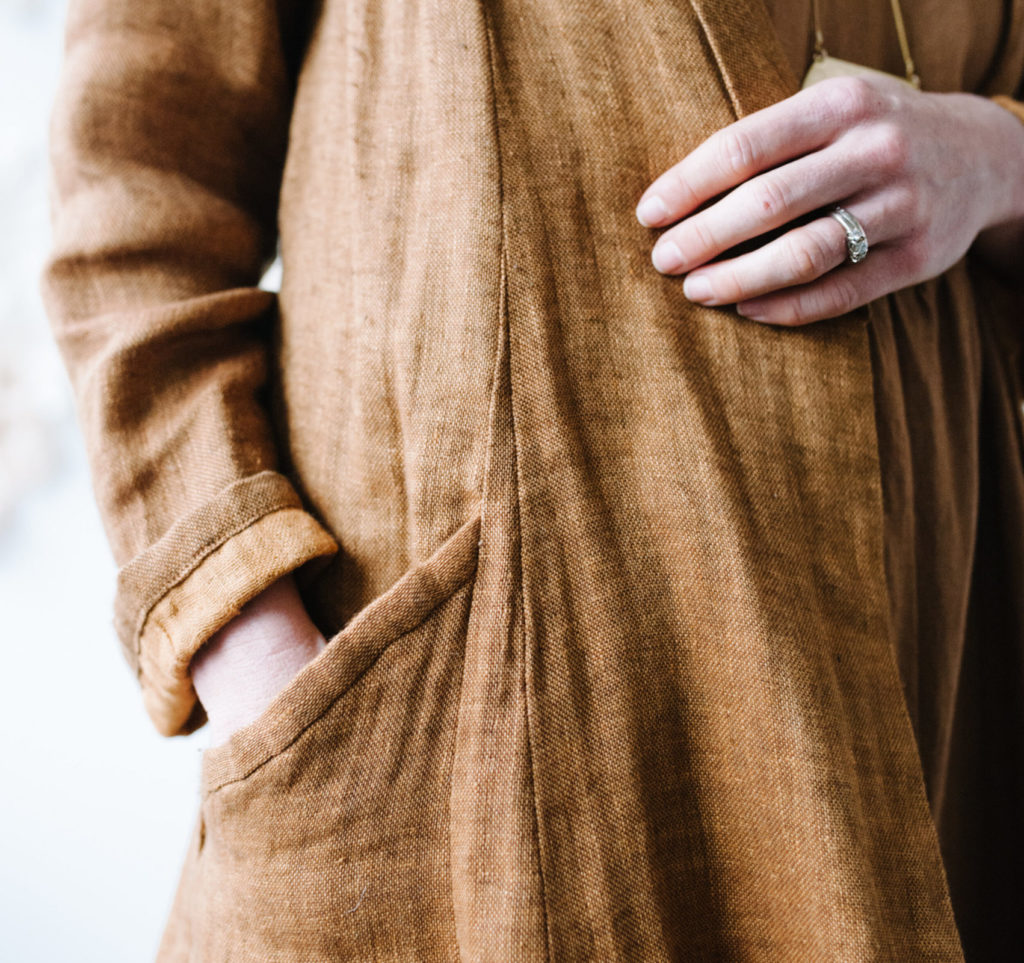
In the top photo of this article, what fabric did Meg use for her brown view B pants?
Hi Kim, I used a soft, 100% mid-weight linen. Anything that says “washed” or “laundered” linen will provide a similar look.
Do you think a light wt corduroy might work?
Yep! Judith used a fine wale cord for a pair of View A and it worked beautifully.
hi, I’m getting ready to cut out my first pair of Chanterelle pants and can’t wait to try them. I’d love some advice on sizing as I have a big discrepancy between my waist and hips and pants can always be tricky. Waist measurement is 28 in at natural waist, 30 at navel and hips are 43 at widest measurement. I’d like to sew view B and would love advise on size (thinking size 12 graded to 14?)
Great question! You’ll need to make sure that you can pull the pants on, so the finished (fully extended) waist should not be less than your body hip. Since your hip is technically in a size 16, that’s what I’d lean towards choosing, and then using the elastic to customize the waist size. The finished waist on size 16 is 42.5″, so on paper it’s probably best to start with 16 , and make a muslin to be sure. If you grade down to size 12 in the waist, it might not work to pull the pants on since the finished fully extended waist measures less than the body hip. Feel free to send an email if you have further or more detailed questions! 🙂
A SewAlong would be fabulous.
Another person asked a question about the waist / hip sizes but the response was make sure the finished waist size ( fully stretched) is large enough to go over the hips. I understand that…. but looking at Your Measurements standard height chart and then the Finished Garment measurement chart something seems off. Note Size 0 body measurements for waist is 25. Hip 33.5 Then follow to the Size 0 Finished measurements chart. view B finishes with a waist of 33 and hip of 37. This indicates the Finished waist is 1/2 inch Smaller than the standard body size 0 hips which is 33.5. This 1/2 inch smaller is consistent on your sizes 0 – 34.
So…. if my body measurements were an EXACT match to any size of your fitting chart, my finished garment (view B) fully stretched waist band would be 1/2 inch smaller than my hip…..which is something you say to avoid. I look forward to sewing this pattern but I’m confused. Please help. 🙂 . Thanks much.
Okay, I see what you’re asking. There’s a bit of leeway available in there, since the tissue that the waistband needs to pull over is soft, but not so much that one can refer to the finished waist of a pair of pants with a zipper opening! There’s definitely discretion involved in sizing decisions at times, and also personal preference! Some people are willing to do more of a hop and wiggle to dress than others 😉
So let’s say this: Since these pants pull on, the finished waist, fully extended, needs to be within 1/2″ (1.3 cm) of your body hip (or larger, of course) so that you can put the pants on without hopping and wiggling! (There’s a bit of leeway here, since the tissue that the waistband pulls over is soft, so you don’t need to over-think it, but it’s good to double check this area if you’re blending sizes!)
Hi – I’m debating on what sizes to go with and I’m a beginner so this gets a bit confusion for me – in hip measurement I’m exactly your size 8 (37.5), but my waist is 27 in. Crotch depth is 10.5.
For View B, should I make a size 6 graded to size 8 for hips & crotch depth (and do you have instructions somewhere on grading up a size because that’s not included in the pattern), or should I just make the size 8 even though the waist measurement will be 2 inches bigger than my actual waist? With sizing up to 8 I’m worried about pants being too baggy over-all. (for reference, I made a toile in size 4 and the fit was pretty great everywhere except the hips)
Also, for view A, what size to go with since the waist and hip have more ease on this one, should I base it off of my 27 waist and make size 4?
Thanks for advise!
Hi Katie!
I’d like to answer your question in a bit of detail, so I’m going to send you an email shortly. These are such good questions!
I’m currently thinking about sewing more winter proof version on those. Although I love dramatic view A I’m afraid it will not fly in my wet and windy winter (mildly cold), pant would get wet and dirty too quickly and not providing enough warmth for the bottom part of my legs. So I’m debating view B, but thinking about lengthening them. I’m tall (1,8m so 5ft11′) with long legs, I’m around size 8 and a bit worried if using heavier fabric (corduroy) and lengthening pants to hit bottom of my ankle will not loose the balance of the pants? Did anyone add more length to view B? How did it look? Or shall I also grade leg part wider as I add length? Would love to hear read your thoughts:)
Hi! There are lengthen/shorten lines so it should not effect the balance of the pants if you use those as a guide to add length, rather than adding it to the bottom. When you lengthen, you likely will need to redraw the side seam, as it won’t be a smooth line, and will need to be graded slightly. You can email us at support@sewliberated.com and we will be happy to help with more specific lengthening questions.
I’ve made a pair of chanterelle pants in B, using the hack for A pockets, and now I’m starting to tinker with the fit and look. I’m thinking of replacing the all around elastic waistband with two pleats forward of the pockets and elastic just in the back half of the waistband. My only concern is if there will be enough ease with elastic only in the back to get the pants over my hips. I’m a 30 in. Waist and 36-37 in hips, and I graded my pants from a 12 in the waist to a 6 in the hips. Do you think this would work?
Hello! What a great question. I think yes, that will be fine, especially because you’re working with a size 12 in the waist and six in the hips, rather than the opposite. In some cases a zipper opening would be necessary… but (shhhhh….) there may just be something landing online soon that will help with that. 😉 I’ll send you an email with a longer format answer!