Fabric and Notions for L’Oeuf Bag
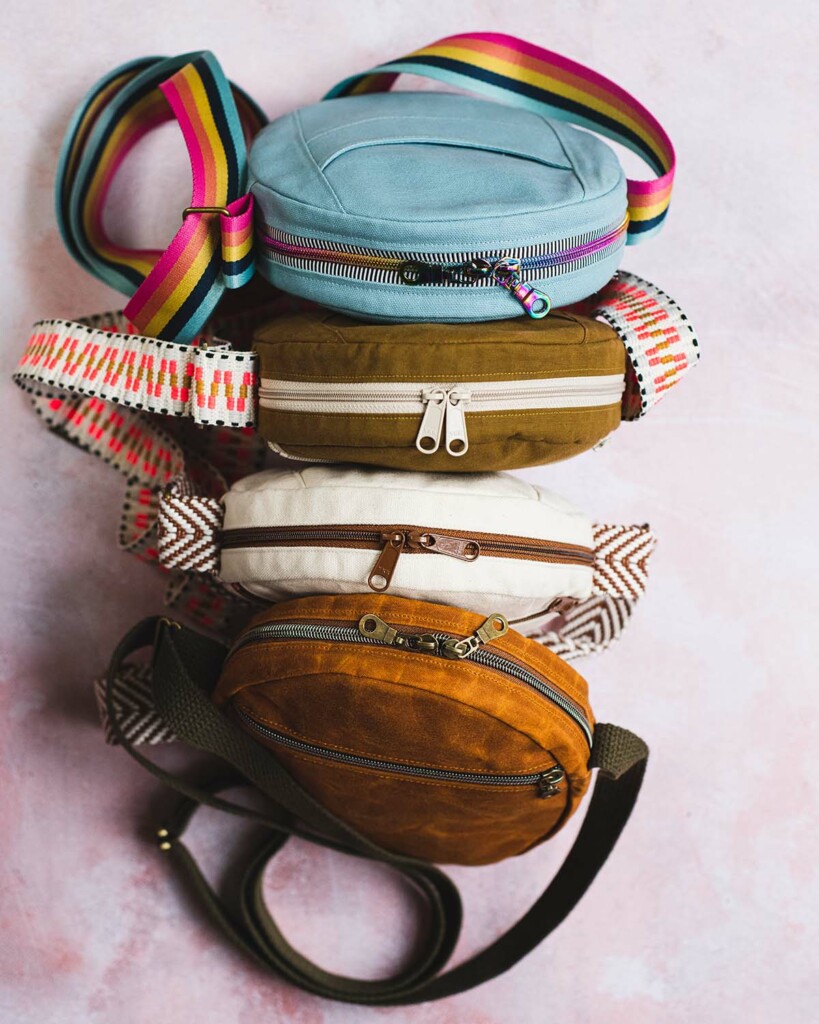
Sometimes I forget how much I love bag sewing. It is just so satisfying. No fitting! I get to use a jeans needle! I pull out my heavy fabric number 8 foot! And once I’m done sewing it, I get to use it every day. I love all of my homemade garments, but a bag is a bit like a coffee mug, something both functional and beautiful, that you reach for each morning. And I feel doubly in love with l’Oeuf Bag. Its pleasing oval shape, its double pull zipper, and its many pockets. It is a great bag. So let’s talk about everything you need to make your own.
Outer Fabric for l’Oeuf Bag
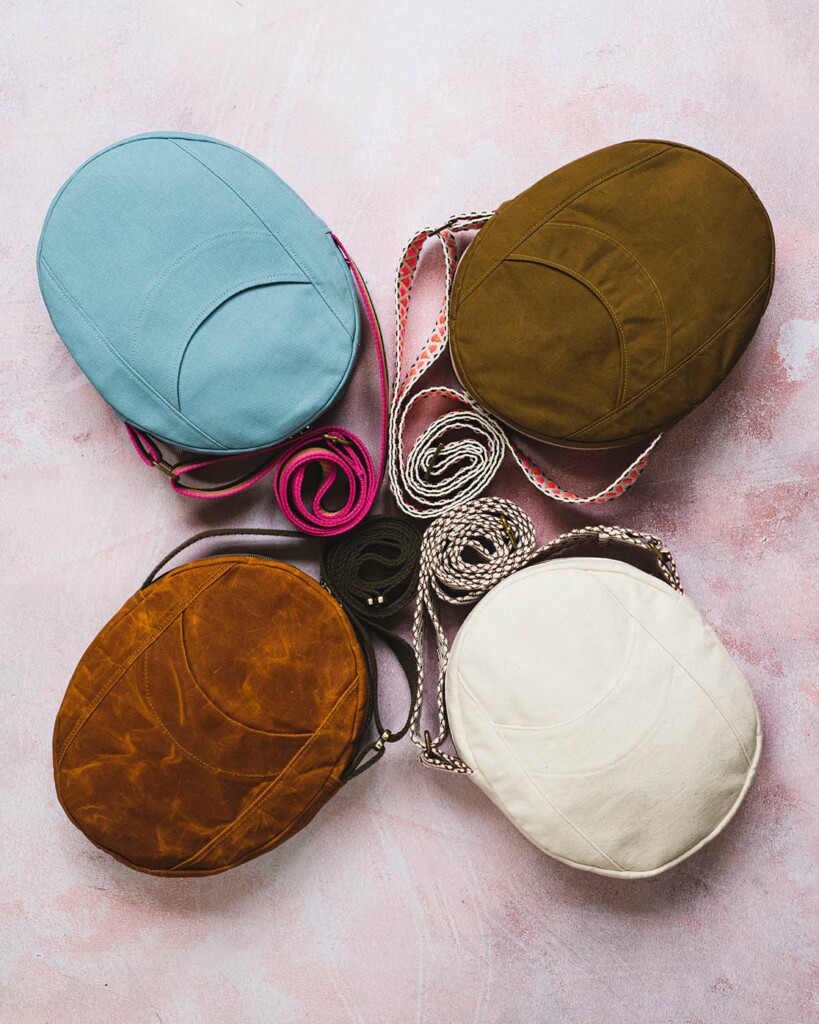
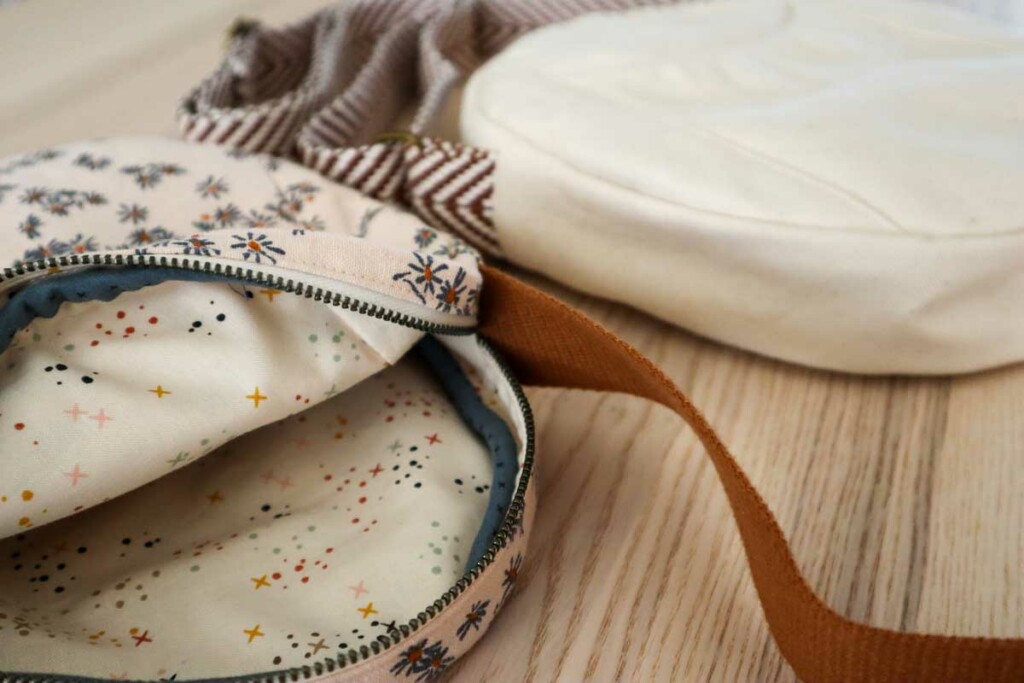
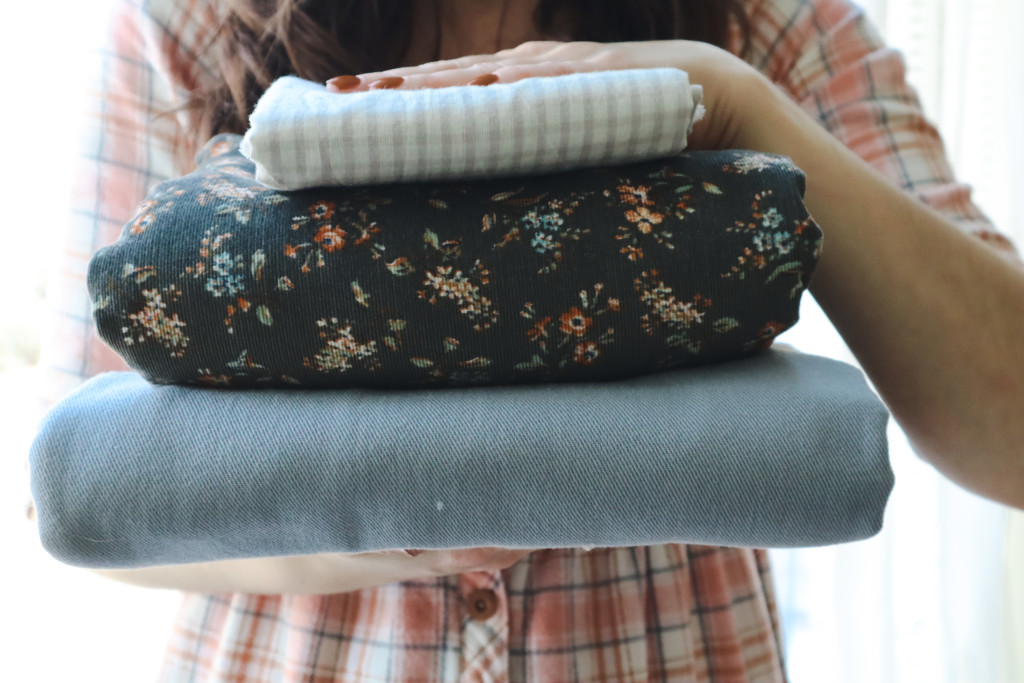
We recommend mid- to heavy-weight woven fabrics for L’Oeuf Bag. A favorite choice of mine is Big Sur Canvas. It comes in a lot of colors and is readily available at many local and online shops. My white bag is made from Big Sur canvas.
If you are brand new to sewing bags, Big Sur or Essex linen are excellent choices. Essex is a bit lighter so you will want to be sure to interface all your pieces (the instructions tell you to block fuse, which is fabulously easy and un-fussy). I used Essex linen for the floral bag.
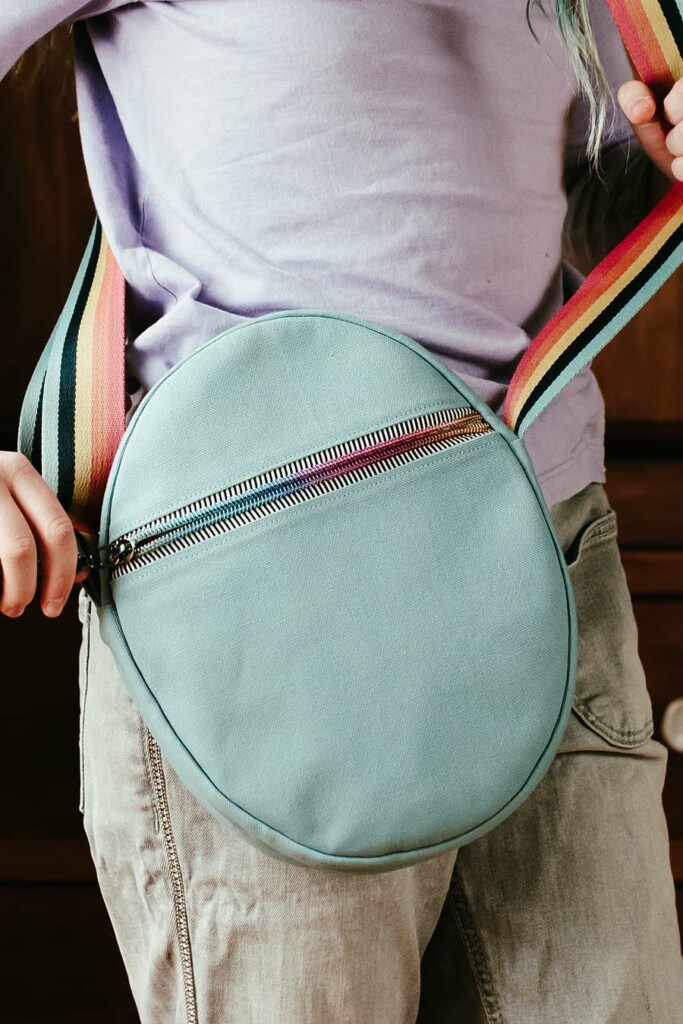
Duck canvas is another great choice. The robin’s egg blue bag is made with a heavy duck canvas. This is a durable fabric, and it is thicker than other canvases, which means it will hold the shape super well, but be a little trickier to sew.
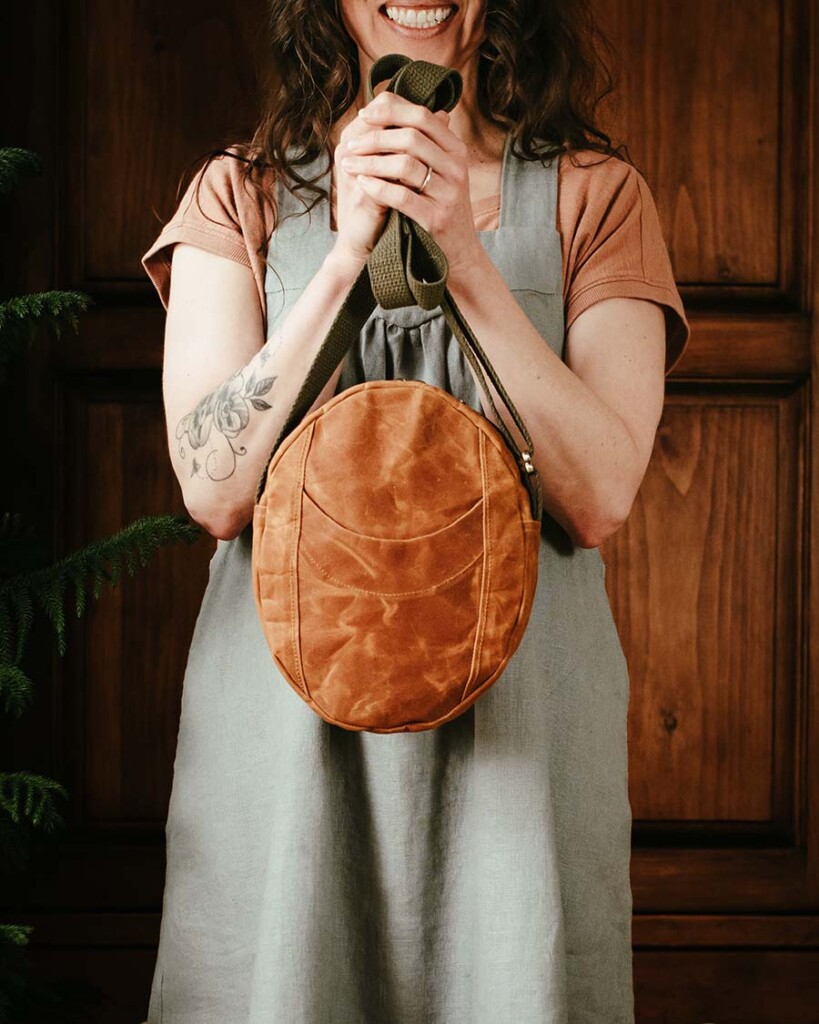
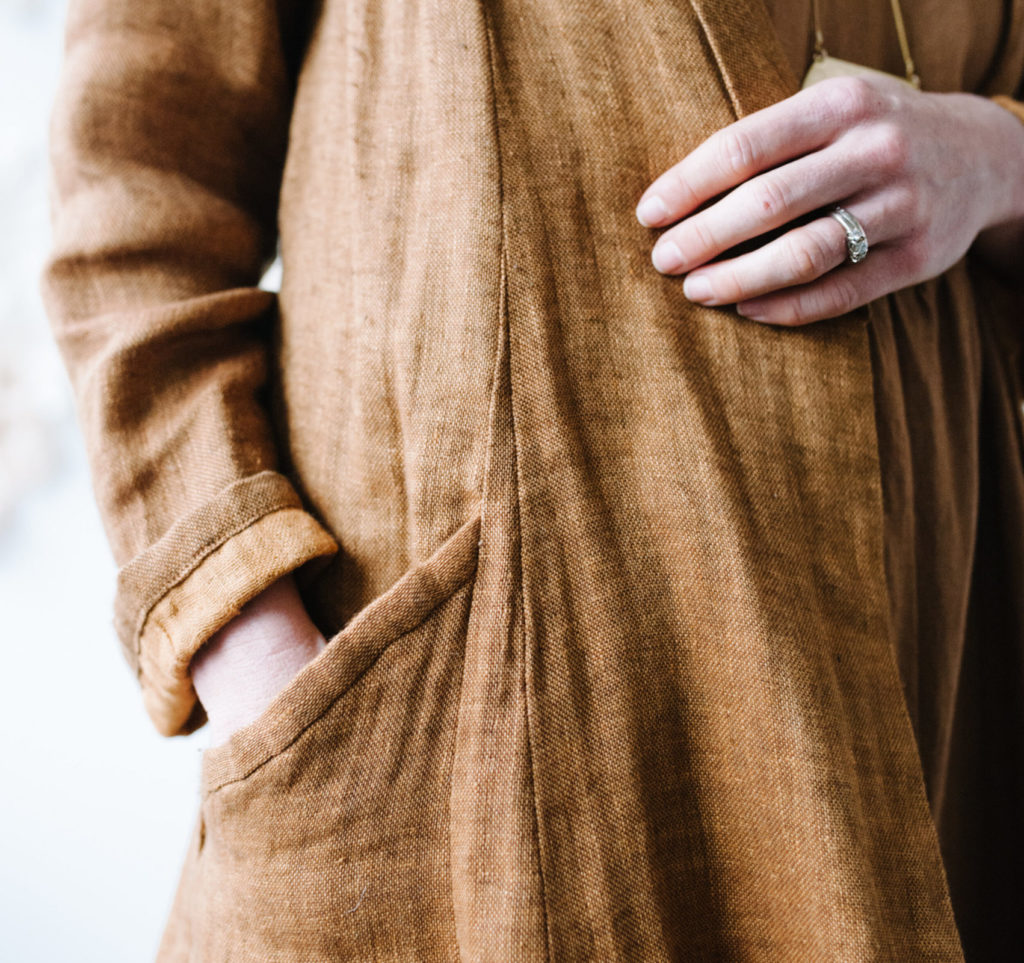
Two other great options that give a really professional finish are dry oilskin and waxed canvas. These fabrics should NOT be interfaced due to their coating. We’d recommend these fabrics only if you are an experienced bag maker, as they are more difficult to work with, especially for the round gusset step. Make sure to use a pressing cloth for these types of fabrics. The green bag with patterned webbing is made with dry oilskin. The caramel one is made of waxed canvas.
Lining Fabric for l’Oeuf Bag
You really can’t beat quilting cotton for lining fabric. There are endless cute prints to choose from and it is a perfect weight. Cotton lawn or other lightweight cottons would also work well for lining. We don’t recommend flannel or other thick fabrics, or anything slippery.
Webbing and Other Notions for L’Oeuf Bag
L’Oeuf Bag includes an appendix for making a strap from fabric, but webbing is a great choice that will save you time and fabric, as well as adding interest to your bag with a new texture. It is also a great opportunity to play with color. You can use a width of 1” or 1.5” (make sure to get the same size sliders and bag hardware.)
1” webbing will give you a little bit more breathing room when sewing the gusset. Noodlehead has a beautiful selection of webbing in both 1” and 1.5” widths.
The rainbow webbing on the blue Oeuf Bag can be found at Stitch Supply Co. This webbing is on the stiffer side. Stitch also has the patterned webbings. By contrast, these webbings are quite soft.
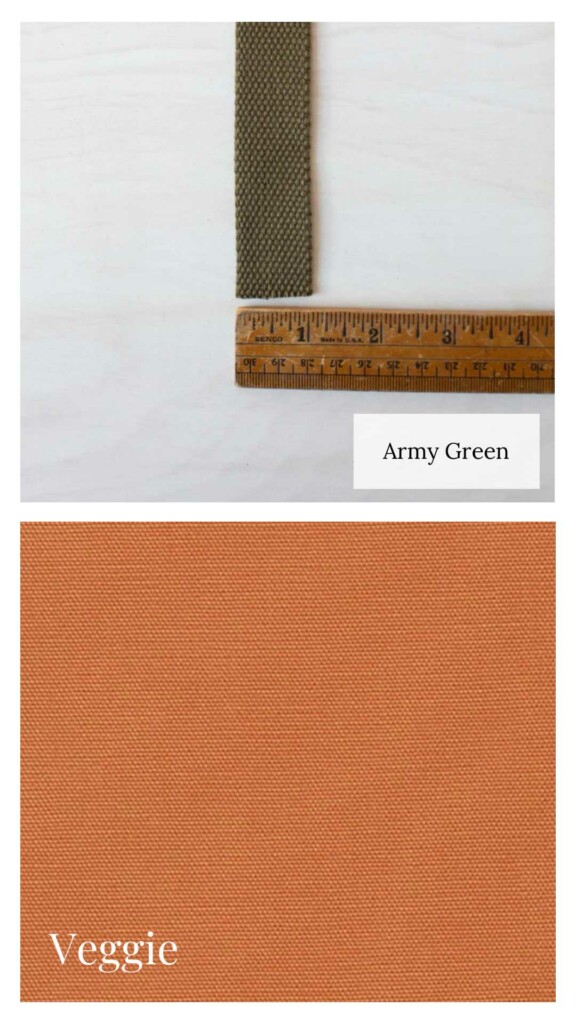
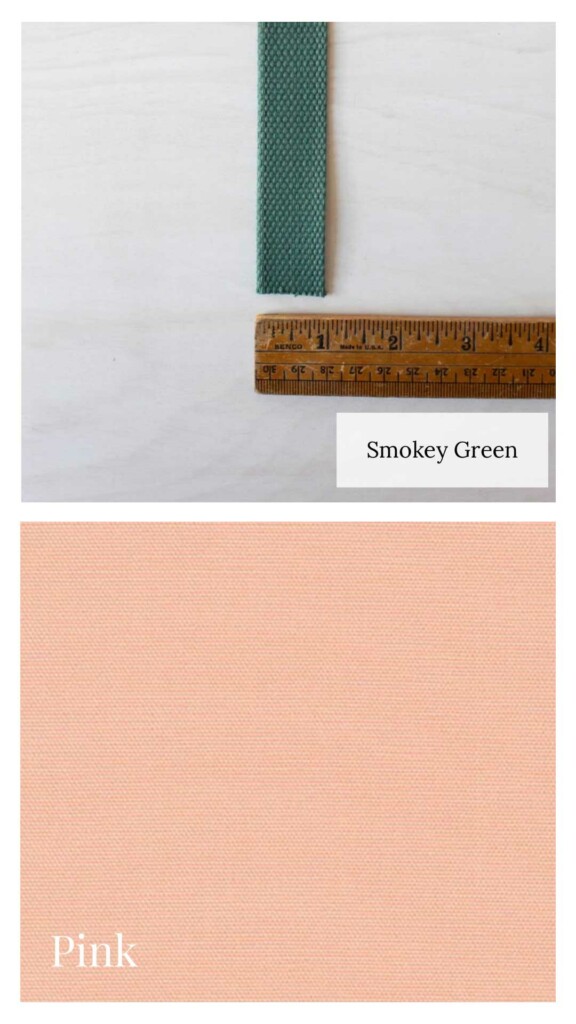
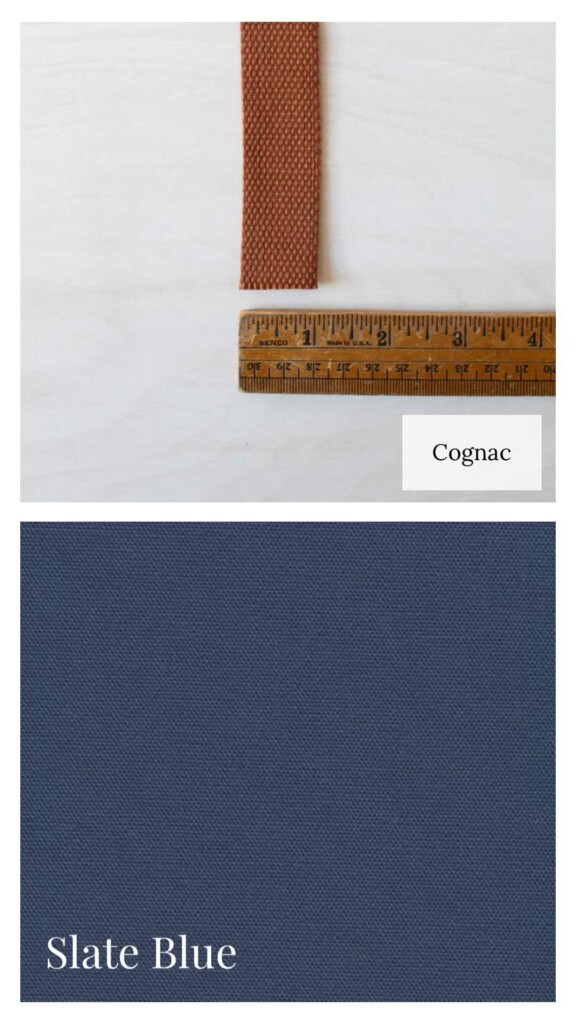
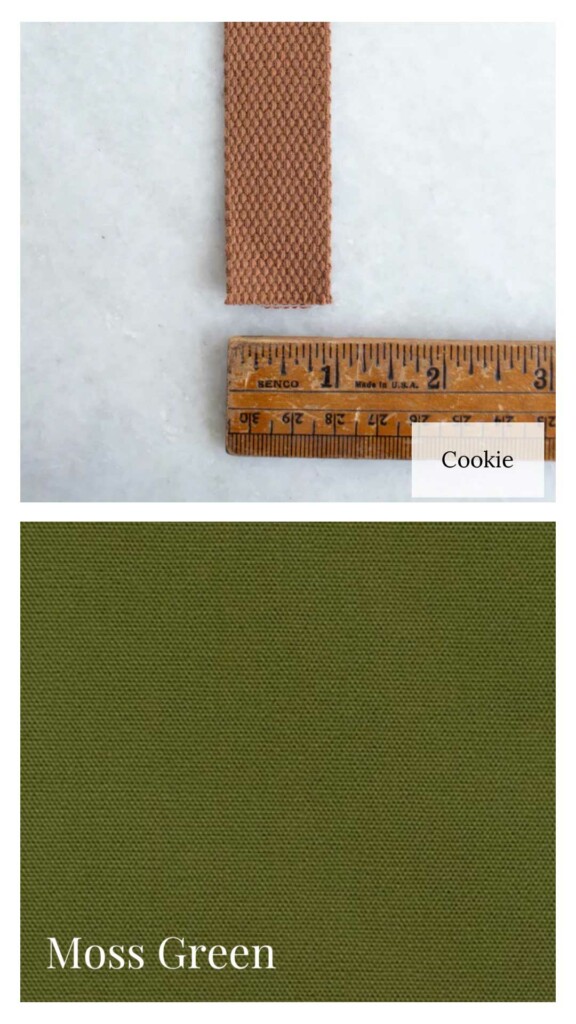
Webbing presents an opportunity to either match or contrast with your outer fabric. A neutral bag with matching webbing will be a great wear-with-everything piece to grab on your way out the door. But it can also be really fun to choose a contrasting color for your webbing. You can get a zipper to match and have a unique Egg Bag! If you choose a print, like I did for my floral Essex linen bag, you can pull a color from the print for a coordinating webbing.
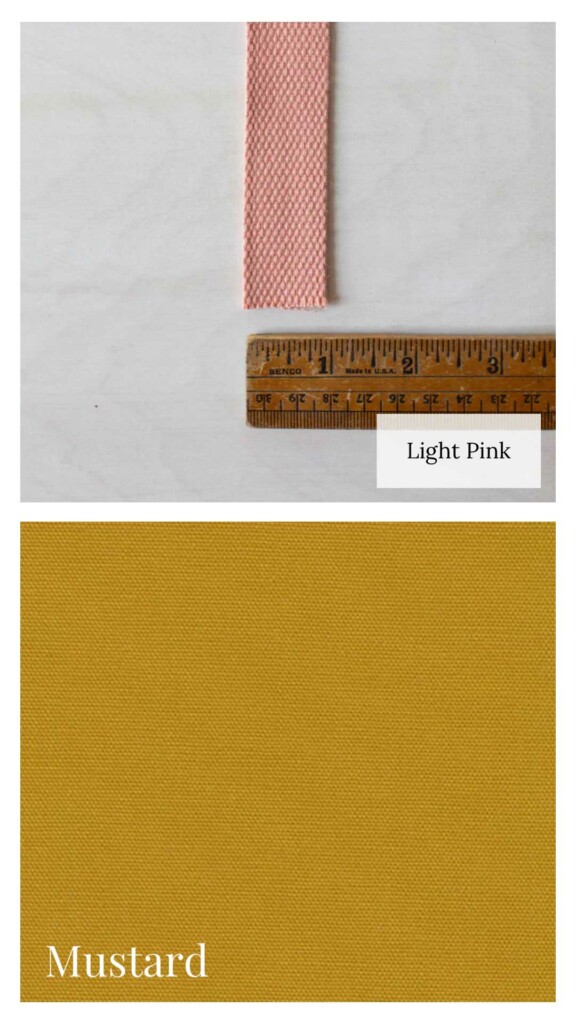
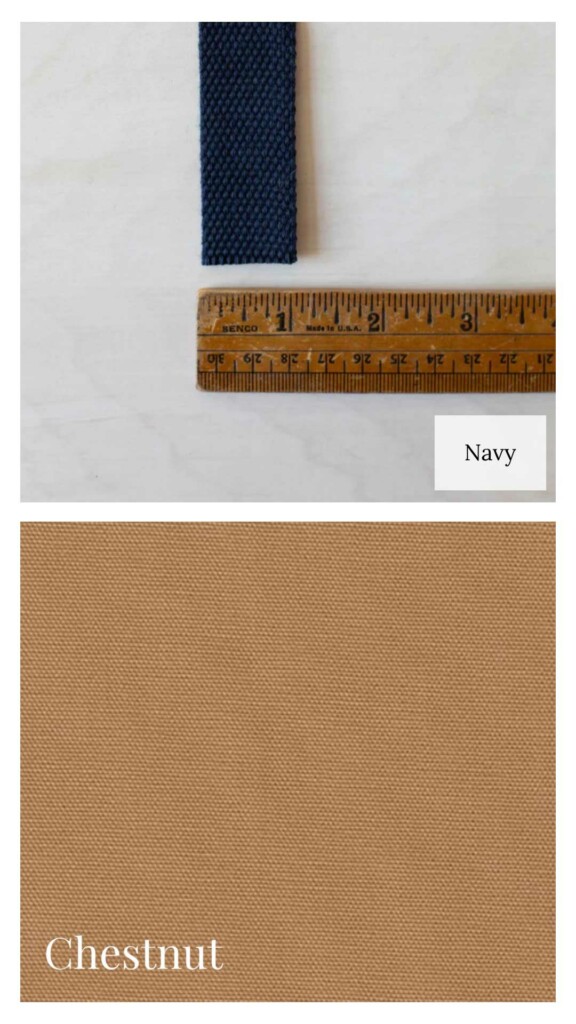
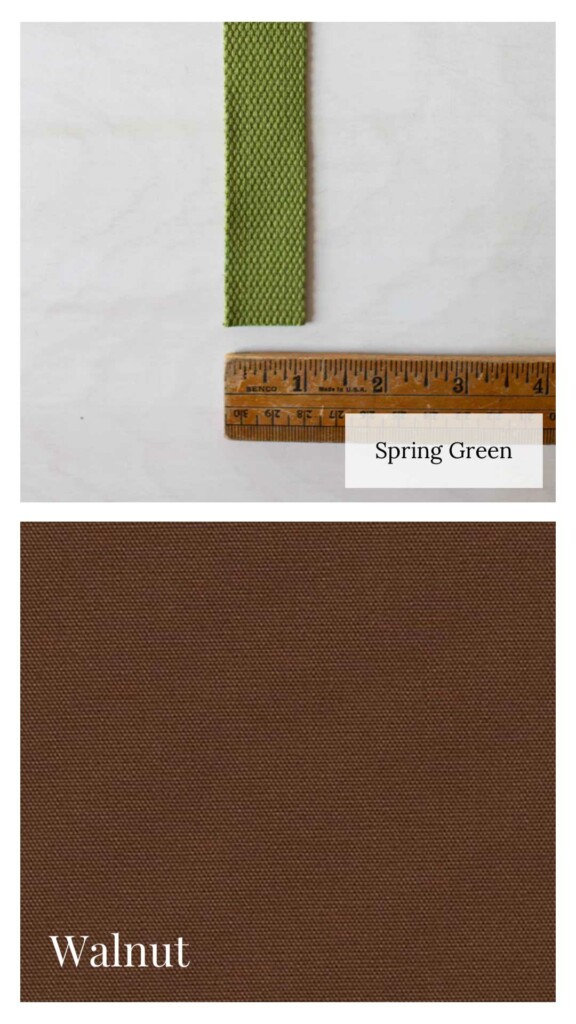
Here are a few examples of combos of Big Sur Canvas and solid webbing I love:
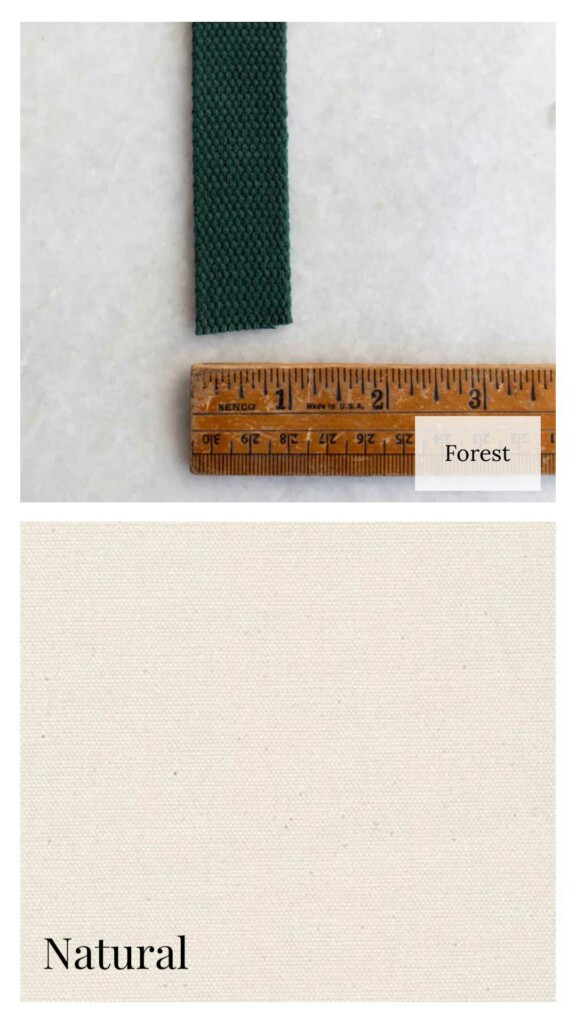
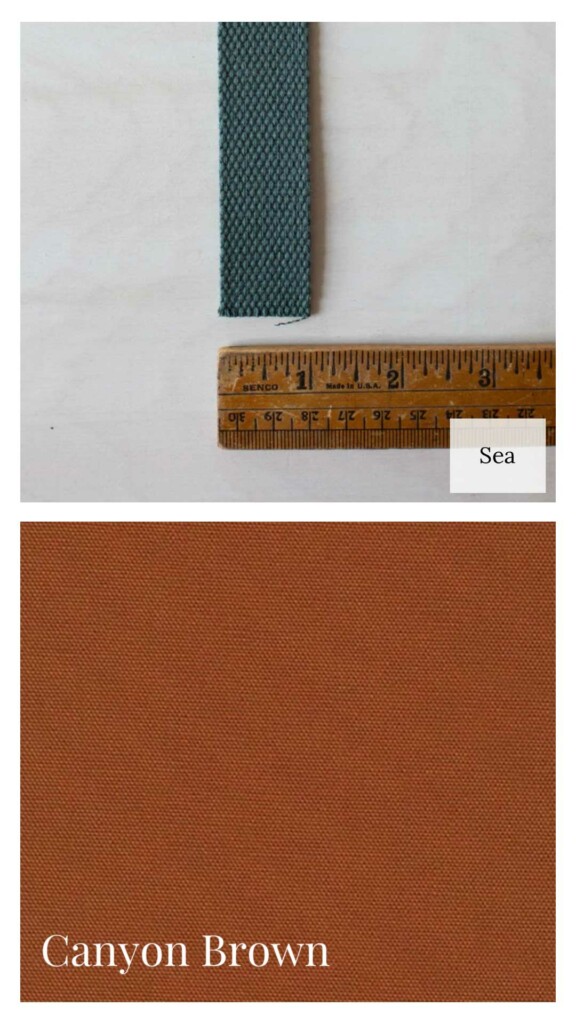
Zippers for L’Oeuf Bag
We recommend a nylon coil zipper for this pattern. A nylon coil is great because you can sew straight through it and it opens and closes very smoothly. Noodlehead has a great selection of colors and lengths. That is where the zippers on the cream and green bags are from. The rainbow zipper as well as the zipper on the waxed canvas bag can be found here. Please note that for this off-roll type, you also need to purchase pulls.
I used a metal zipper on the floral Oeuf Bag. I love how it looks but it is trickier to sew and you have to have the exact size. You can’t sew through a metal zipper and would have to remove teeth to trim it down. I will never stop anyone from following their bliss, but using a nylon coil zipper makes for a more pleasant sewing experience.
A note on binding
This pattern assumes you will buy ready-made binding or are able to make your own binding. We like this bias binding video tutorial. I used some coordinating scraps I found to make mine since you don’t need very much. But if you do not want to go to the trouble of making binding (I often don’t) The Small Circle has a beautiful selection of pre-made double-fold bindings.
Bag Hardware
Most sliders and rectangle rings come in packs of two, which means you will have an extra since we only require a ring on one side. I took the liberty of installing rings on both sides. You are free to do this! It’s a bonus change, and not written into the pattern. My bag strap is still plenty long enough even with an extra 4 inches cut off for the tab. It does mean you will also need to loop the single end of the strap around the ring and stitch it in place at the end, similar to how you would for the slider. This isn’t too hard, but if you don’t want to mess with more hardware, I would leave it off and save any extra rings for a rainy day… or another bag!
And that’s just about everything you need to know to make L’Oeuf, and how to choose fabric and notions. I truly hope you enjoy sewing this up as much as I did, and that it brings you joy every time you slip your phone into that interior pocket. Happy sewing!


I am so excited by this pattern. I have never made a bag, except for tote bags, so this will be a really exciting project for me to have a go at! And so many fabric possibilities.
Just as I say I am not buying any more patterns you give us another lovely one.
Diolch (thank you in Welsh)
Thank you! I am so excited to see yours. It is truly so much fun to make and to use.