Finding Your Fit for Otis
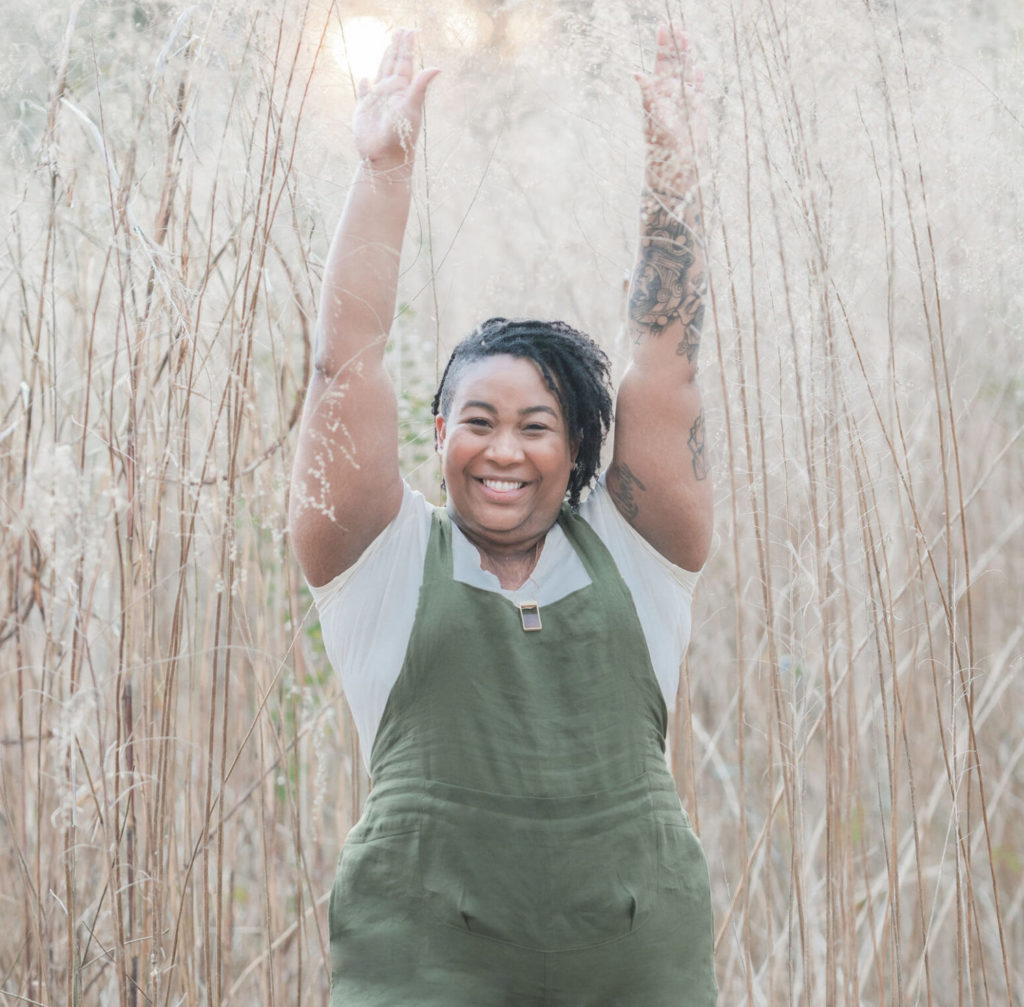
While it can be tempting to dive right into a pattern, making a fit muslin (also known as a toile or fit sample) will save you a lot of heartache in the end, especially for a pattern such as the Otis Overalls. Keep in mind as you make your muslin and final, that there is a lot of positive ease in the hips. If you would like less ease, feel free to size down. This is one of the many advantages of making a test muslin. It allows you to determine the best fit for you, taking into account the style of the pattern as well as your personal preferences.
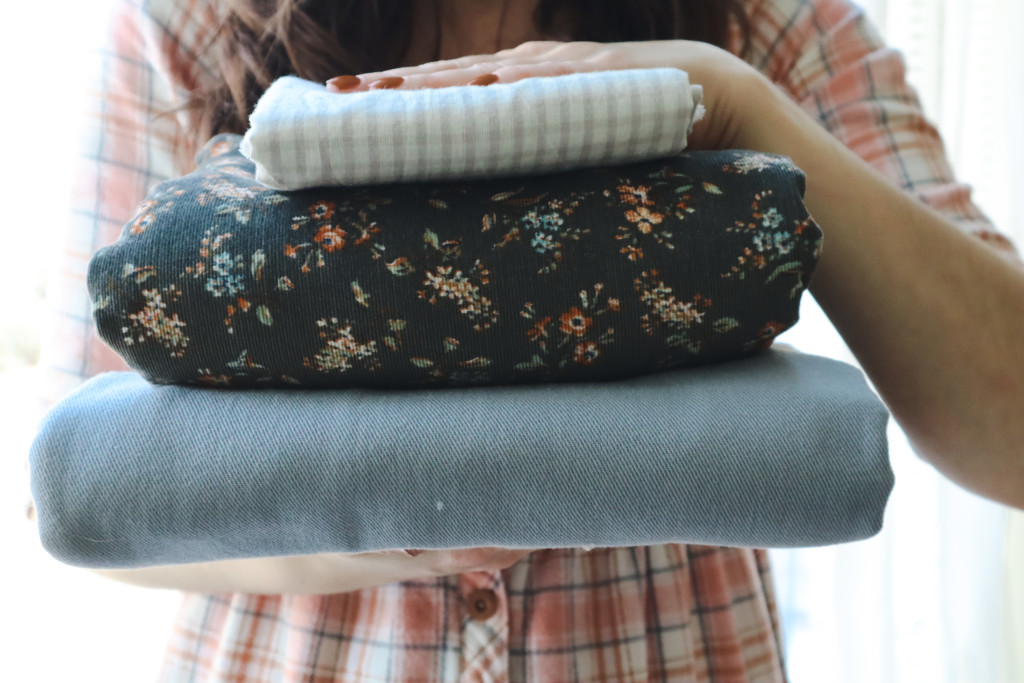
Another important reason to make a muslin is to preserve your fabric for a garment that fits well. For the test, you can use an old sheet, or a hodgepodge of fabrics if you don’t have enough yardage of one. Quilting cotton turned inside out (so you can take notes on it!) is a great choice for muslins as well.
Choosing a size
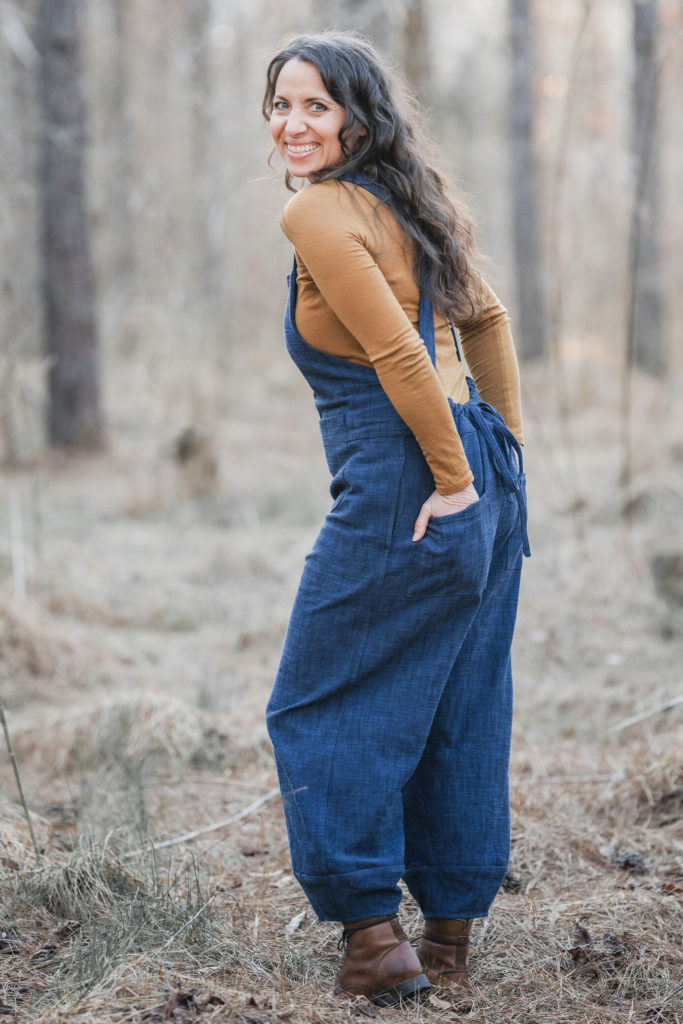
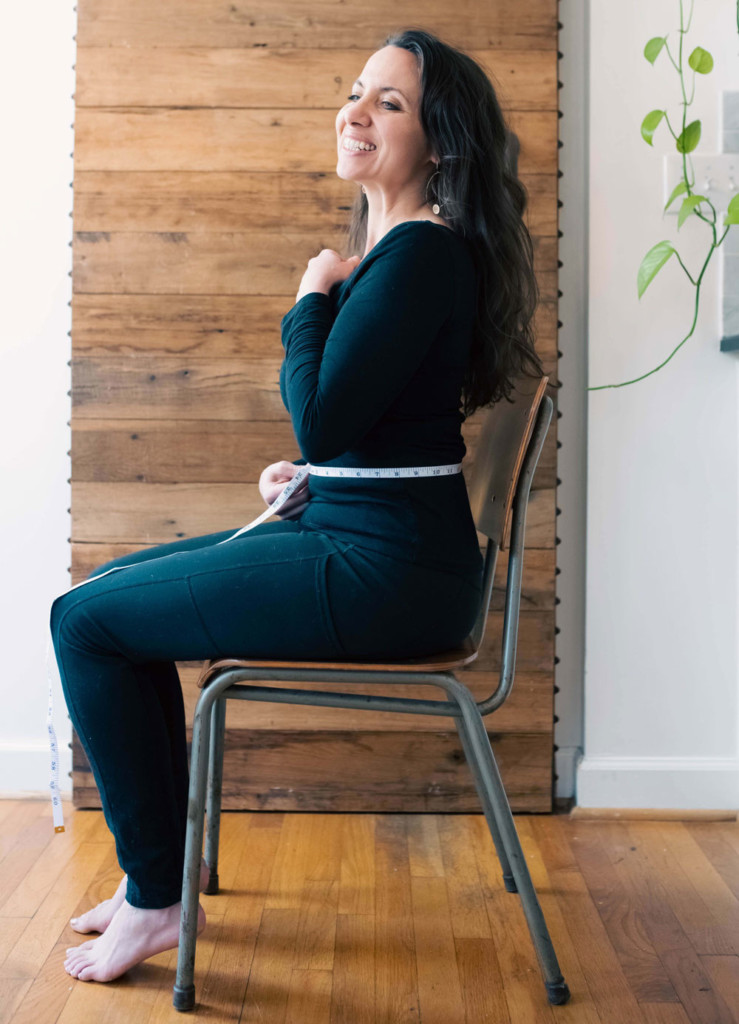
Since the waist is shaped with a drawstring, you can use your hip measurement as the deciding factor if your waist and hip fall into different sizes. Checking the finished measurements really helps in making a balanced sizing choice, and making a muslin (toile or sample garment) is a great way to check your fit and practice any sewing techniques that are new to you. Keep in mind that while the finished measurements chart shows the waist measurement with the waist tie untied. When you gather and tie them there is a lot of room to adjust for your preferred fit.
Though it might be tempting to raise the crotch seam for a more conventional pants fit, be careful! Length ease of about 2” (5 cm) is required in overalls for layering and essential movements like sitting comfortably.
A note on the fitting of the back: the drawstring is designed to curve down slightly when worn, so the waist seam sits level on your body. You can adjust the drawstring’s tightness as desired, loosening to achieve a more dramatically open lower back, or tightening to bring in the fit around the seat of the overalls.
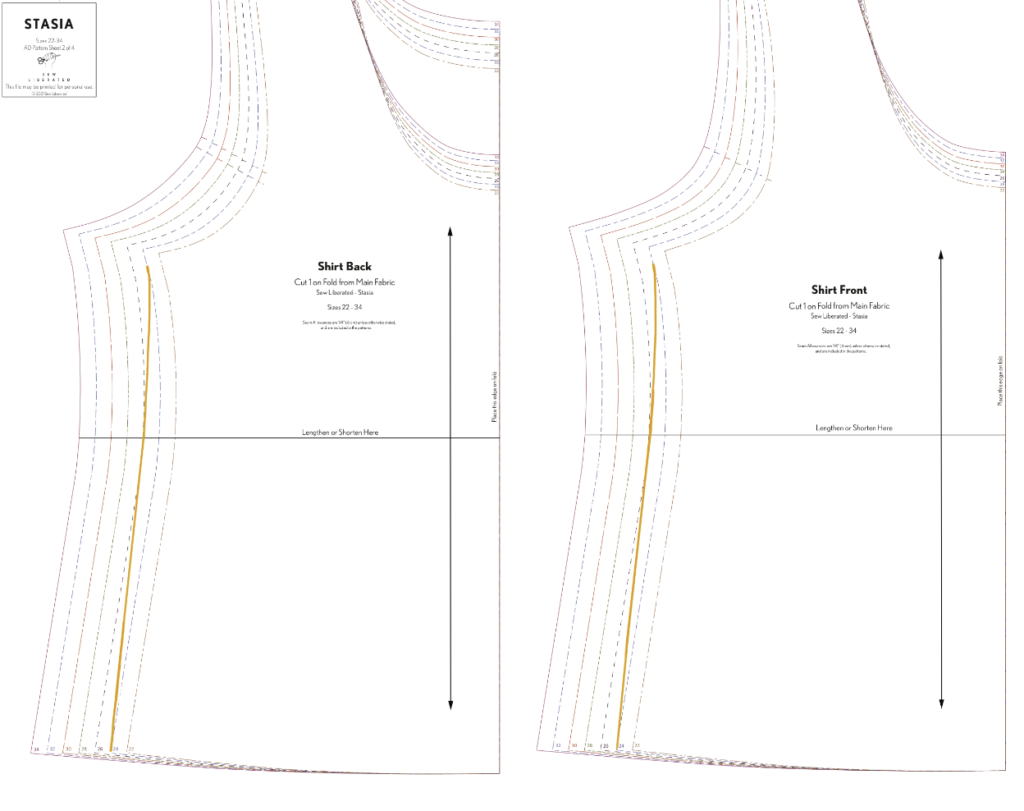
There are finished measurements for the width of the Bib (at the top) in the Finished Measurements Charts. Rather than grading between sizes at the waist, you may choose to narrow the bodice by choosing a smaller size for the top of the bib, and blending on the curved line to meet your hip size by the time it reaches the side seam, as demonstrated in the illustration below.
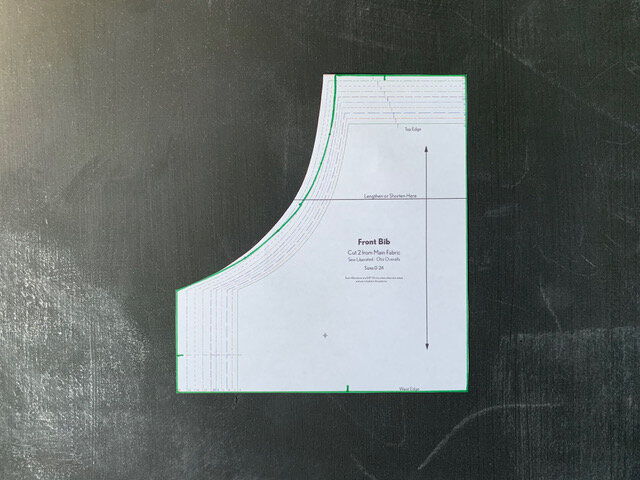
Check the finished leg length before cutting out your pieces. You’ll have a chance as you sew to check your strap length before securing the ends to the front bib. Use the lengthen/shorten lines on the bodice and leg to adjust your overall length if needed.
The most common fit adjustment you might make is the length of the straps. This is the perfect way to determine that length. If, in your test piece, you find shortening your straps affects the ease of putting on and taking off your overalls, you may want to refer to the button addendum.
Speeding up the process
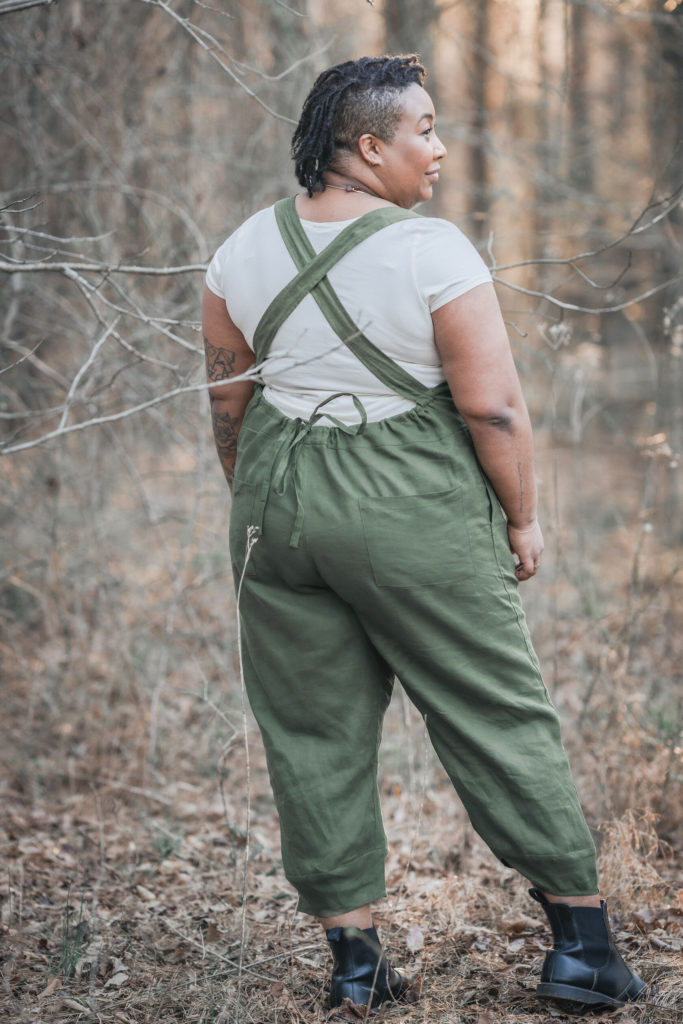
To save time when you’re making a muslin, cut out pieces A (Front), B (Back), C (Front Bib), I (Back Bib), L (Shoulder Straps), F (Cuffs) and either k (Waist Ties) or use a string (or strong yarn, or even a shoelace!) to mock up the tie.
You can use 5/8″ (1.6 cm) seam allowances to assemble the Pants and Bib, attach the Bib at the waist seam. Sew the curved edge of the Bib at 5/8″ (1.6 cm) to both stay stitch and visually remind you of the finished edge of the Bib. To mock up the back waist, use a strip of fabric or the Back Bib Facing pieces to create a channel, and insert the string or waist ties.
You only need to attach at least one Cuff to check the length, and you may use a single layer of fabric for the strap rather than creating sewn straps.
Remember as you’re fitting your muslin that the seam allowances are still exposed on the Bib, so don’t over-correct the width!
With the muslin on your body, check the bib width and strap length (though you’ll be able to adjust the strap length during the sewing process), the leg length, and the body length for comfort when stretching, bending, sitting and walking.
It adds some extra time and labor, but making a fit muslin is the best way to ensure your garment looks and feels how you are envisioning. It gives you the chance to read through the steps, and learn about the assembly of the garment. You’ll have room to consider drape and ease and decide if you’d like to make any hacks. The Otis Overalls are a special pattern. We love ours, and we want you to love yours too, from cutting out, to final seam.
xo,
Judith & Meredith


Responses