Adding Belt Loops to the Chanterelle Pants
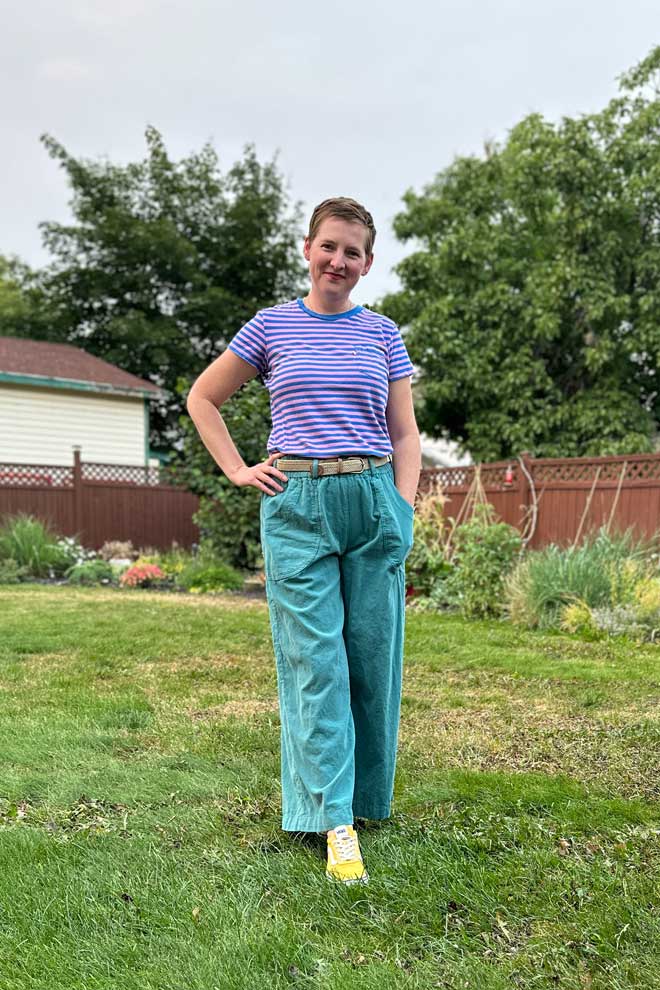
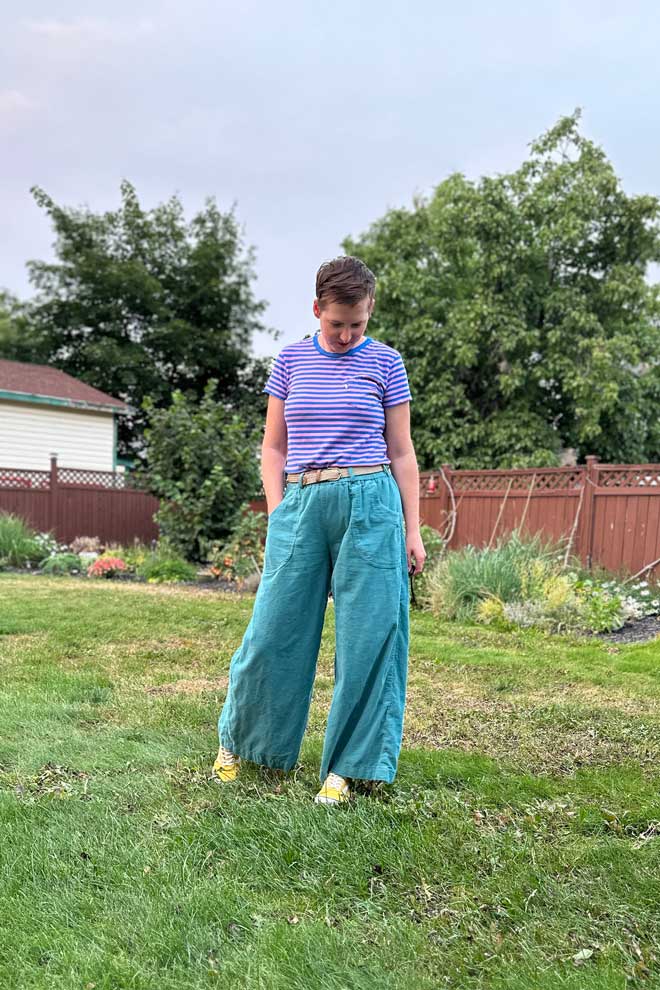
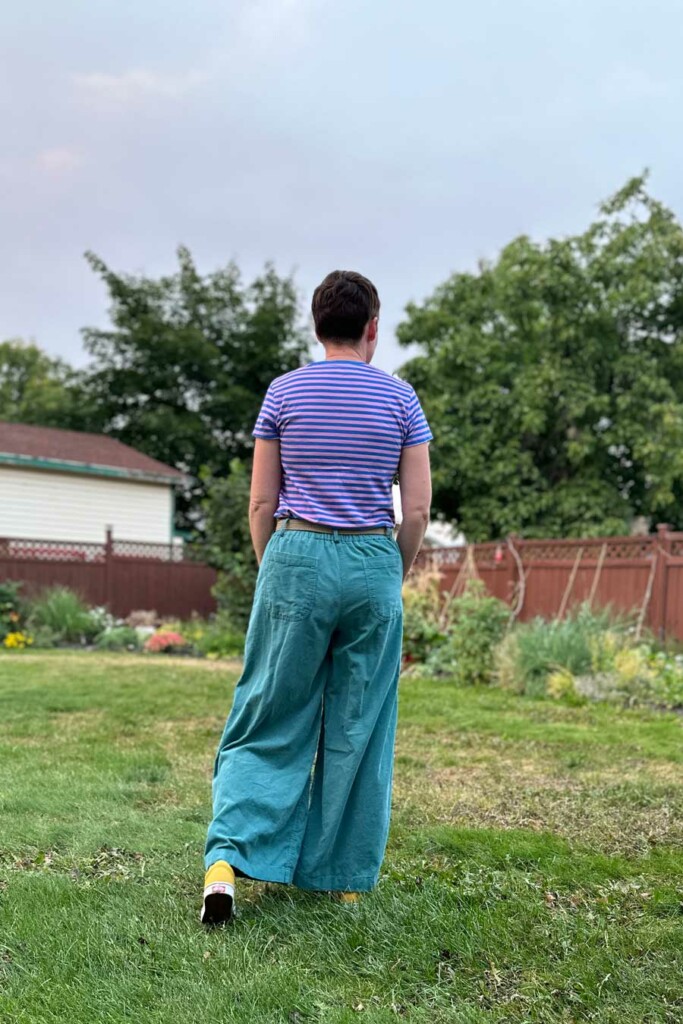

Sometimes a pair of pants (or shorts!) just needs a belt, and this pinwale corduroy was just screaming ‘70s wide-legs at me! So with that vision in mind, I turned to the Chanterelle pants pattern. View A is a wonderfully dramatic wide leg, but the view B pockets seemed to have a more ‘70s vibe to me, so I did a little pocket switch. To make the belt loops, I snagged some scraps from cutting out, and made some up. With a few minor tweaks to the construction steps, I finished up with these beauties! The pinwale corduroy is delightfully soft, and the edges of the pockets are going to wear in so nicely.
Obviously, you’ve read this far to find out the juicy details, so here’s how to add belt loops to the Chanterelle pants (I know, I know, and the shorts!).
- Pocket switcheroo:
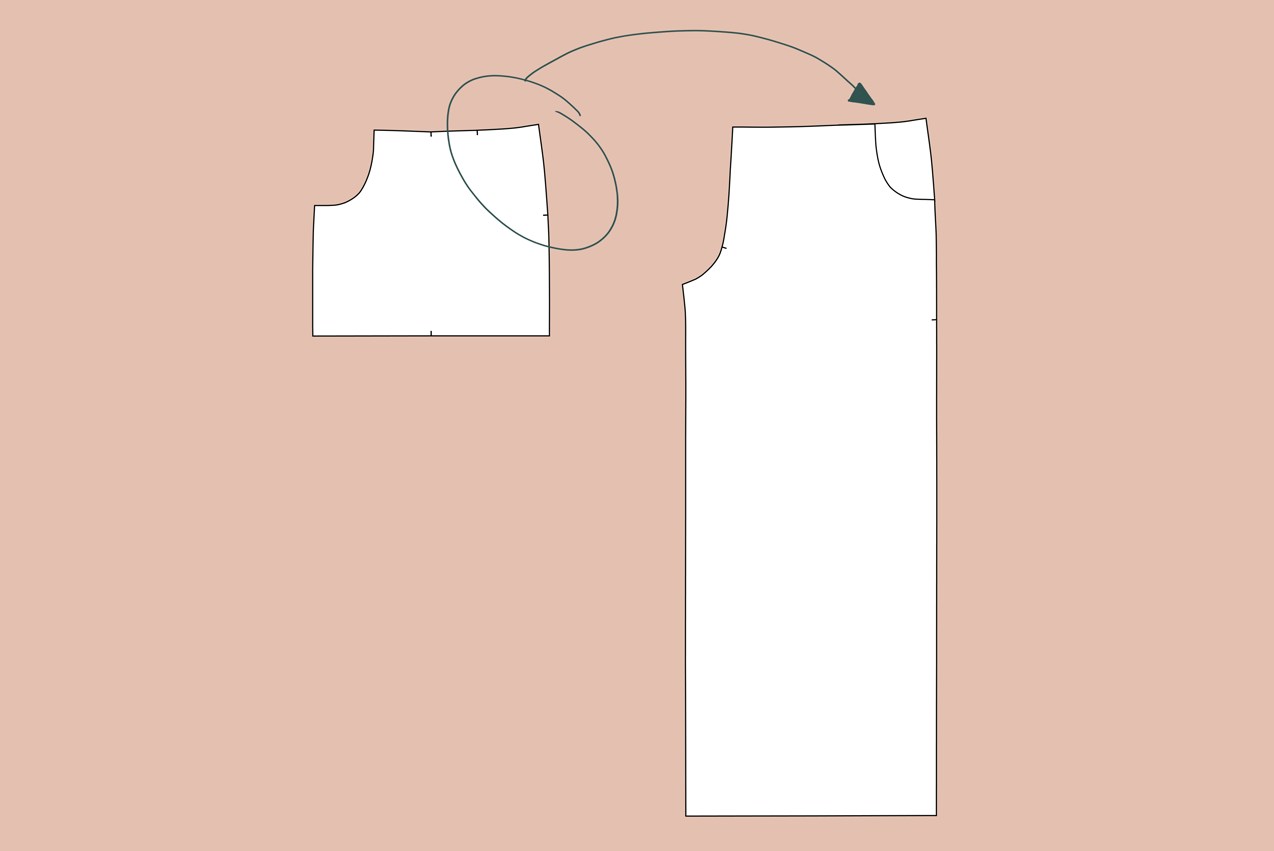
With the Chanterelle Pants View A Front pattern piece on the table in front of me, grab a bit of extra paper, enough to fill in the pocket opening at the hip, and tape it into the curved pocket opening edge. Take the View A Pocket pattern piece and align it with the waist and side seams of the Front, so that you can see the whole waist and side seam, and are filling in the pocket opening. This is the part of the pattern piece that you can see when you wear View A as written, behind the pocket opening. Draw in the edges of the Pocket pattern piece onto the new paper that you added to the Front, filling in the gap. Now you’re ready to grab the View B Pocket and Pocket Facing, to use instead of the View A pocket. You’re finished with the View A pocket, so you can set it aside.
- Decide on your belt loop size:
The elastic is 2” (5 cm) wide, so check your belts and decide how this is going to work. I have a belt that’s 1 ½” (3.8 cm) wide, so that will be a perfect fit. The belt loops will be sewn into the waist seam, then flipped up to be secured into a loop, so you can customize the width of the belt they’ll accommodate to a certain degree, or just make the loops the same size as the elastic. You also need to know how wide of a strip you want to use to make the belt loops. I like the look of ⅜” (1 cm), so that’s what I used.
The strip that you cut will need to be four times the width of the final belt loop width, and long enough for the quantity of belt loops that you want, plus several inches for off-cuts. I have 7 belt loops on my pants, but I made quite a bit extra, so I could change my mind when I was placing them in place. Here’s the measurement of the strips that I cut for my belt loops: 1.5” x about 16” (3.8 cm x 41 cm). It was definitely generous in length, but worth it to have extra. I cut the strip on the lengthwise grain so the wales of the corduroy would be vertical.
- Layout and cutting:
Pieces needed: View A Front (modified), View A Back, View B pocket, View B pocket Facing, View A Waistband, Back Pocket (all views)
Lay out the pieces on your fabric, and before you cut, make sure you have enough fabric to cut your belt loops as well! Pin the pieces in place, draw in the belt loop cut lines, and cut everything out. Cut out the pocket facing’s interfacing as well, if using.
- Follow the instructions until just before it’s time to sew on the waistband (to the end of step 4). It’s time to prep the belt loops:
Fold the belt loop pieces in half the long way, wrong sides together, and press. Tuck the raw edges inside, against the newly pressed fold, so that the raw edges are enclosed, and there are folded edges on each long side of the belt loop pieces.
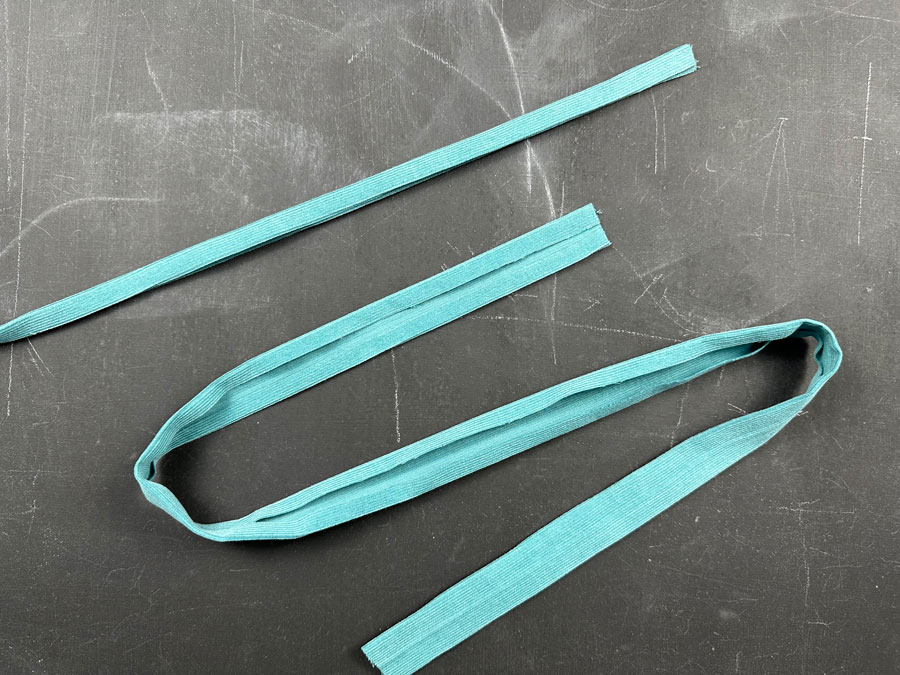
Move to your sewing machine and edgestitch each long edge of the belt loop pieces, securing the raw edges inside.
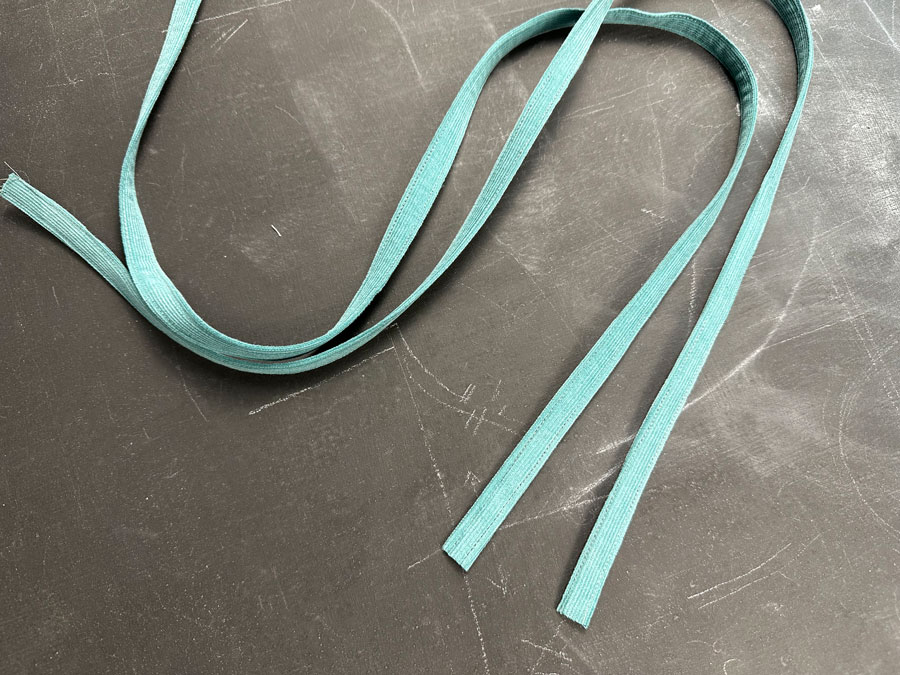
Cut the belt loop pieces into sections, longer than you’ll need to each belt loop. (My finished belt loops needed to be 3 ⅜” (8.6 cm) long, so I cut them almost 4” long.) They’re easier to handle if they’re a bit longer than you’ll need!
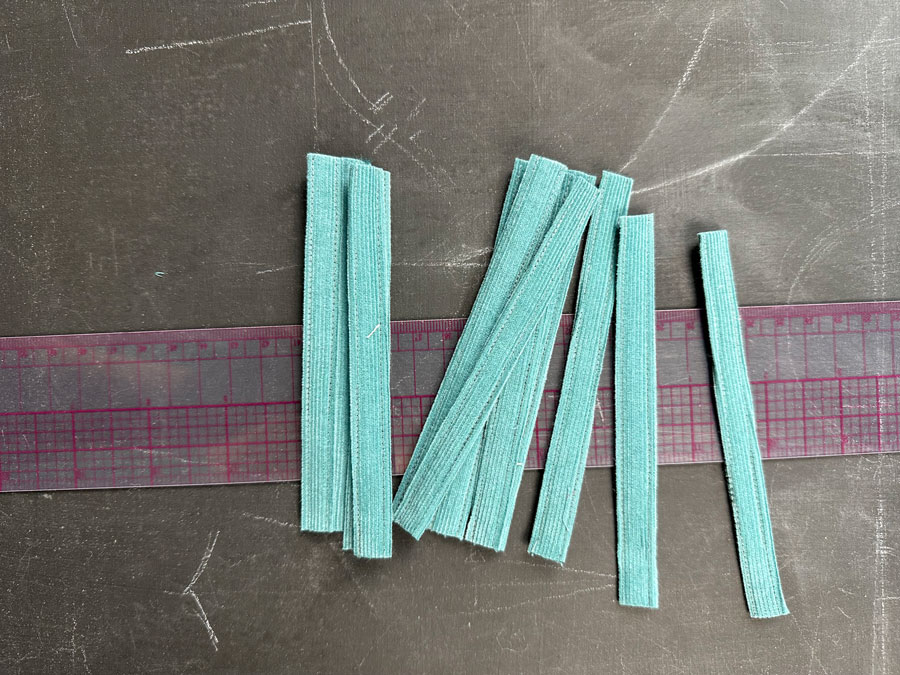
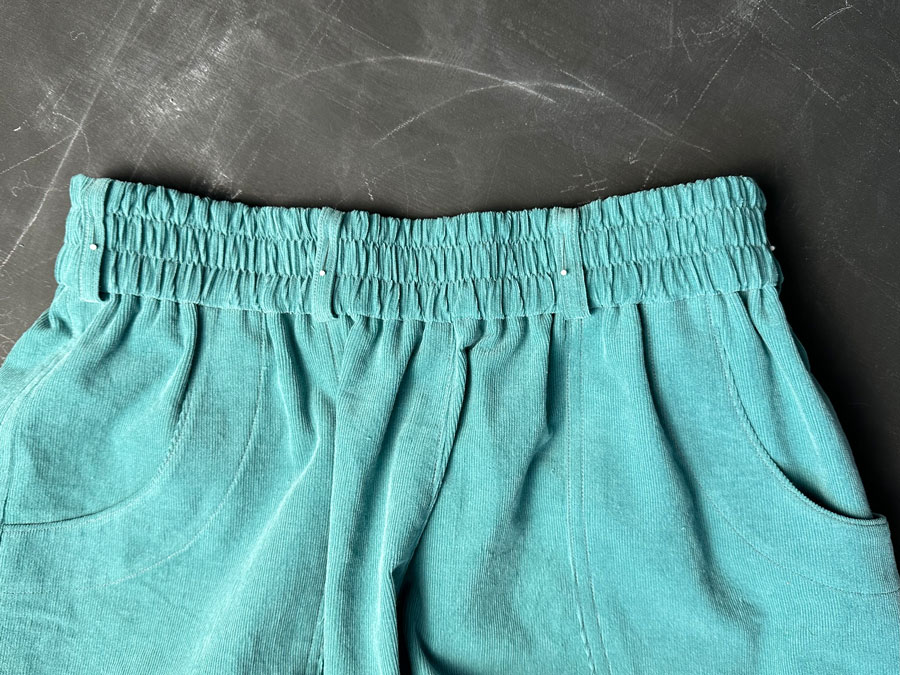
Position the belt loops on the waist. You’ll need to decide on the spacing, so taking a look through your closet for an example that you like is a good option. Another option is to go with 7, and space them out as follows: on the front one loop on either side of the center front seam approximately 4” away from the seam, one slightly in front of each side seam, one at the center back seam, and one halfway between the center back loops and the side loop on the left and the right sides. Pin the belt loops in place with the pins placed perpendicular to the seam so that you can sew over them (very carefully!) as you sew the waist seam.
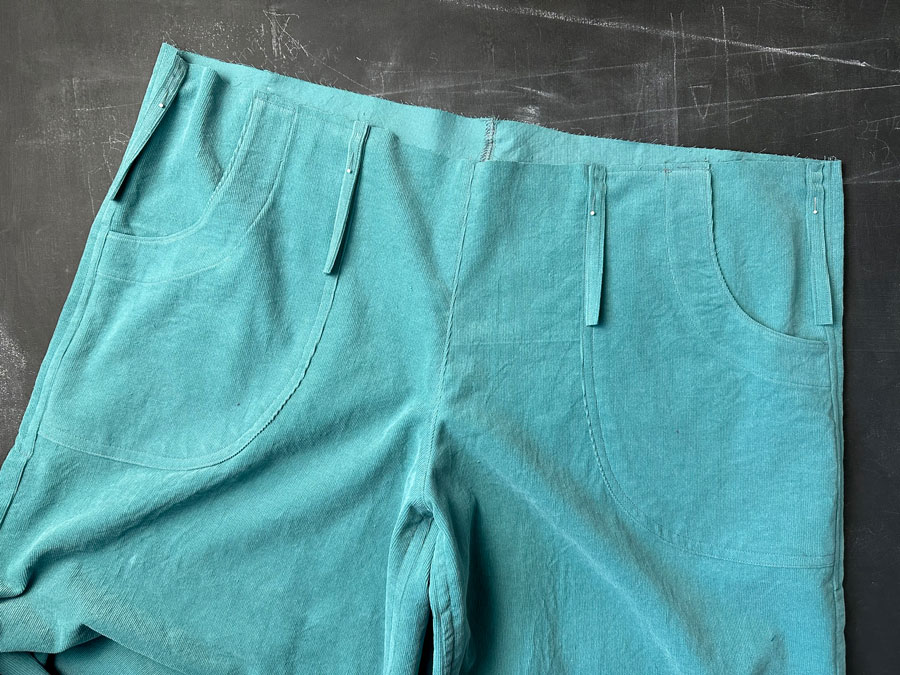
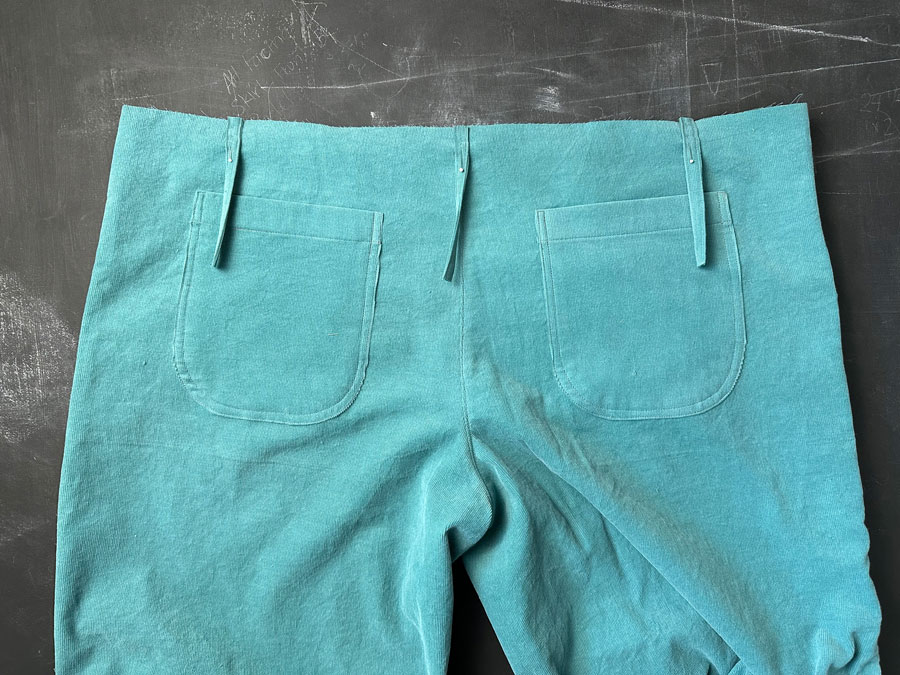
- Secure the belt loops at the waist:
Continue on with the instructions as written, enclosing the belt loops in the waist seam in step 5d. In step 5e, when you’re pressing the seam allowance up, leave the belt loops down, against the body of the garment. Now you can ignore them until you’ve completed step 6d.
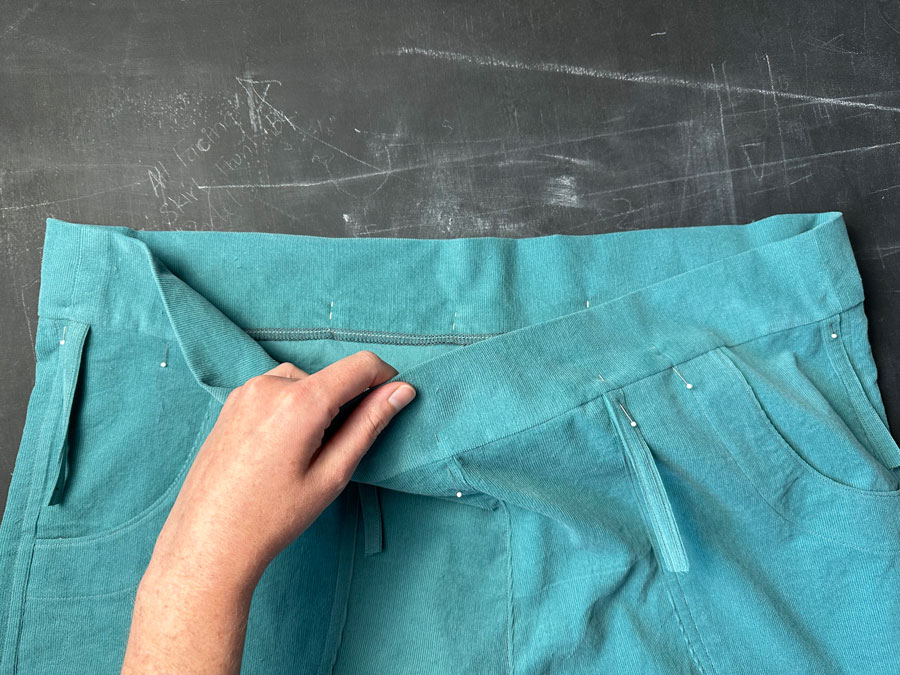
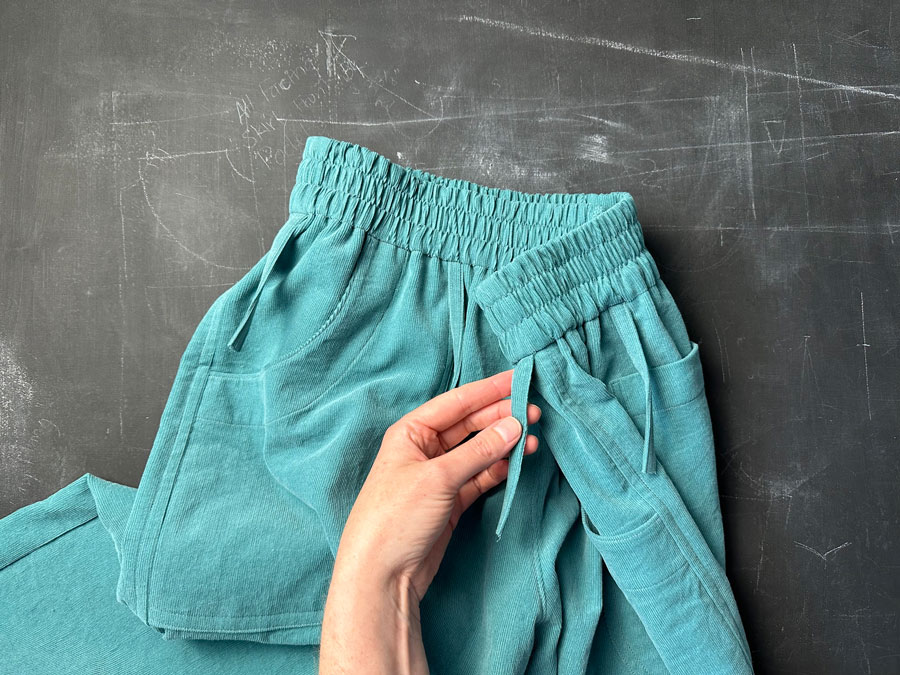
- Cut the belt loops to length:
After step 6d, flip a belt loop up, towards the top of the waistband, and fold the cut end down so there’s a fold right at the top of the waistband. Don’t pull the belt loop tight – you’ll need a bit of a gap for the thickness of the belt to pass through the loop, and for the top edge of the belt loop to be sewn into place. Give the fold a press while the extra length is still long enough to hold onto. Trim the excess length down to about ¼” (6 mm) from the fold.
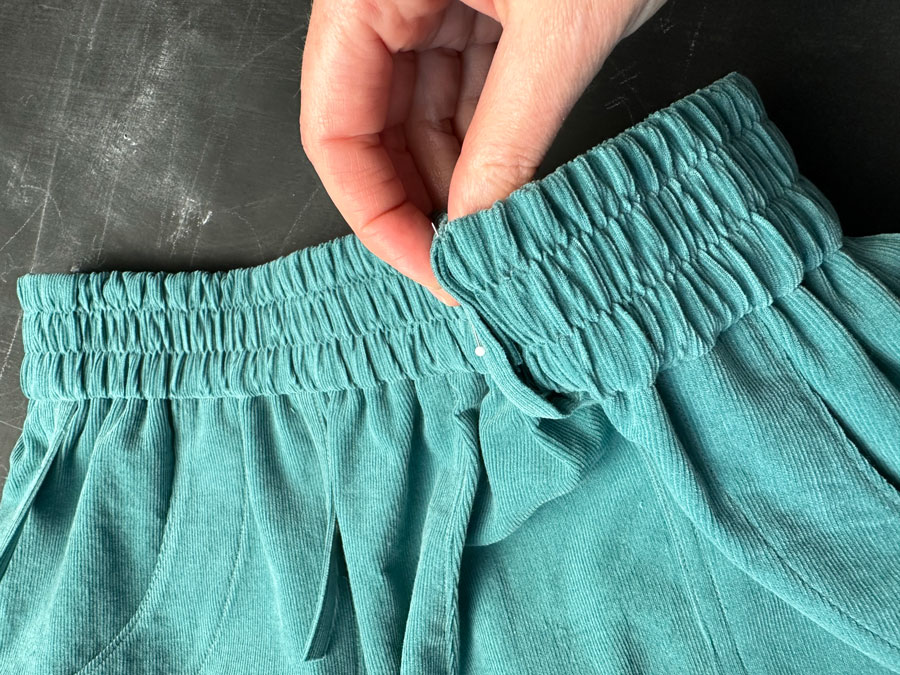
Repeat for the rest of the belt loops.
- Secure the tops of the belt loops:
Pin the belt loops in place at the top edge of the waistband, and sew them in place ⅛” from the top edge. You can either sew them in place with a few passes of a straight stitch, or with a narrow and compact zigzag like a bartack.
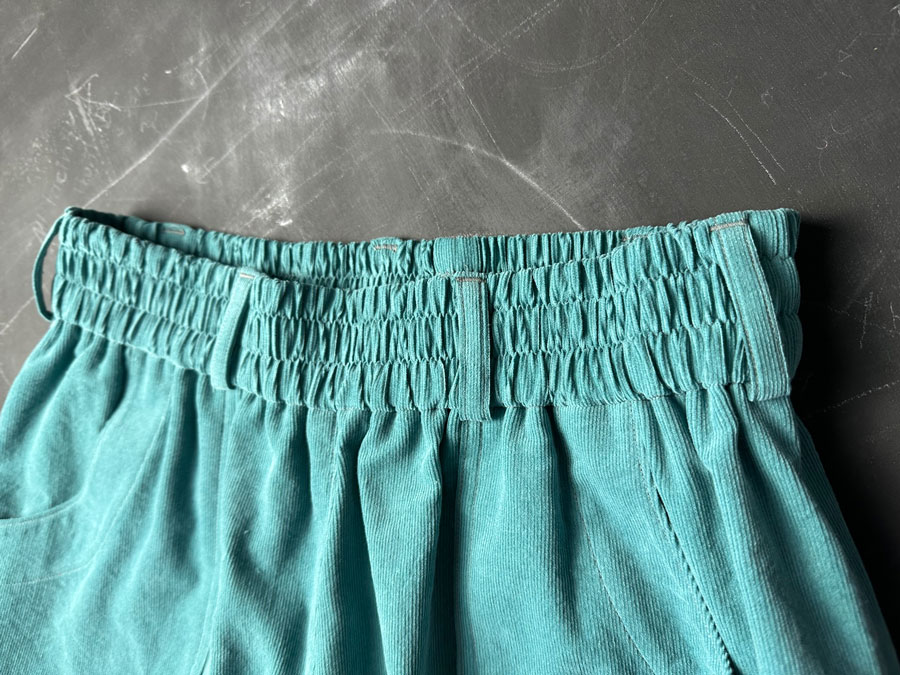
8. Finish up the Chanterelle instructions as written.


Great advice, Judith. I never wear a belt but I like the look of belt loops. Whenever I make them I like to personalise them. I triple-fold the strip, then stitch the layers together by using a decorative machine stitch such as a star or a trail of leaves. Must remember to put some on my Chanterelle when I get round to them!
That sounds fun!
As I was reading your words “I never wear a belt”, it occurred to me that a long scarf worn through the belt loops would be even more ’70s! Now I have to try that, too. 🙂
Oh yes! I’d forgotten about that. Tied like the knot of a man’s tie, and worn off-centre.