Estuary Sew-Along Day 4: View B Pockets, View A Side Seams
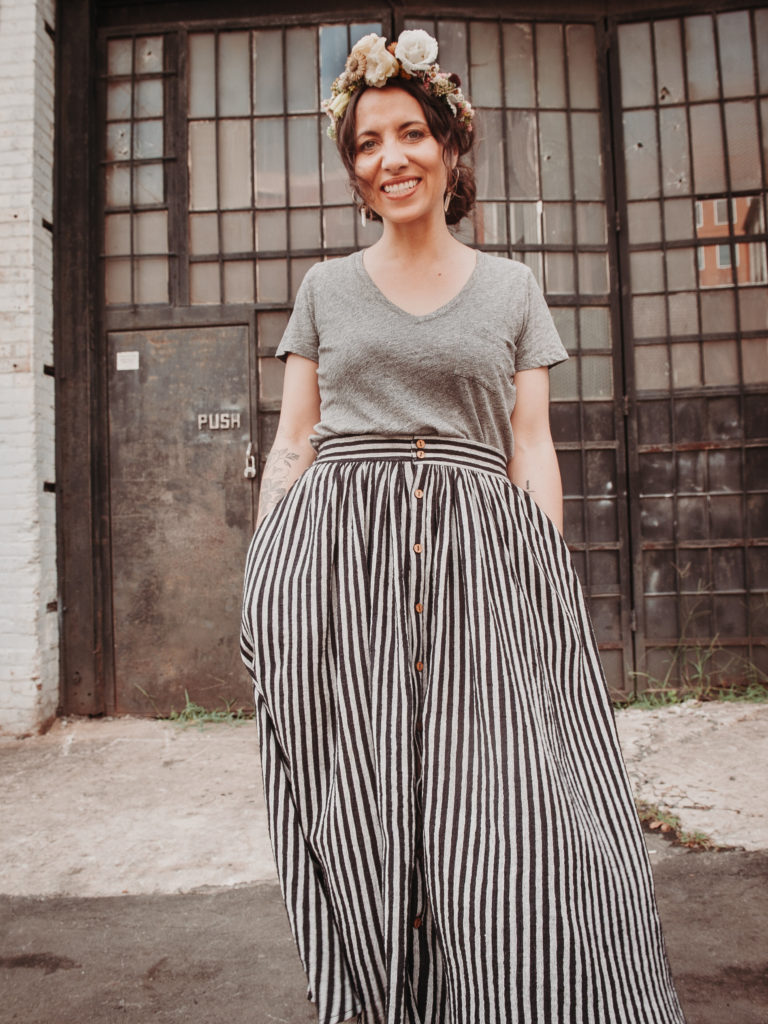
Just a reminder – View A has patch pockets, and View B has in-seam pockets!
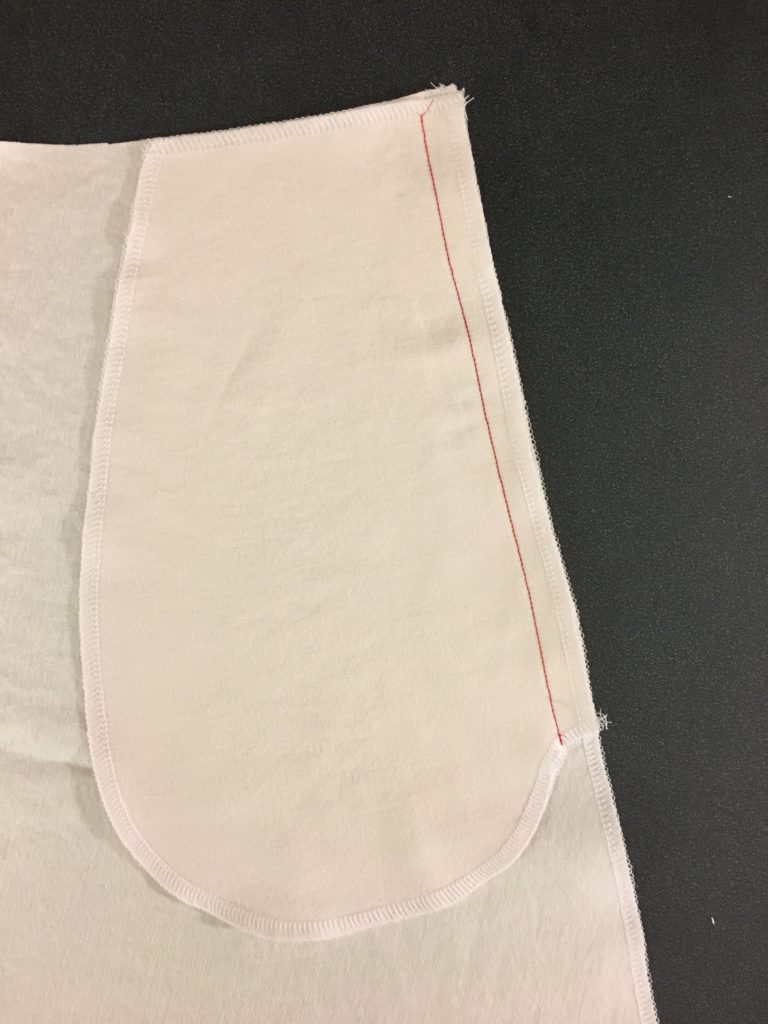
- Place the right side of one pocket to the right side of the Skirt Back, matching marks. Pin and sew in place from the top (waist) edge to the bottom of the pocket.
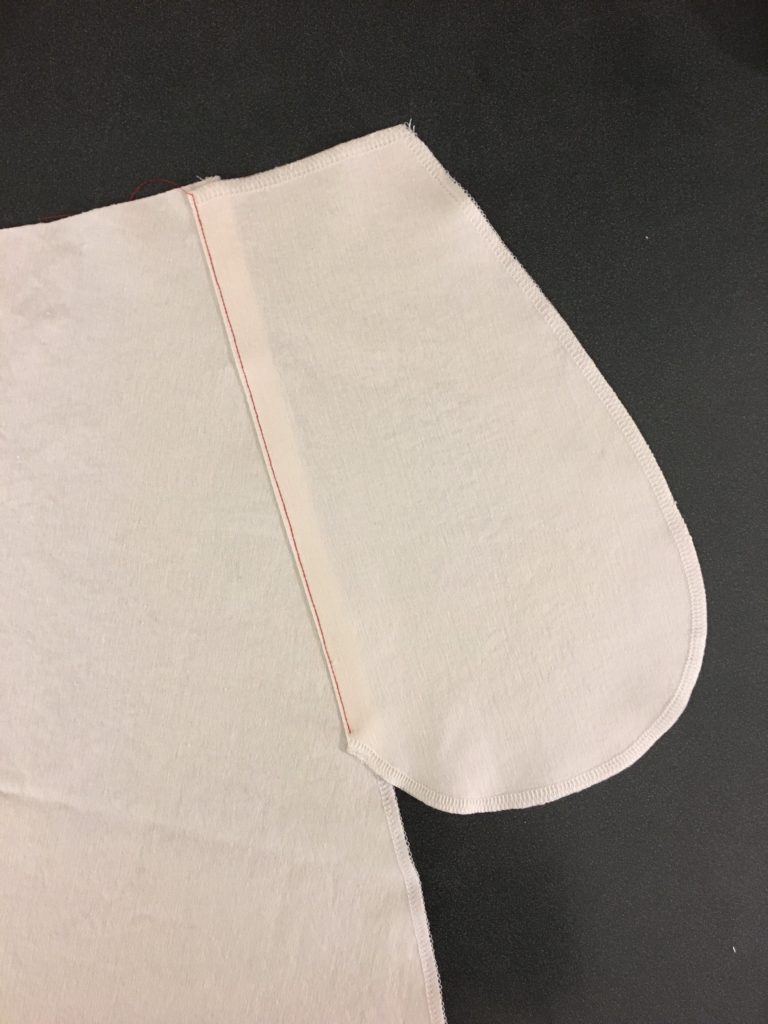
2. Press the seam allowances and pocket away from the skirt. Understitch the seam allowance to the pocket. Repeat to attach the 3 remaining pockets, one more to the Skirt Back, and two to the Skirt Front(s).
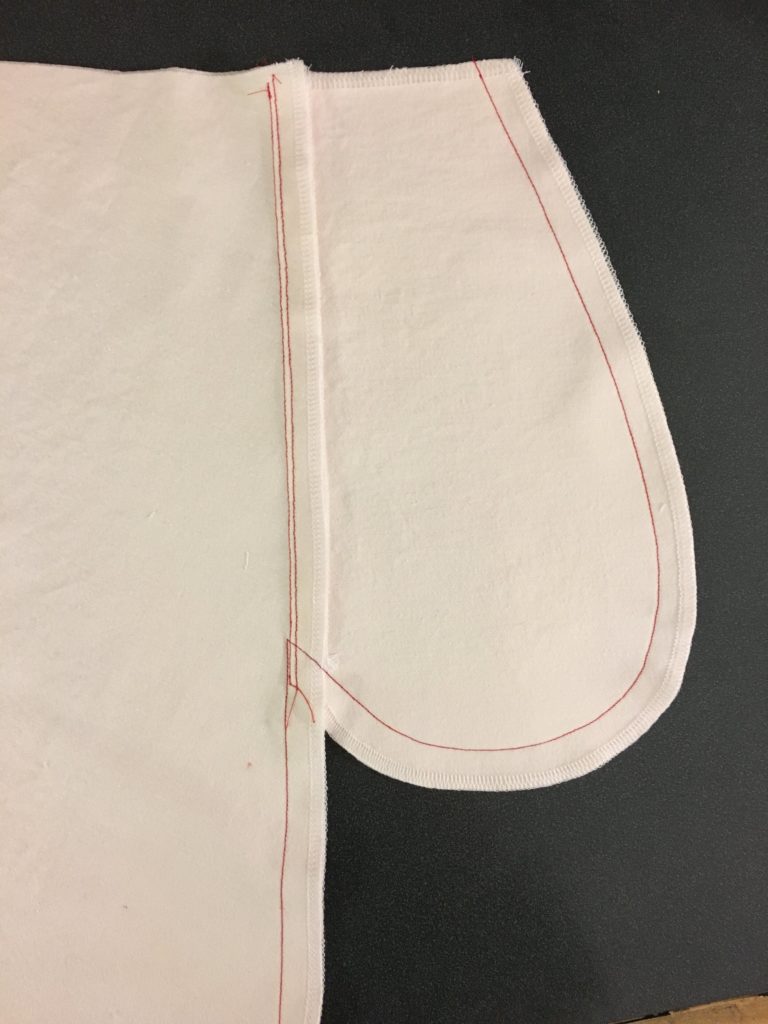
3. Place the Skirt Front(s) and Skirt Back right sides together. Pin and sew from the top, short edge of the pocket, around the curve, to just past the seam that attaches the pocket to the skirt.
(Take a close look at the picture here – see how the stitching goes just past the pocket insertion stitching? If you don’t go far enough, you’ll end up with the pocket understitching sticking out of the side seam, and a bit of the pocket’s raw edge, too. Definitely not what you want, so sew slowly and carefully here! )
With your needle planted in the fabric, lift up your presser foot, pivot, and continue sewing at 5/8″ (1.6 cm) down the side seam to the bottom edge.
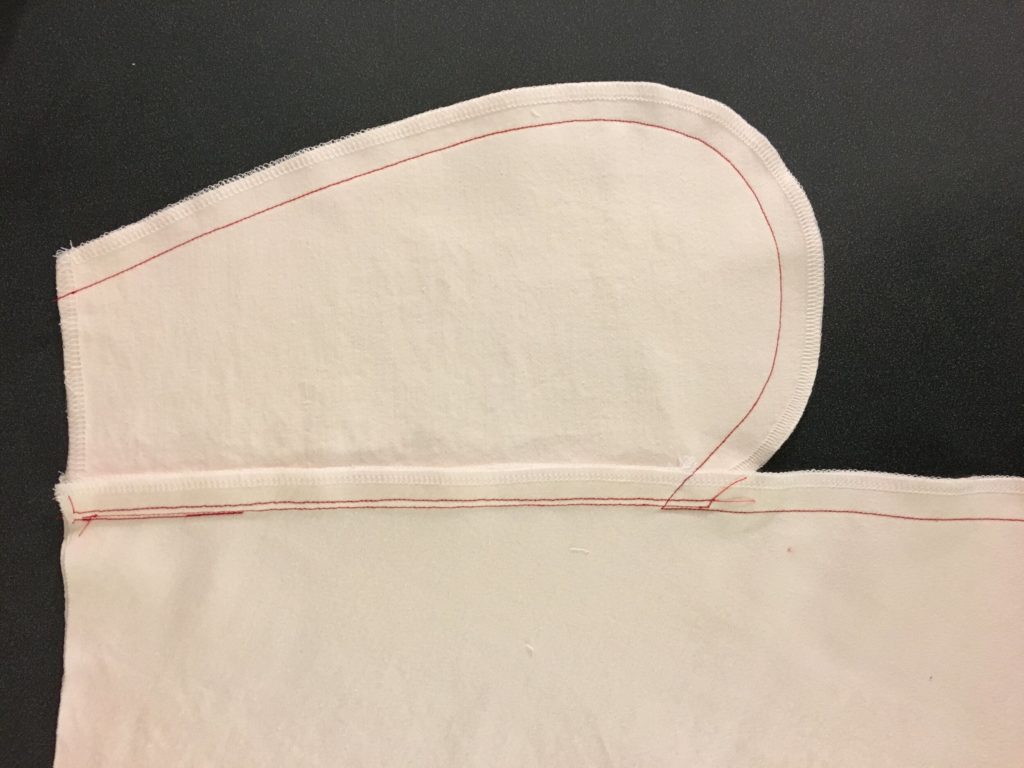
Sew from the waist edge to the top notch on the pocket, being sure to backtack at the notch. Your line of stitching should be ⅝” (1.6 cm) from the skirt edge.
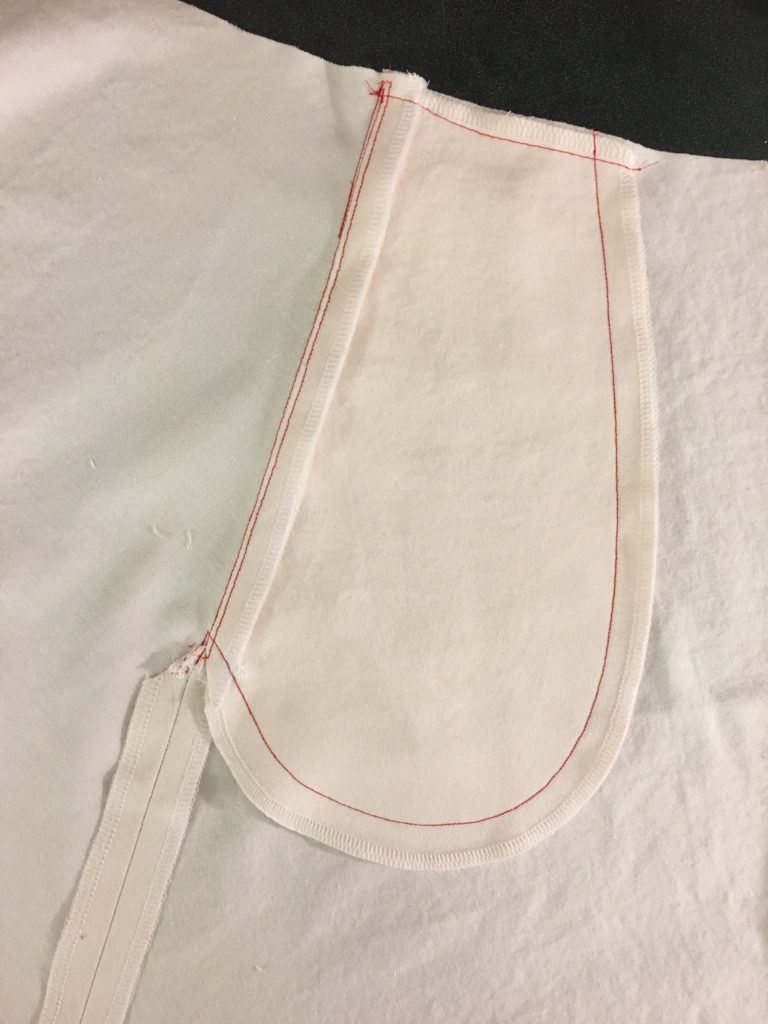
4. Clip the seam allowance at the bottom of the pocket to the acute angle formed by your stitching, being careful not to cut through the seam. Press the pockets, seam allowances, and Front Skirt away from the Back Skirt. Below the pocket, press the rest of the side seams open.
5. Using your machine’s longest stitch length, baste the pocket to the Front Skirt waist seam allowance using a ½” (1.2 cm) seam allowance. You’ll be including this in the gathering when you move on to attaching the waistband, so this row of basting is important!
Now you can skip to Day 5 of the sew-along to continue with View B.
View A Side Seams: Sew Fronts to the Back with Flat-Felled Seams
You’ll need a bit of space for this step – it’s time to get the side seams done! If you’ve never sewn any flat-felled seams before, you might want to read through the next steps slowly before you get started. The steps start off feeling a little backwards, because of how you want the seam allowances to lie, so read it through, and you can always grab a few scraps and try the steps on those to gain confidence in the technique, if that will help.
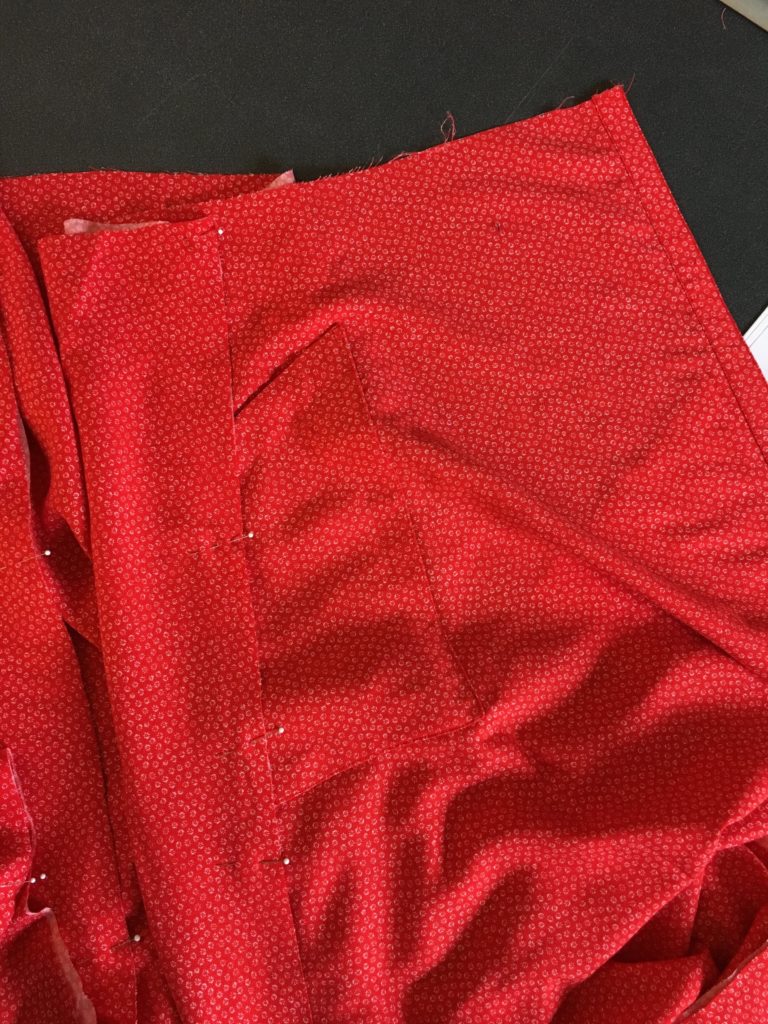
6. Lay out the skirt pieces with right sides up, from left to right: Skirt Front, Skirt Back, Skirt Front. Pin together on each side seam edge, with WRONG SIDES of the fabric together.
7. Sew these seams using a ⅝” (1.6 cm) seam allowance. You will have sewn two long seams.The seam allowances will be visible from the right side of the skirt.
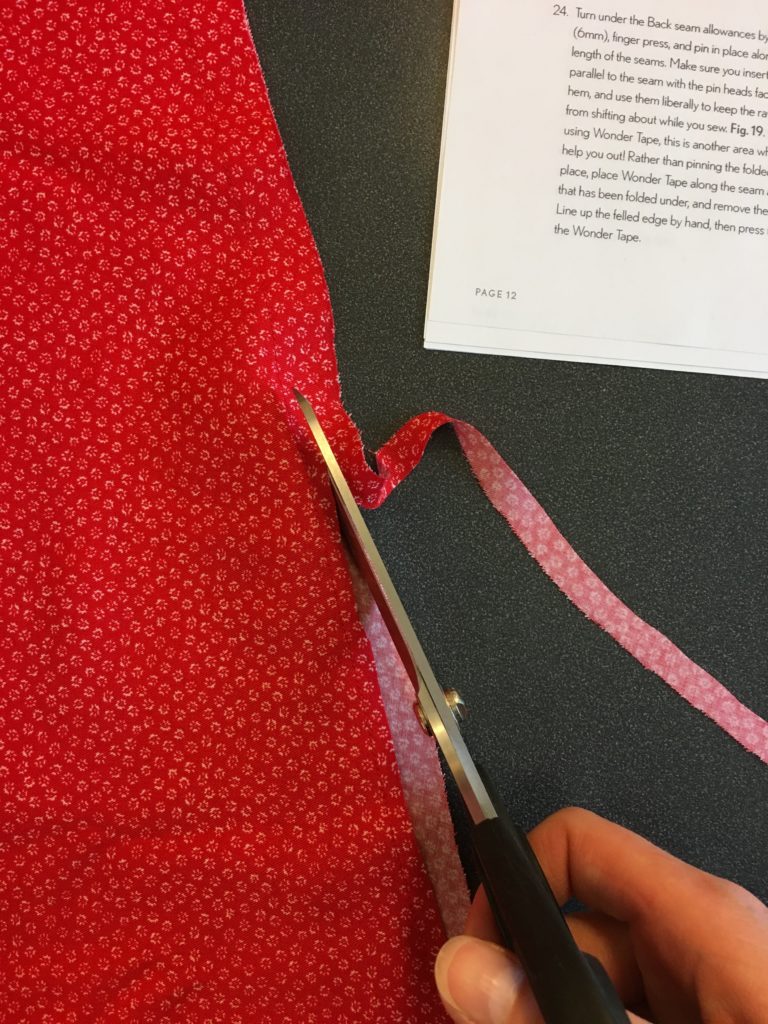
8. Grade the seam allowances as follows: trim the allowance of the Skirt Front to ¼” (6mm). The other seam allowance layer (the Skirt Back) remains at ⅝”. Trim slowly and carefully.
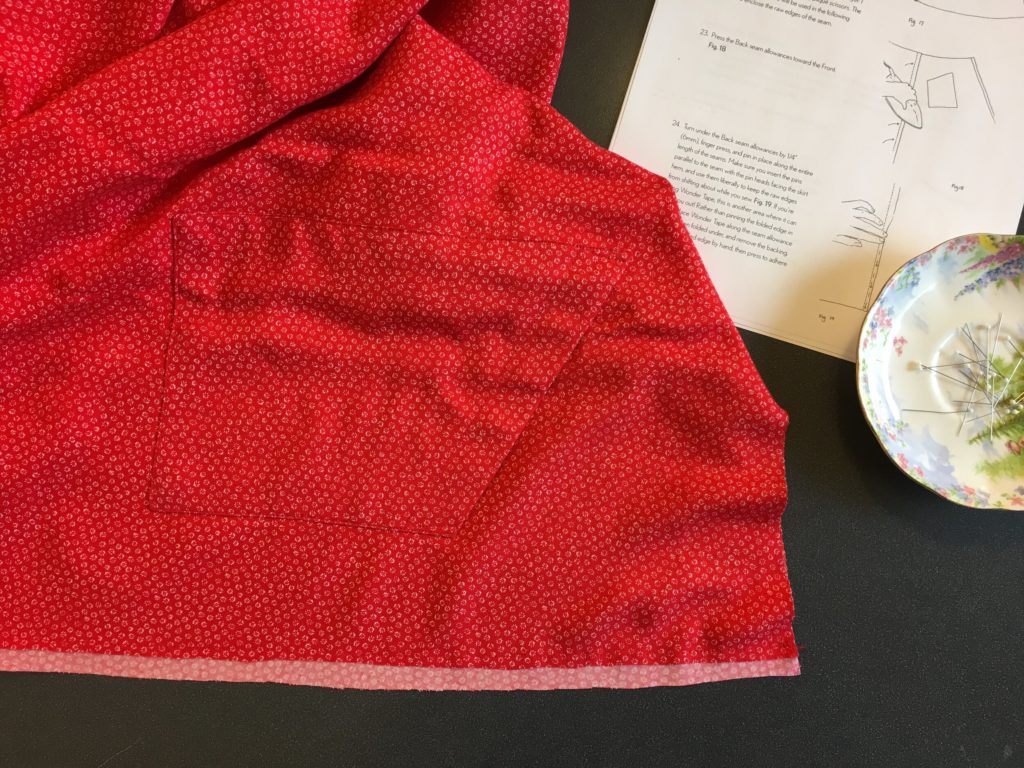
You’ll want as consistent a cutting line as you can manage, and you don’t want to accidentally trim into the skirt fabric or the untouched, ⅝” (1.6 cm) seam allowance layer. I find that it helps to use duckbill applique scissors. The untouched seam allowance will be used in the following steps to enclose the raw edges of the seam.
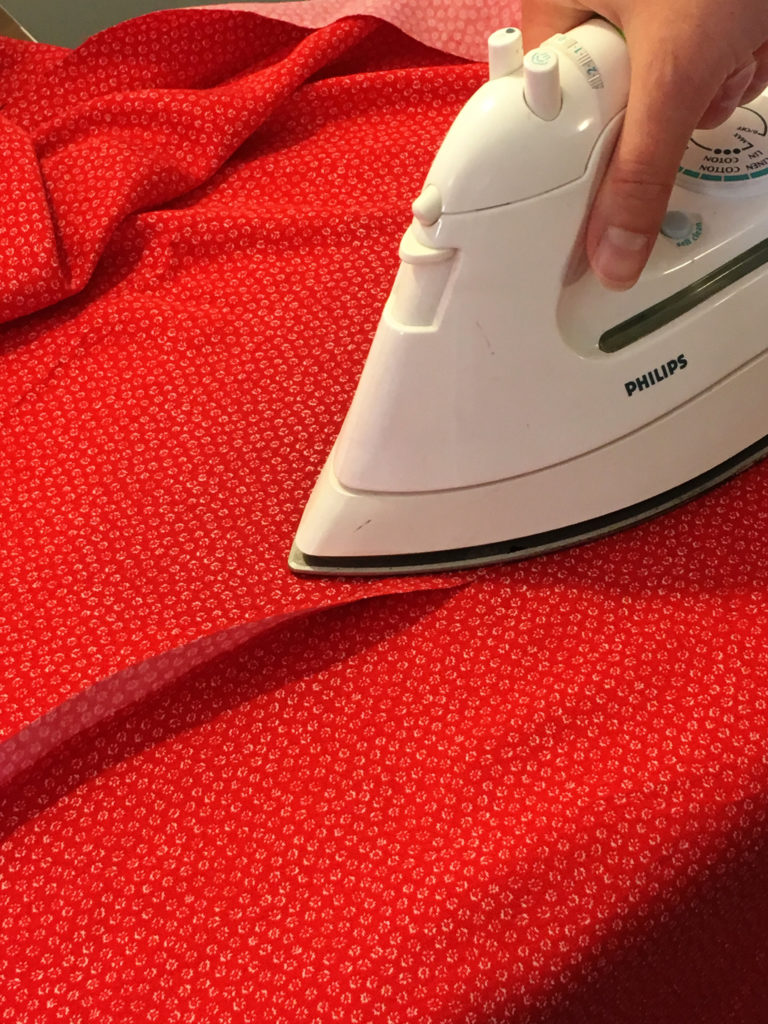
9. Press the seam allowances towards the front.
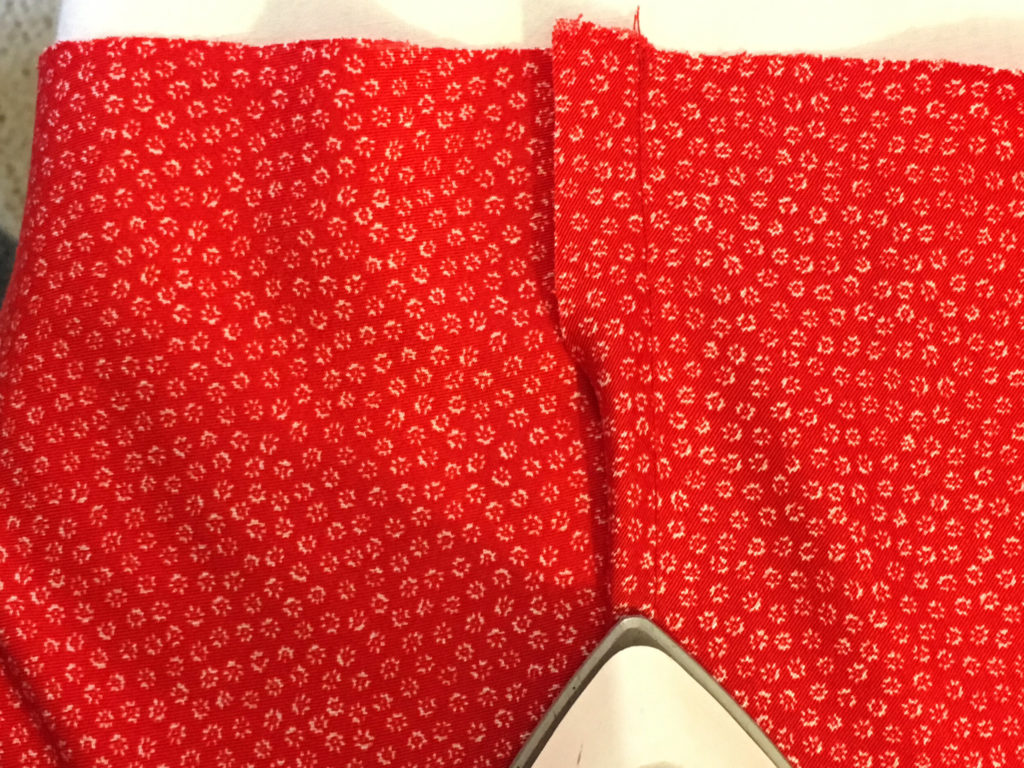
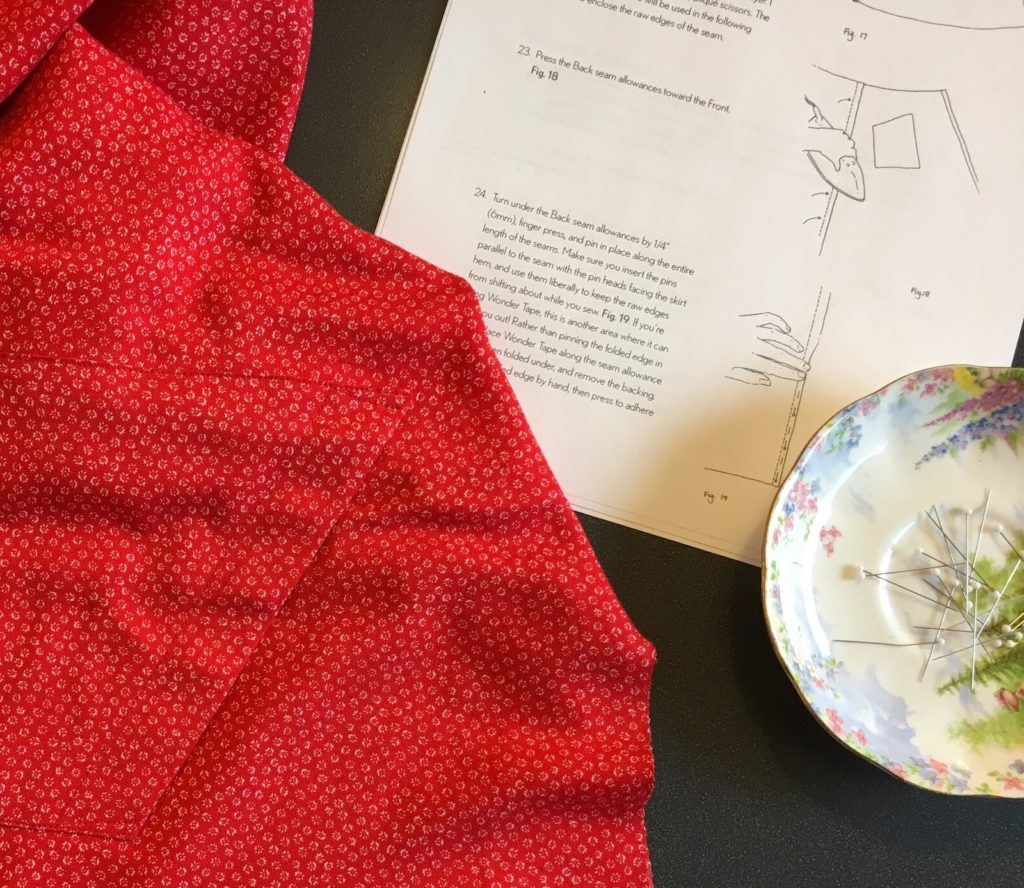
10. Turn under the Back seam allowances by 1/4” (6mm), finger press, and pin in place lying flat against the Skirt Front along the entire length of the seams. (In some fabrics, like my light rayon, they’ll lie really nicely if you do this step at the iron, and press them in place before you pin and sew.
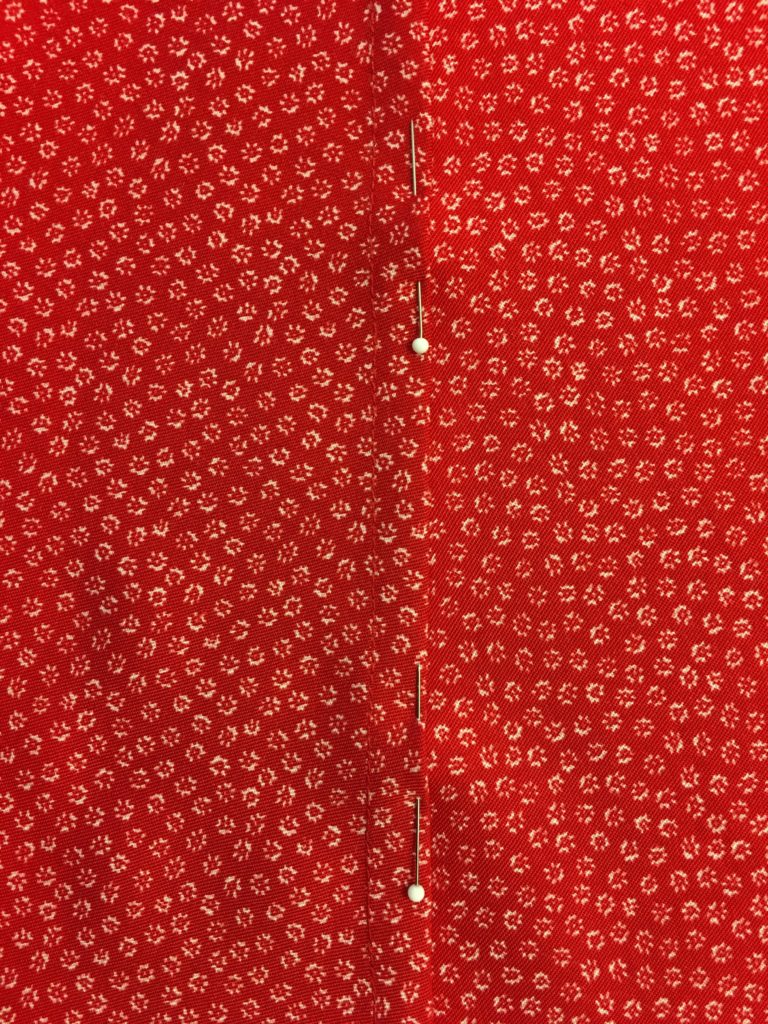
You will still want to use plenty of pins to prevent shifting!) Make sure you insert the pins parallel to the seam with the pin heads facing the skirt hem, and use them liberally to keep the raw edges from shifting about while you sew.
If you’re using Wonder Tape, this is another area where it can help you out! Rather than pinning the folded edge in place, place Wonder Tape along the seam allowance that has been folded under, and remove the backing. Line up the felled edge by hand, then press to adhere the Wonder Tape.
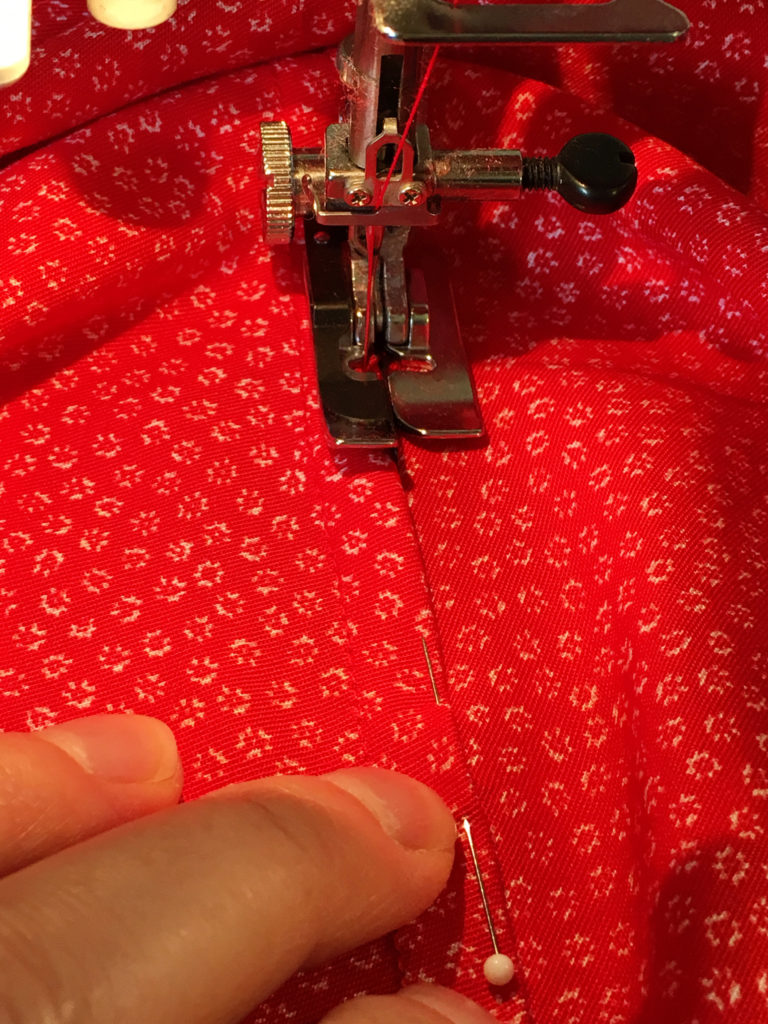
11. Starting at the waist edge, edgestitch the folded-under edge in place along the entire length of the skirt. To edgestitch, simply sew as close to the edge as possible – a scant 1/8” (3mm). I used my edgestitch foot to sew this, just like in step 12, to produce a really even stitching line. Give the newly flat-felled seams a good press.
You should now have two long, flat-felled seams, one seam at the CB (if your Skirt back was not cut on the fold), and two front edges finished with plackets.
Continue on to Day 5.


Hi! I’m working on my first estuary skirt and these seams intimidate me… Would it work to sew the side seams similar to the CB seam instead?
Hi Gussie! You certainly can sew these seams with the right sides together, as a regular seam, and finish the seam allowances in your preferred manner. If you were sewing View B, with the inseam pockets, you’d have to do this anyways 🙂
Hope that helps!
Thanks Judith, that does help!