Sylvan Jacket Hack – Using a Jacquard Fabric
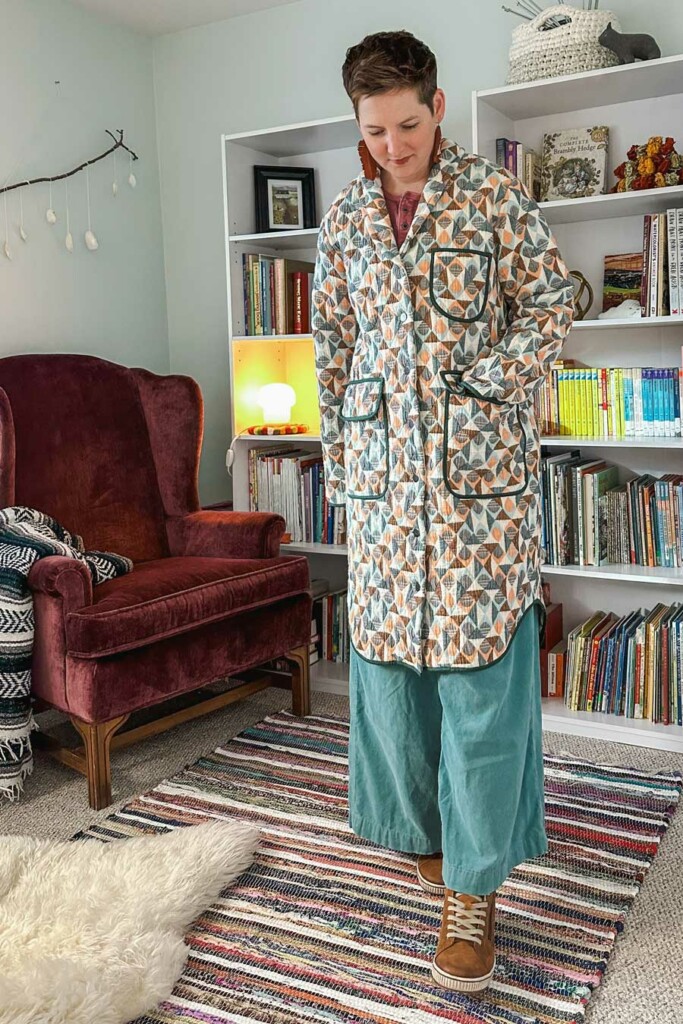
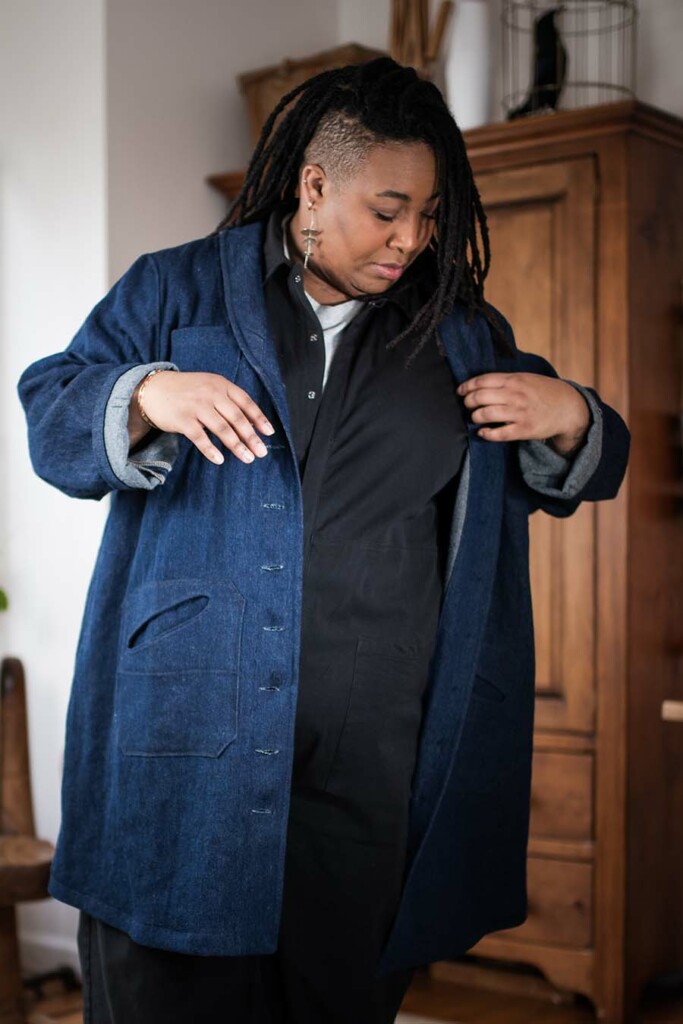
As you can tell by reading the fabric recommendations, using a bulky fabric like a jacquard for a style like the Sylvan Jacket is a bit of a stretch. Fabric choice is at the front of our minds during the whole design process, and a fabric with loft just needs special handling. So our standard fabric recommendation is “a medium- to heavy-weight woven fabric that has no stretch. The drape or hand of the fabric will impact the look of the final garment – softer fabrics will fall more gently, and more stable fabrics like canvas will emphasize the utility look. Some wonderful choices are canvas, denim, and twill. Lighter fabrics will produce an almost overshirt-like feel, while heavier fabrics will enhance the jacket’s outerwear vibe. Recommended fabrics are opaque, and range in weight from 7 oz to 12 oz (240 – 400 GSM).” I had a double sided fabric, a jacquard weave with a thin layer of batting, and since I was thinking about how it would work out as a Sylvan jacket, I knew I wouldn’t be the only one! So I tried it out 🙂
Before you read further or rush off and find yourself some quilt-like fabric, be warned that this was not an easy sew. Especially when attaching the facings and the collar, things got bulky. But, since I do enjoy this jacket so, so much, I need to spill the tea on how I made it.
To prepare the pattern:
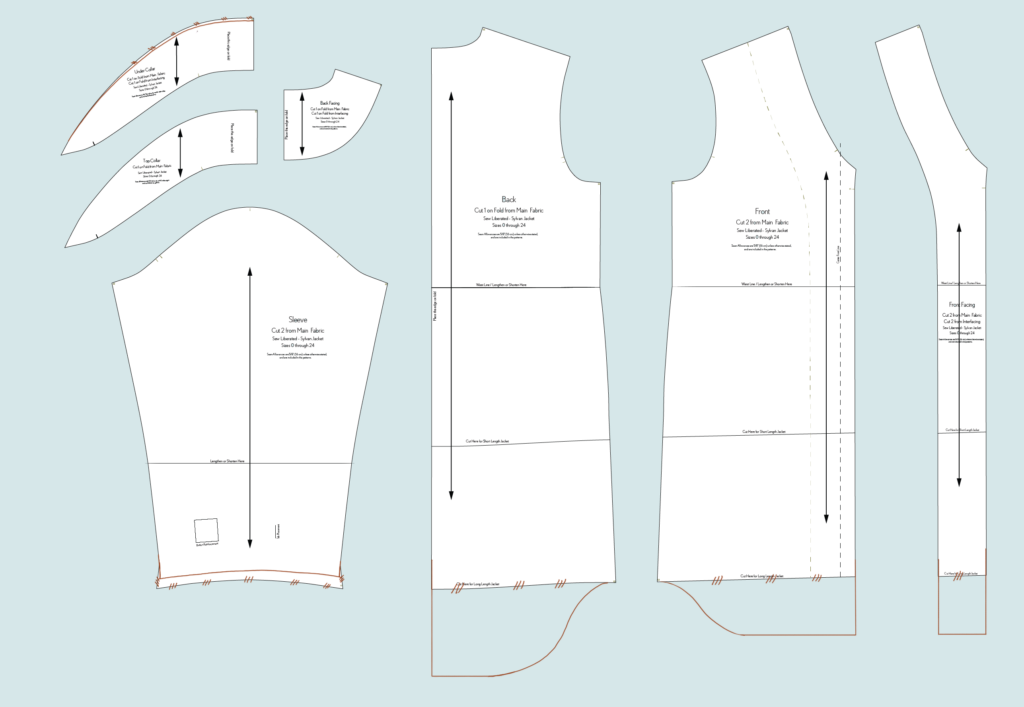
- I wanted the sleeves to be pretty long, so I could turn back the edges. I used contrasting binding, so I wanted that to be on show at the wrist and in the seam allowances. The sleeve length is 1” longer than the regular Sylvan AND I removed the hem allowance. Since the hem allowance is a ⅝” plus 1” turn-and-turn, I trimmed ⅝” from the sleeve edge, and that was that.
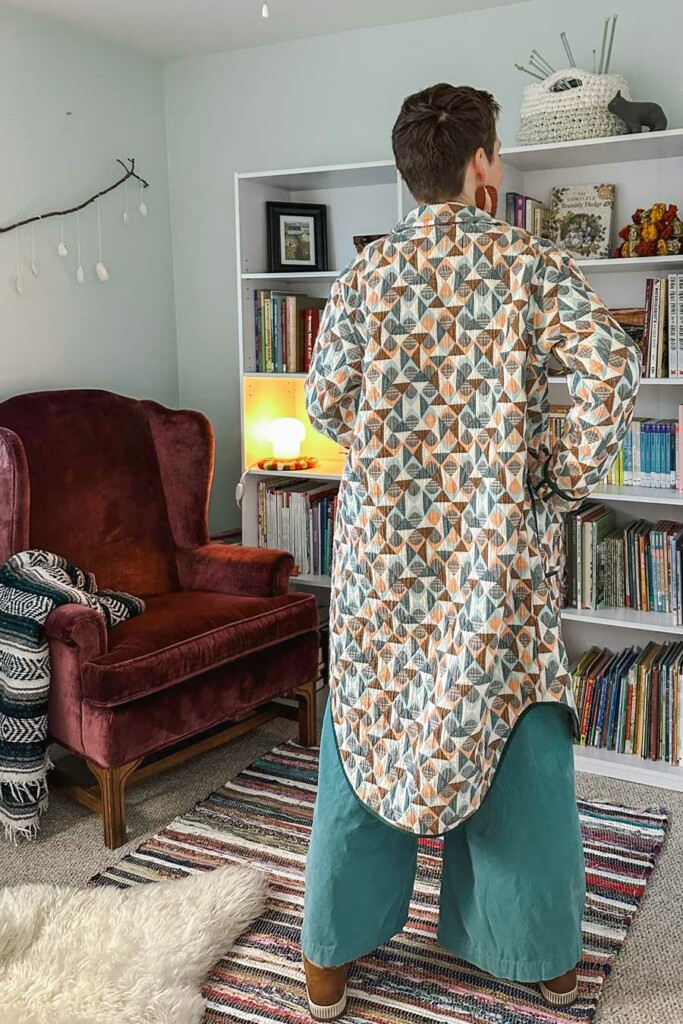
- The hem length was a bigger change – +4” at the Front, +6” at the back, with shirt-tail shaping so the side seam length is unchanged. This both preserved the walking ease and provided a hem shape that shows off the bound edge really well. I added these numbers to the cut edge of the long length, and then cut off 1” along the whole hemline near the end of the project, before I applied the binding. Since the fabric has a few layers, I knew it would fray and get a bit messy, so that 1” around the edge held things together until I was ready to do the hem binding.
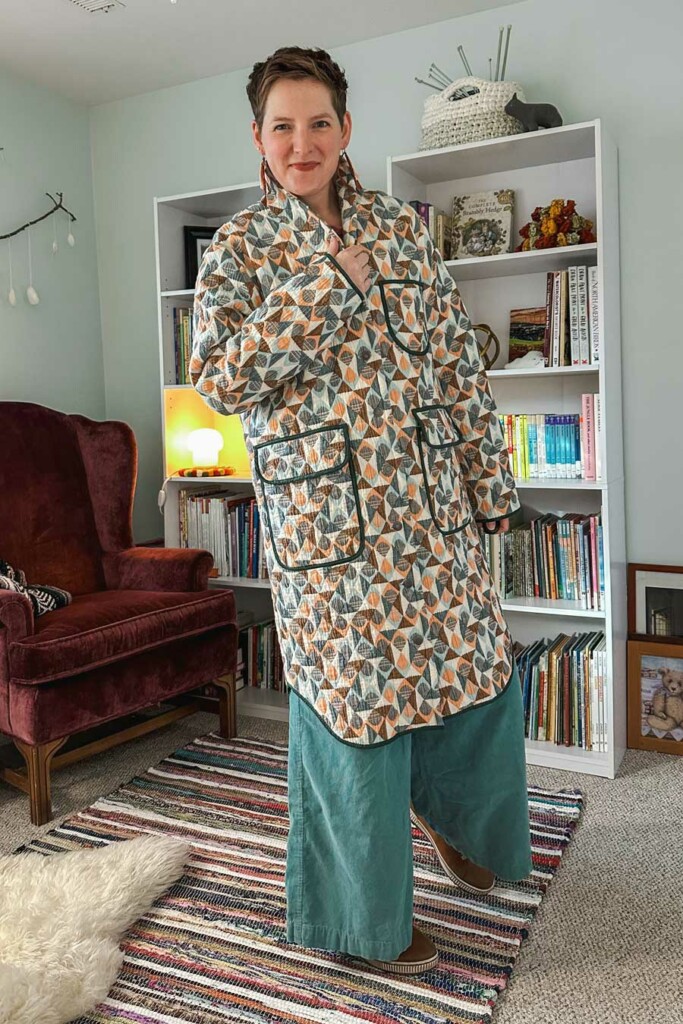
- Pockets: I used the Pocket With Flap on each front, plus one of Stacey’s Pocket on the left front outside, and one of Stacey’s Pocket on the right front inside. For each of these pieces, I cut off the seam and hem allowances (super easy since the seam lines are printed on the pocket pattern pieces!), and just bound the edges all the way around.

Sewing Notes:
- Obviously the pocket construction is different due to the binding. I prefer to bind the top edge first, then the sides, so I can tuck the binding edge neatly away before applying the pocket. I find that it keeps the side edges of the pocket nice and smooth, with no jogs. I used two rows of topstitching to apply the pockets and pocket flaps. I like the look, and it is more stable on the bulky fabric.
- I bound the inner edges of the Front Facing and Back Facing. The pattern calls for a ¼” turnback, and that’s just not possible in this fabric, plus the binding is cute! I bound this edge after step 5b, after the shoulder seams were sewn and pressed open.
- Instead of serging or using underlining, I chose to use bound edges for all of the edges that you see serged in step 4c. Because the seams are pressed open, I made sure that the nicer looking side of the binding was on the right side of the fabric. (That means I stitched in the ditch from the right side!)
- I made the hanger loop with some quilting cotton scraps, not my main fabric.
- Obviously the sleeve tabs are impossible to include in such a bulky fabric!
- One thing that I considered but did not try was to use a fabric like Essex cotton, or a plain 4 oz weave for the undercollar. It would lay flatter, but I like to pop the collar and wear it up in the wind, so I stuck with the main fabric for both layers. If you like the idea of a less bulky collar edge, maybe sample it up with some scraps and see what you think!
- I added some interfacing (½” wide tricot tape) along the collar edge and the neckline edge, since I was worried about the fabric stretching out. I’m really glad that I did this – the ¼” seam allowances needed the support.
- All of step 5 was tricky. I used a zillion pins, made sure things aren’t getting stretched out, and pressed very carefully. That collar attachment is the hardest seam in this kind of fabric, and it needs to be done twice – once for the undercollar and body, and once for the collar and facings! Take it sloooooooow. After stp 5d, I trimmed the undercollar back along the long outer edge by an extra 3/16” (5 mm), tapering to no change by the time I got to the collar seam. Since the turn-of-cloth is so very hefty, making the undercollar a bit smaller helps it lay flat when worn.
- I skipped the fancy footwork in step 5i. Since the hem edge is getting bound, the facing doesn’t need the cute little turn-back.
- In step 6d, I bound the armscye seam after it was sewn and double-checked for folds, then topstitched as instructed.
- Steps 7 a, b, and c get skipped, and the sleeve and hem finishing is moved to after the topstitch of the collar edge and facing.
- In step 7d, rather than a narrower topstitch, I chose to do a wider topstitch, just over ⅜” (1 cm), so that the entire seam allowance is enclosed in between stitching lines. I like how it emphasizes the edge, and it went through the machine better than a narrower topstitch would. (Once again, make a tiny sample if you need help deciding what you want to do here!)
- Step 7e is where the collar is arranged and set up for the facing’s edges to be topstitched into place. Rather than just laying it flat and hoping for the best, I put the jacket on, and pinned the facings to the body with the collar folded and the jacket on my body. It allowed the thicker layers to settle into place rather than fixing them into place flat and realizing that the fabric needed more room to make the collar fold. This is one of the trickier parts of this hack, since the fabric difference is really evident as you position the collar and facings and pin it all in place. So, pin from the outside, then flip it over and re-pin or hand baste, and sew from the inside so you can sew a nice line right on the facing’s edge all the way around. This makes a huge difference in comfort and how the collar looks, so take your time!
- After the facings are secured, it’s finally time for the hem finishing. I stay stitched the hemline with ¼” (6 mm) seam allowance before attaching the binding, so the layers at the side seams and the center front can be secured and made tidy.
- For the buttons, I increased the spacing to 4”, and used jeans buttons that get hammered in. The buttonholes were a monster. My automatic buttonholer couldn’t handle the bulk, so I ended up first sewing a rectangle with a regular straight stitch and then building the buttonholes with zig-zag stitches. Not the best, but pretty decent, and they’ll hold up to wear. This is another area where going off-book really shows!
As much as that reads like the longest hack ever, it was okay, and it turned out pretty well! I loooooove wearing this jacquard Sylvan Jacket hack, and I’m pleased that I was able to tackle the challenge. It’s certainly an advanced sew, and there is enough nuance and finagling to work through that I still won’t write this kinda fabric into the pattern. But, since I know for sure that I’m not the only determined sewist that will try this, I sure hope that writing about my experience helps you brave folks!
Happy sewing!


Hi Judith, I am in the midst of choosing fabrics right now – so excited! I notice that the instructions say that stretch fabric isn’t recommended – I’m wondering if you can tell me why that is? I had my heart set on a stretch pinwale corduroy, but it sounds like that will be a bad choice. Thanks! Liz
Hi Liz! Great question! It’s the stability of the fabric that makes sewing this style with stretch fabric not recommended. The long curved areas that are on the bias would be really difficult to work with, since even a non-stretch fabric takes careful handling through the neckline and collar. The bias stretches out so easily, and adding stretch percentage into that would make it even more difficult to keep stable. Areas that would be particularly vulnerable to a stretched-out and unpleasant result are the neckline-collar seams, collar edge, armscyes, and any rounded details in the pockets. It’s too many areas of caution for me to be able to say with confidence that a stretch fabric would be fine, and that’s before we even discuss stretch percentage, and stitch selection! But pinwale corduroy with no stretch is really wonderful! Maybe that’s a reasonable compromise? 🙂
Thank you Judith! I have SO much to learn! Non-strecth pinwale it is!
What an amazingly helpful article. Thank you for taking the time to share all of this! This is the exact style jacket I’ve been looking for to make a quilt jacket using the first quilt I made. I usually dive right in with abandon , but in this case I’m really glad I took the time to read through everything you shared!