Chanterelle Pants Hack: Straight Leg
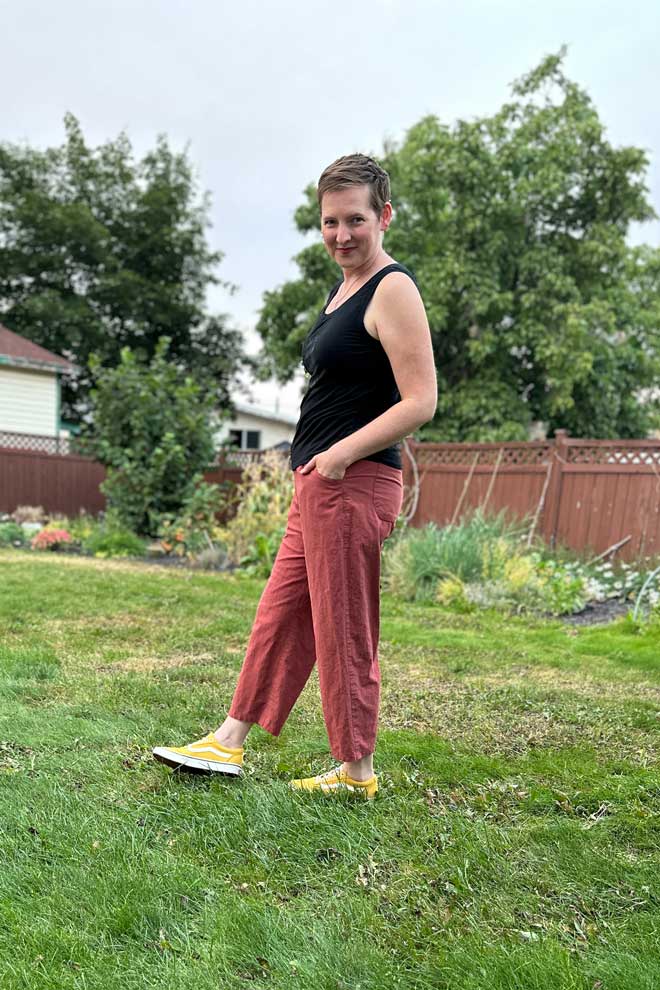
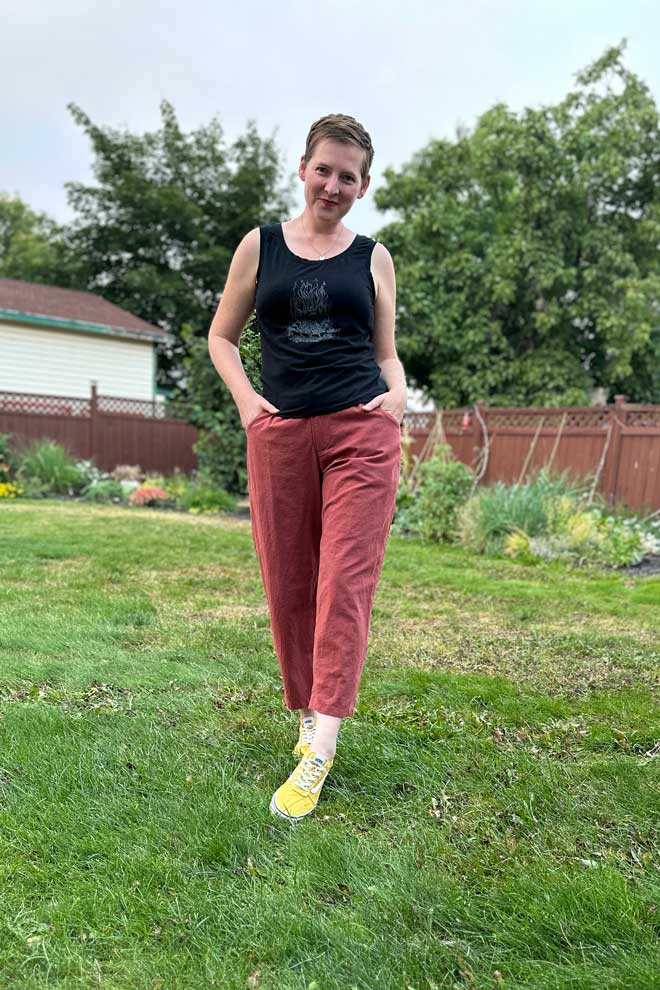
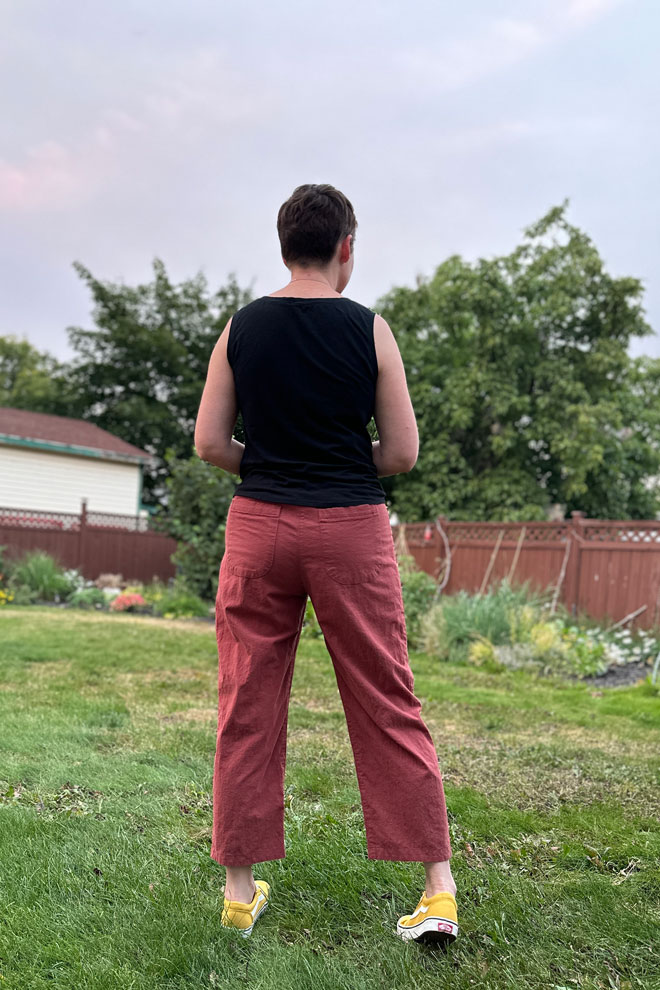
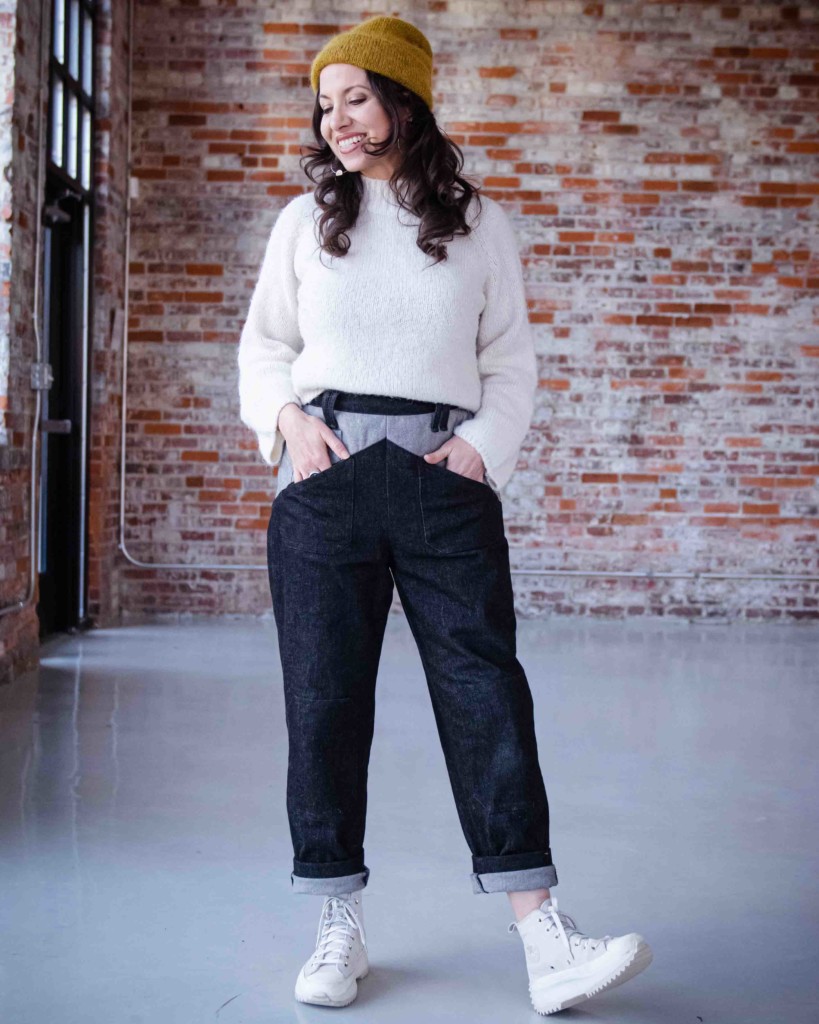
While the pleated cuff on view B of the Chanterelle Pants is obviously so Very Super Fantastic, I happen to know for a fact that someone is going to ask me if they can hack the pant leg to be a simple, straight leg. (How do I know? It was me. I was asking myself.) Obviously, my first advice is to make View B in all its glory, both because of its aforementioned glory and to get familiar with the fit and leg shape.
Done that? Mmmmmkay. Then let’s get into how I hacked the Chanterelle Pants View B leg for a simple, straight-ish silhouette.
Since there’s a pleat in the leg, you actually don’t need to follow the typical “what you do to the outseam, you do to the inseam” rule. Hold your horses now, I’m saying that just for this exact style, not for all pleated pants, or for all leg alterations. Just for Chanterelle View B. Maintaining balance is so important in pant fitting and comfort, so this tutorial is specific to this exact pattern, and this exact view. The pleat is taken into consideration in the leg balance, so we’re only going to tuck away some of the pleat’s volume, and not change the silhouette further.
How to make straight-leg Chanterelle Pants
- Start with a fresh tracing of your View B leg pieces (or start with a new printout, or cut up the one that you have… just maintain the ability to work backwards, whether that’s reprinting or re-tracing).
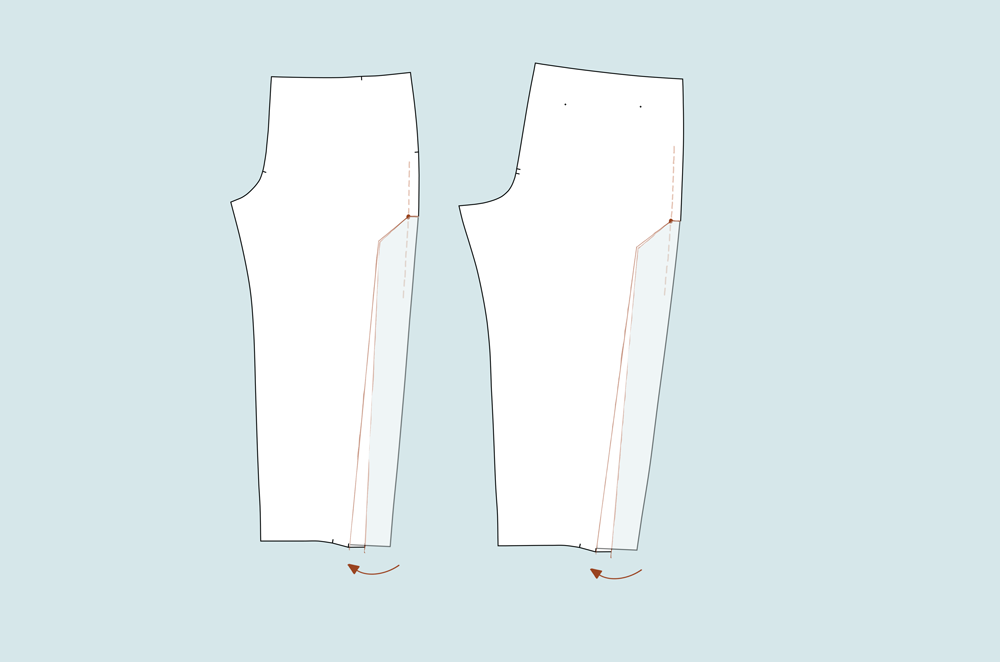
- Mark in your seam allowances around the hip area on the side seams. Mark a pivot point on the seam line (not the cut edge!) at the hip level (for me that’s about .75” (1.9 cm) below the crotch level. I looked for the area of the side seam that was the fullest below the crotch level. Mark a line about 3” long at an approximate 45-degree angle down towards the knee. The angle isn’t super important, you just want to get your cut line into the pattern piece a little, so the piece that pivots isn’t too skinny and hard to handle.
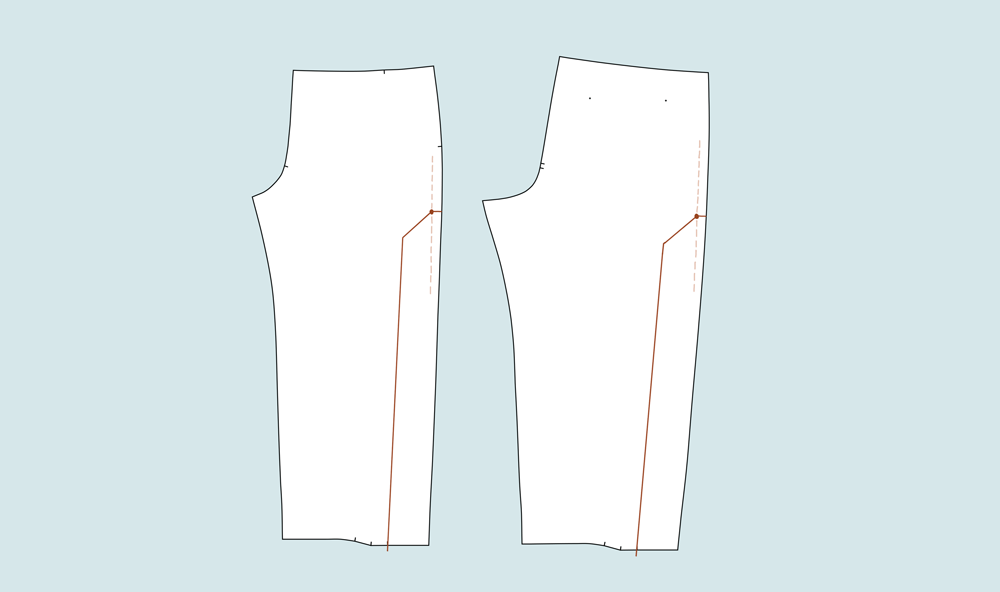
- Mark a line from the outermost pleat marking up to meet the angled line.
- Cut along the new lines from the ankle up to the pivot point, and from the side seam’s cut edge to the pivot point.
- Pivot the outer leg portion in towards the inseam, until the cut edge meets or just overlaps the center pleat marking. Tape in place.
- If you were working on only the front or back piece, repeat steps 1-5 for the second piece.
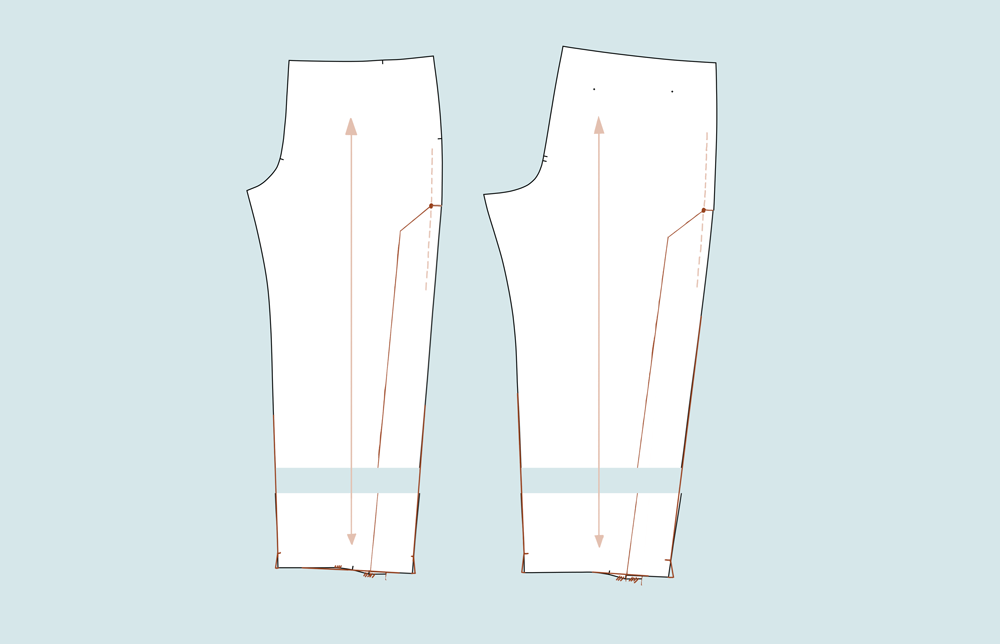
- Since you’re not using the cuff, you’ll need to add length for a hem allowance. (Really, you do. This is why we make samples before writing tutorials for you. Ask me how I know.) Make sure the grainline is well-marked. Grab a new piece of paper that you can add in that’s a bit bigger than what you’ll need, and mark the grainline on that, too. A few inches (maybe 7 cm) above the bottom edge, cut across the leg perpendicular to the grainline. Tape the top portion of the leg to your added paper, making sure the grainline is aligned as perfectly as you can manage. The leg has a ⅝” (1.6 cm) seam allowance for the cuff, and the cuff on the pant finishes at ¾” (1.9 cm) so you can add 2” (5 cm) space, for a nice cute little 1” turn-and-turn hem (aka a double turn-back). Don’t cut the paper yet!
- True up the side seams and inseams so there’s no jog where you added paper.
- Smooth out the bottom edges where the pleat caused a jog in the cut line.
- Fold up the hem allowances, and cut the side seam allowance cut lines while the hem is folded, so the edge is ready to be sewn into a tidy hem. Add notches if you want to remember your hem allowance without needing to go back and check your pattern pieces.
Go ahead and follow the View B instructions as written, and when you get to the pleat and cuff, just ignore that application and sew a plain hem as you would for View A.
Next, wear those Chanterelle Pants and tag us on Instagram for bragging rights! Happy sewing!


I do sew but have only made one pair of pants. In reading this post to make a straight leg of View B, and looking at the instructions, could the pieces F and G simply be straightened out instead of tapering? Thank you!
Great question! Since there’s a pleat in the leg, you actually don’t follow the typical “what you do to the outseam, you do to the inseam” rule for this style. Maintaining balance is so important in pant fitting and comfort! The pleat is taken into consideration in the leg balance, so we’re only going to tuck away some of the pleat’s volume, and not change the silhouette further. If you were to just not sew the pleat and hem the pants, you’ll end up with an unbalanced leg that swings outwards at the hem, and it will also feel pretty wide. If you follow the tutorial to remove the pleat’s intake, you’ll end up with a straighter leg that feels way better and doesn’t wing out at the hem. Totally worth the extra a few steps!
Hope this helps 🙂